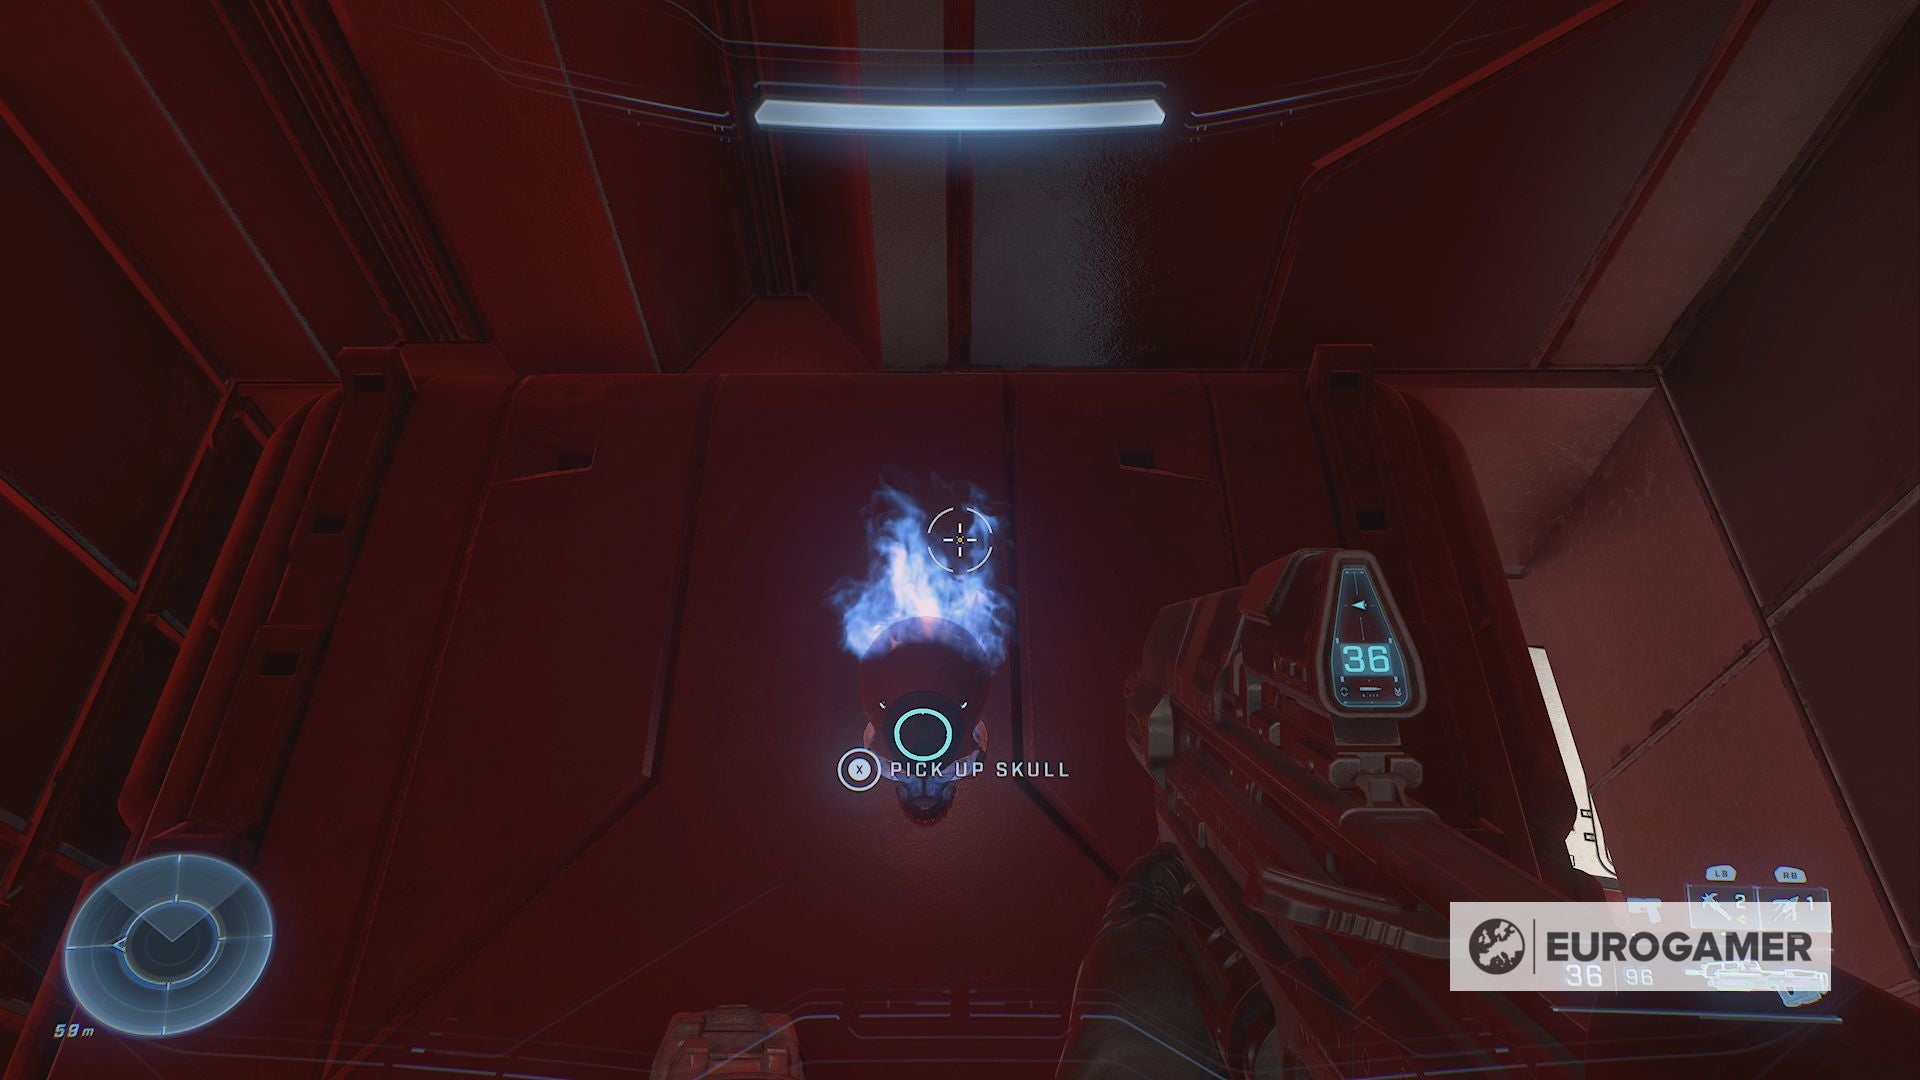
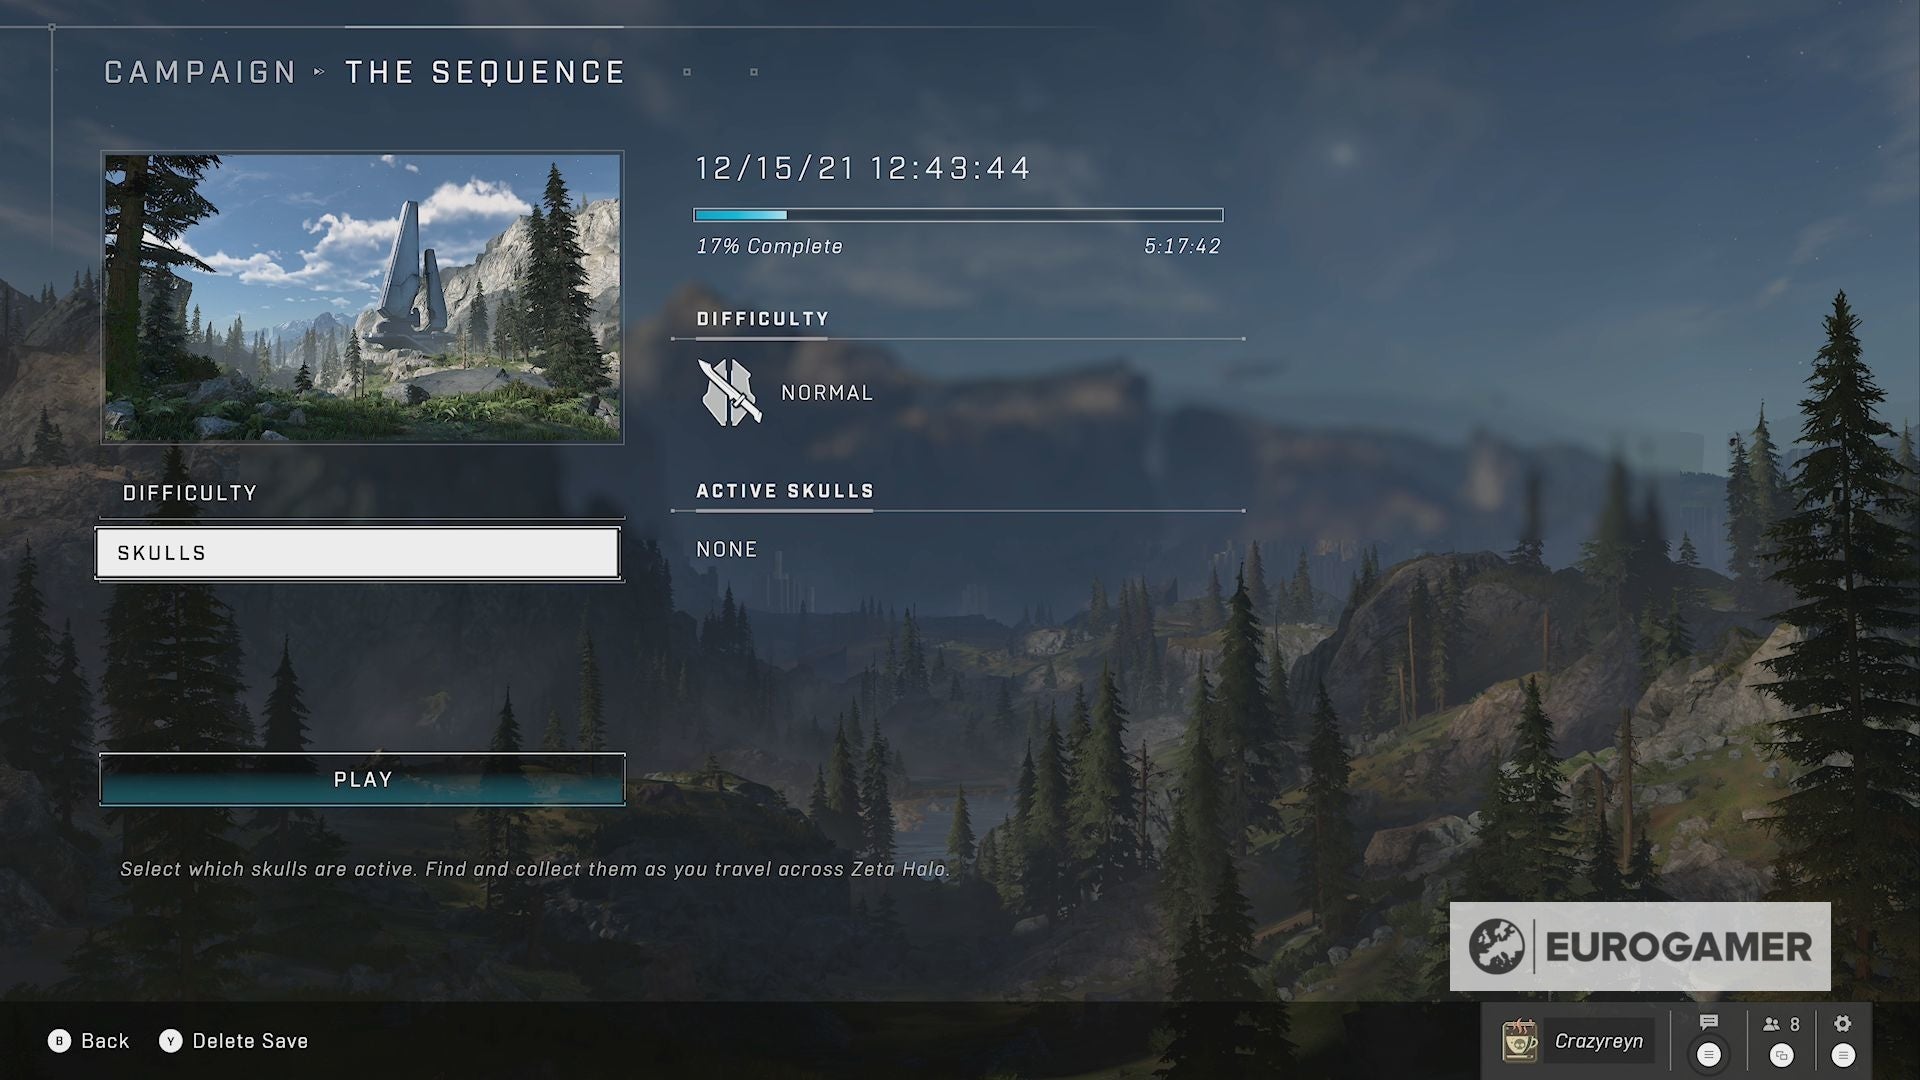
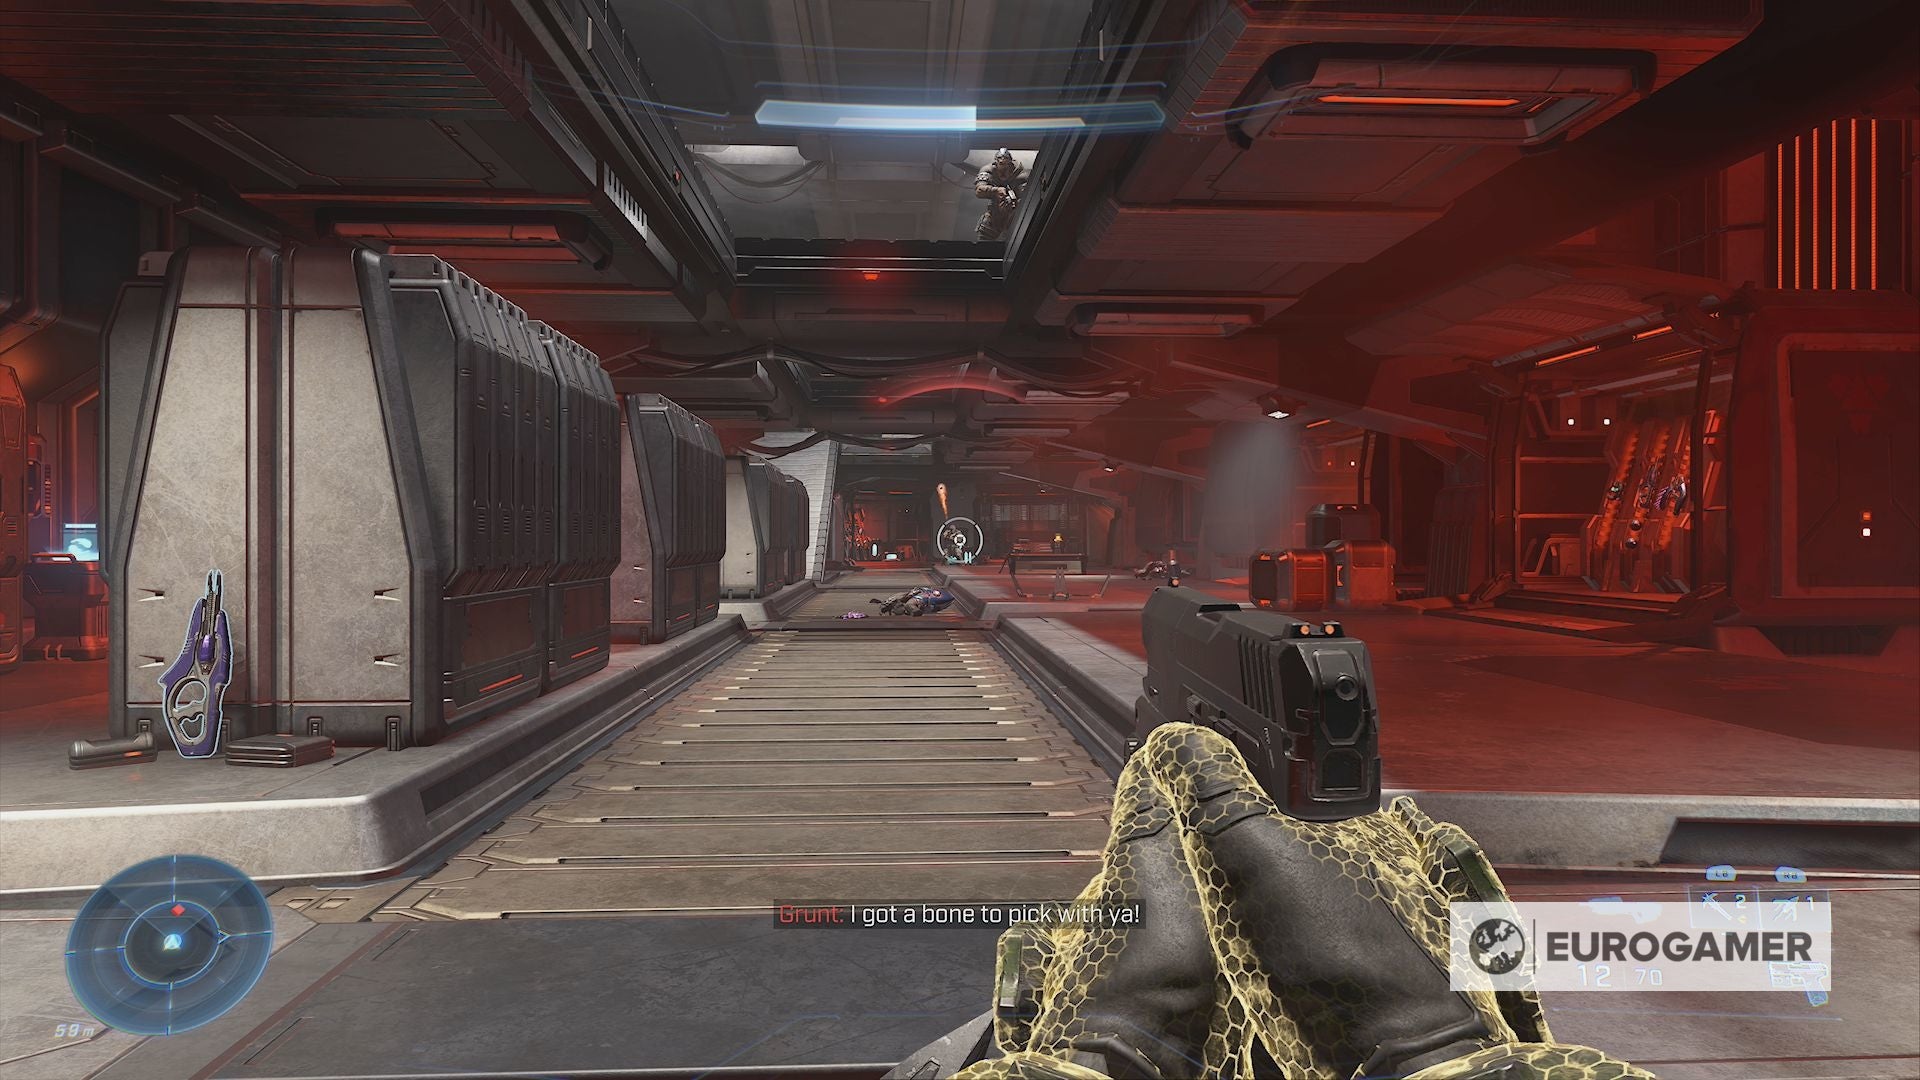
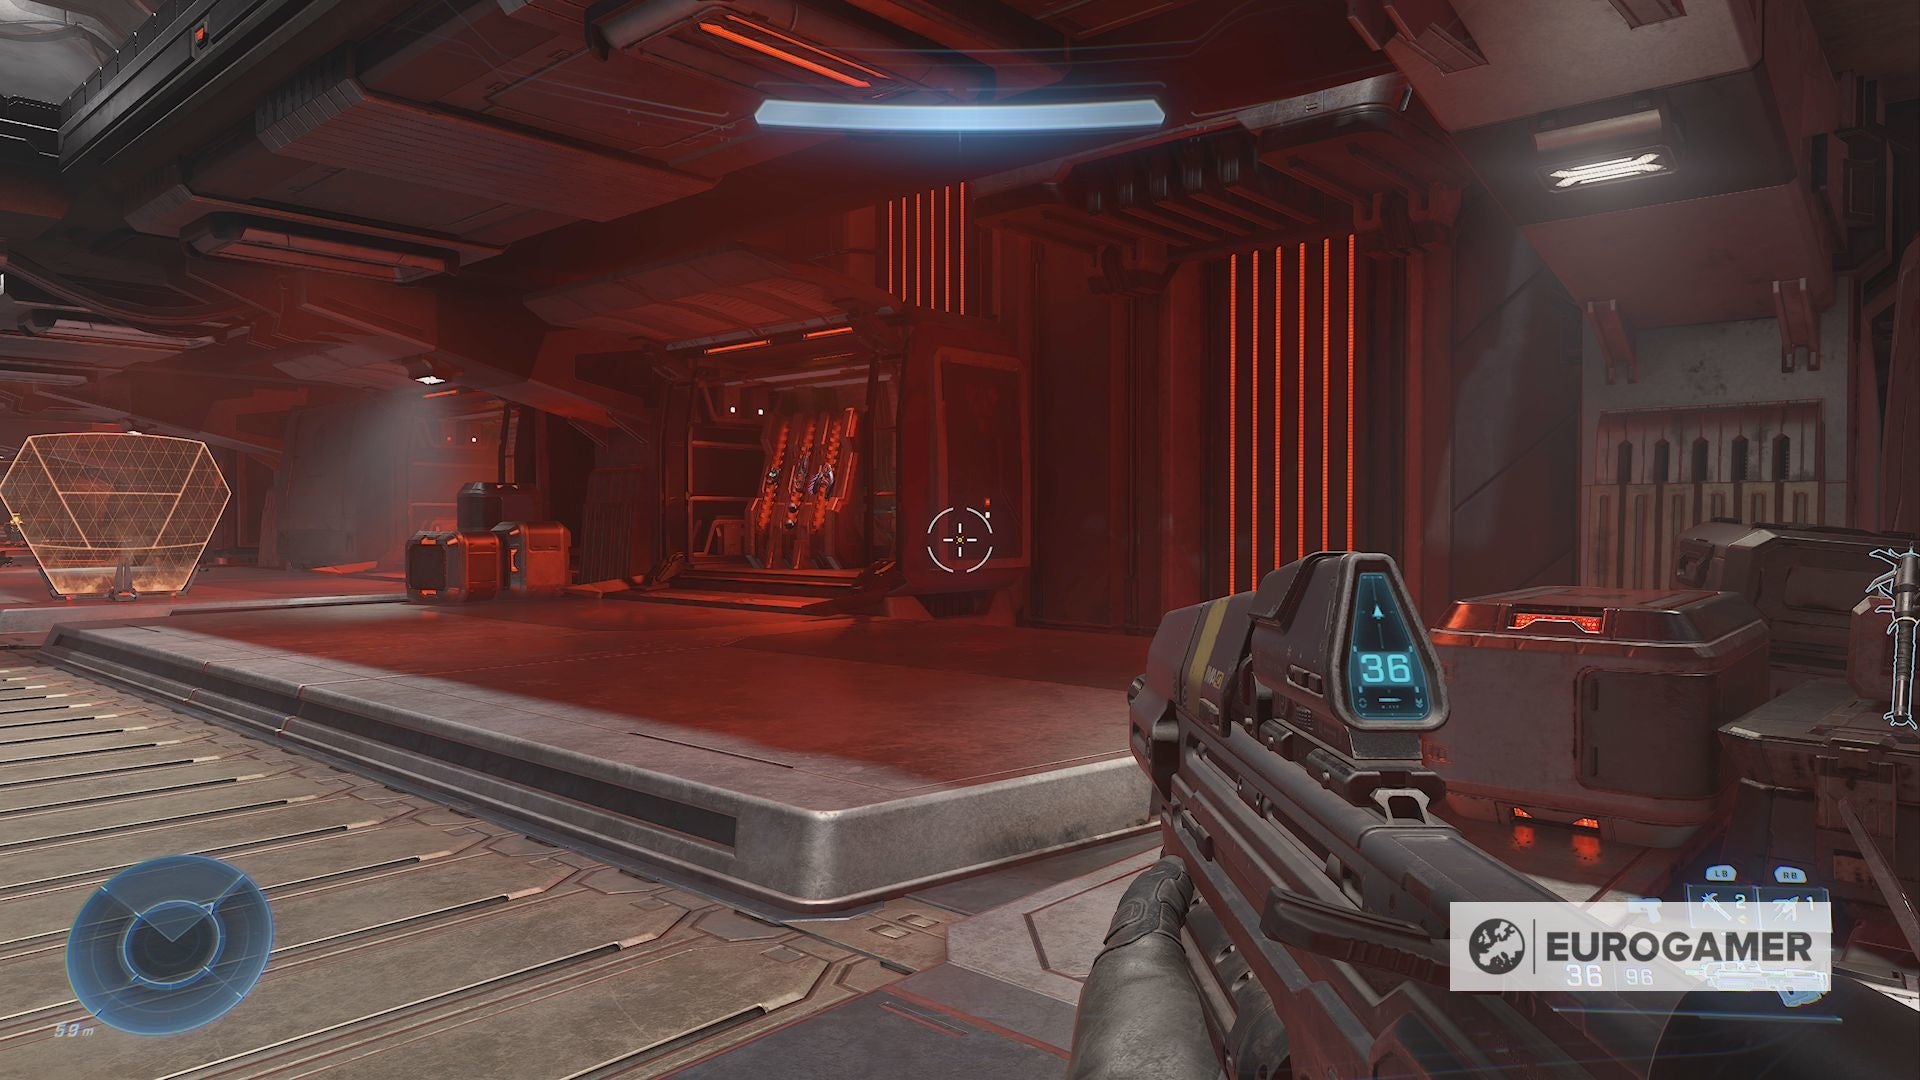
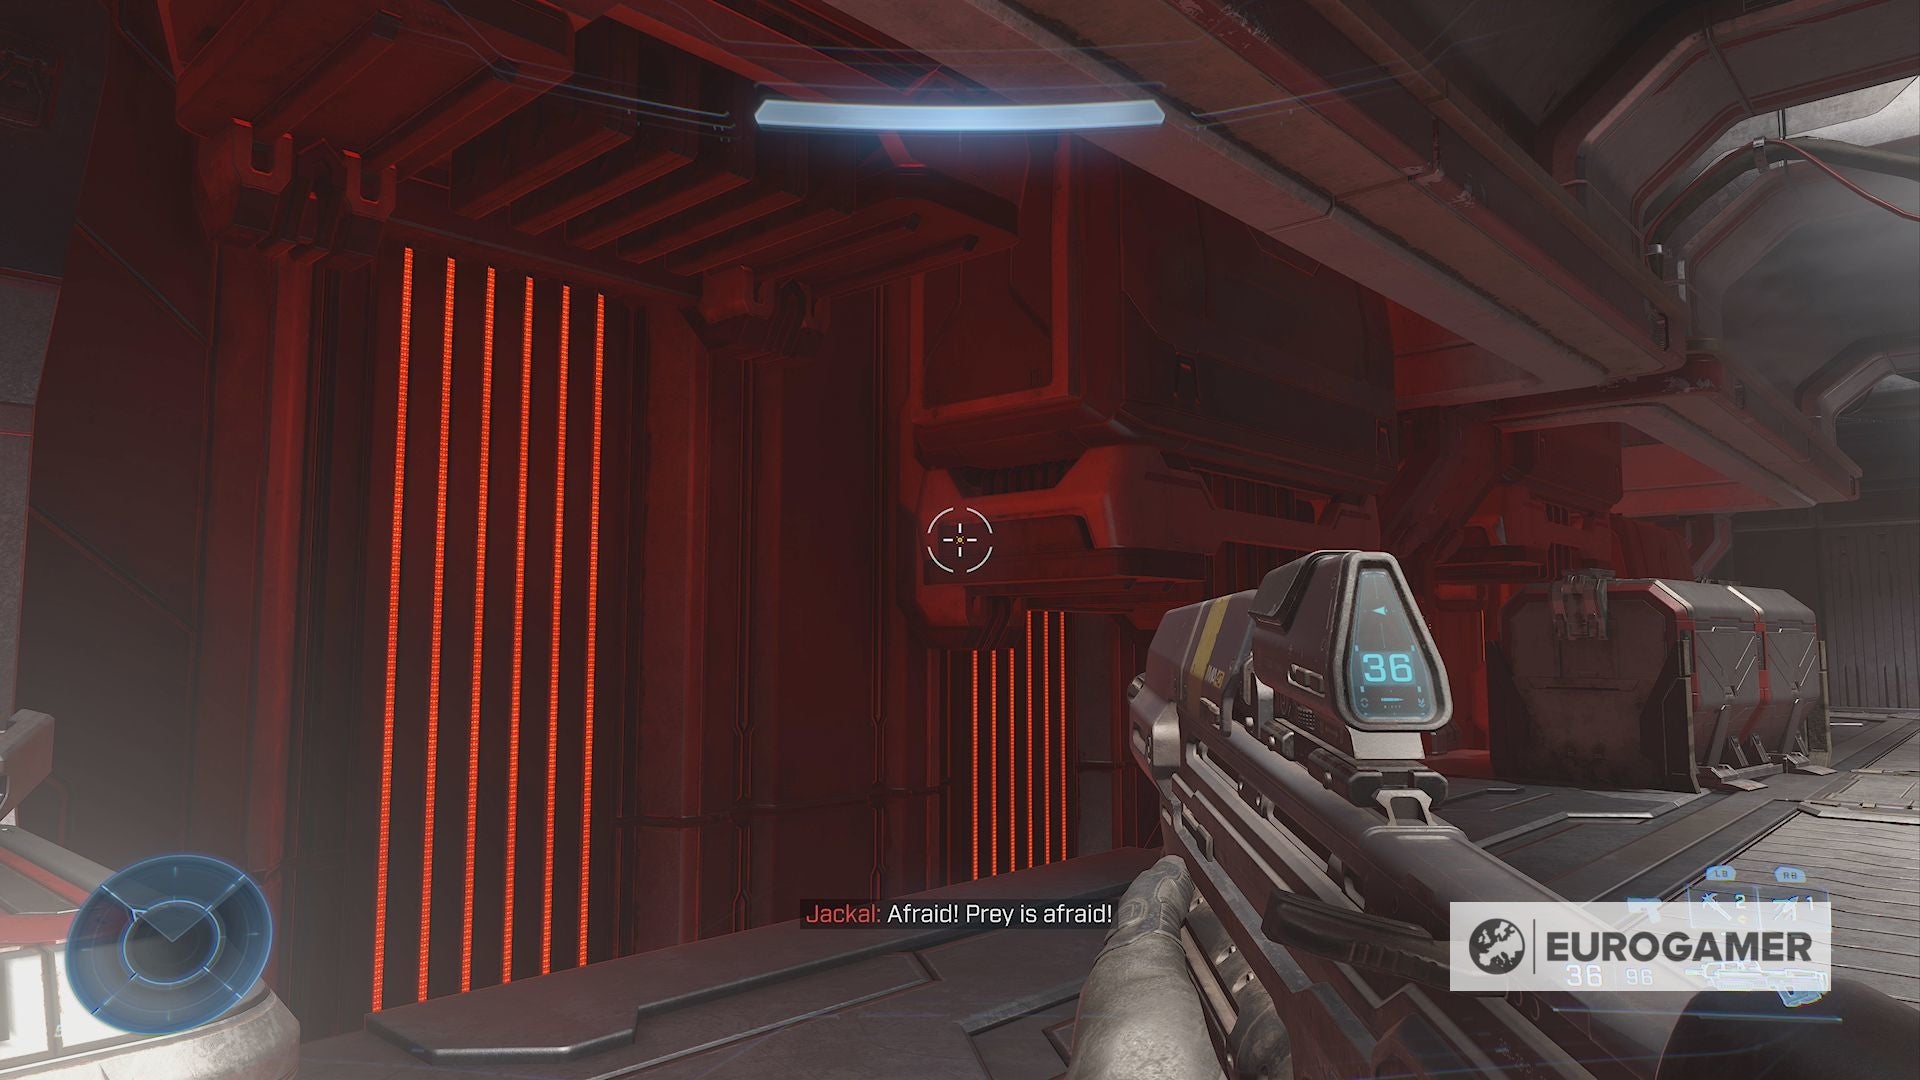
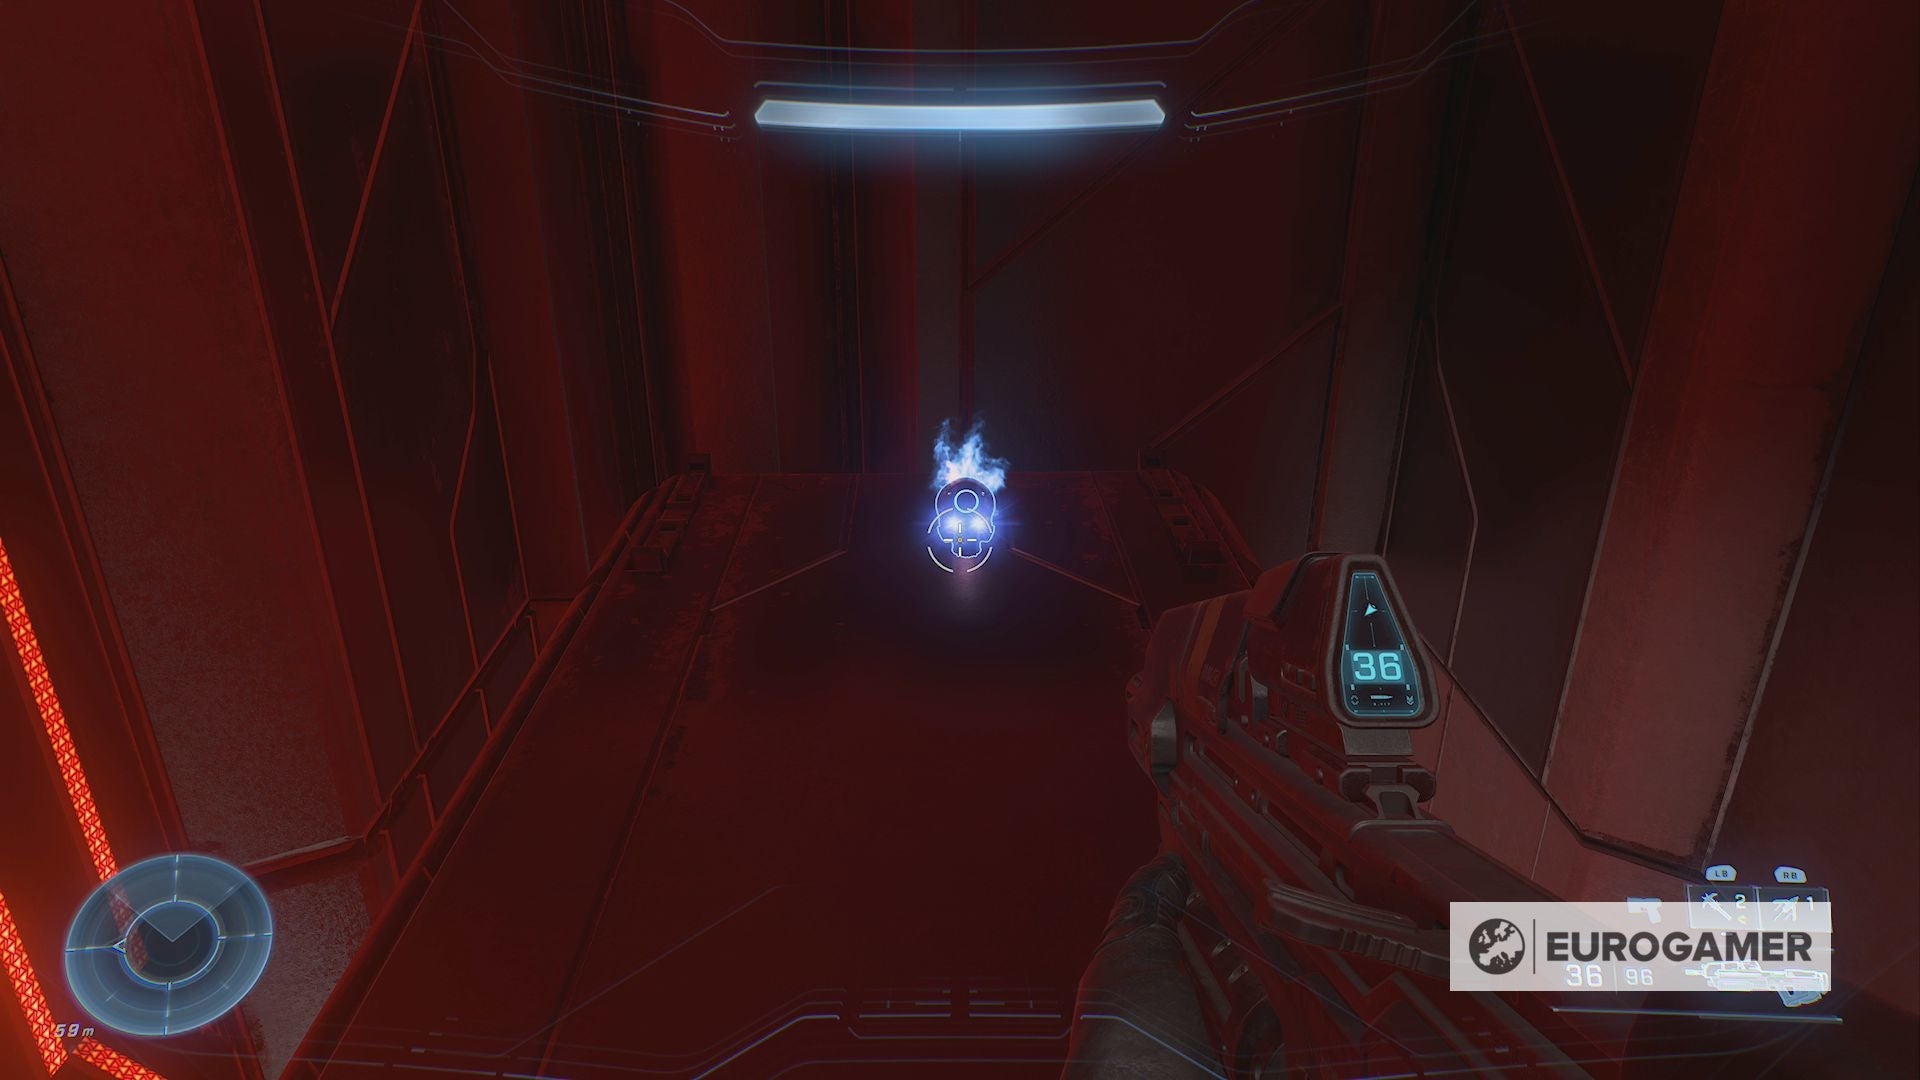
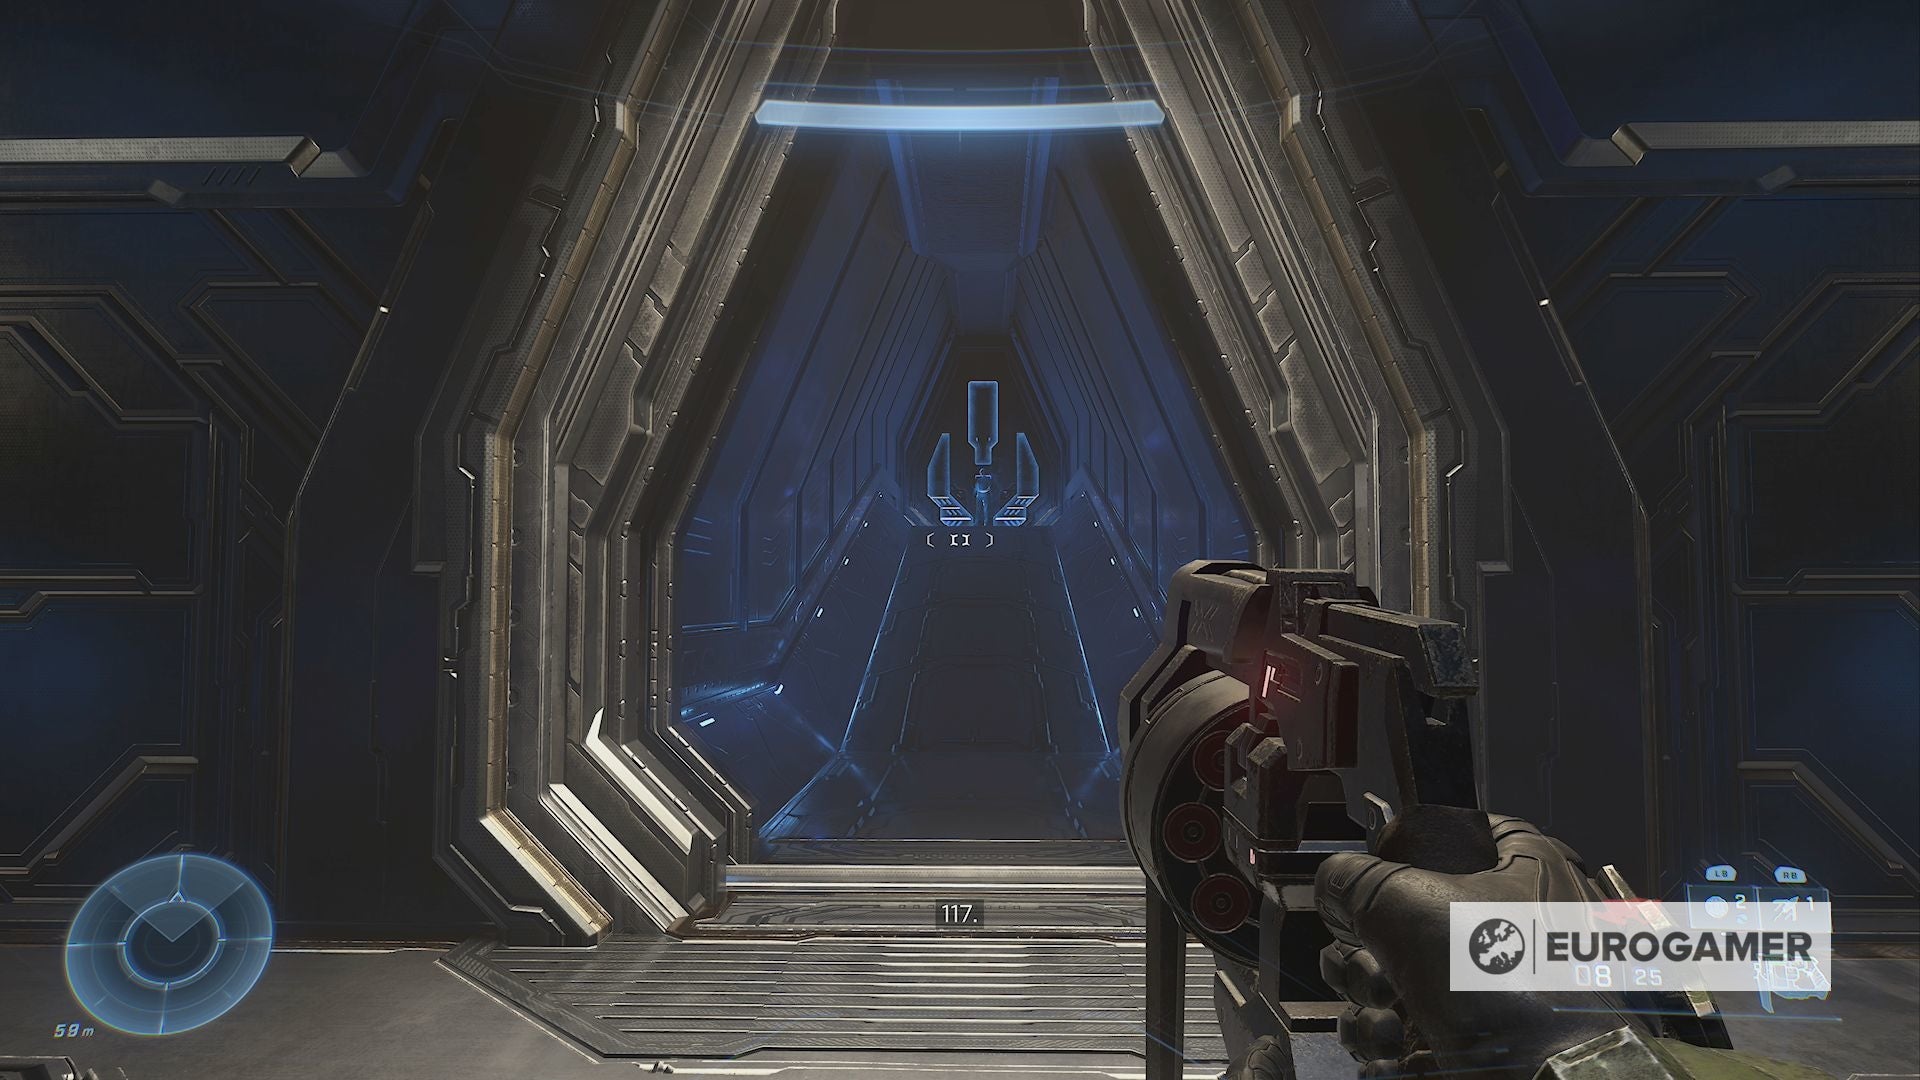
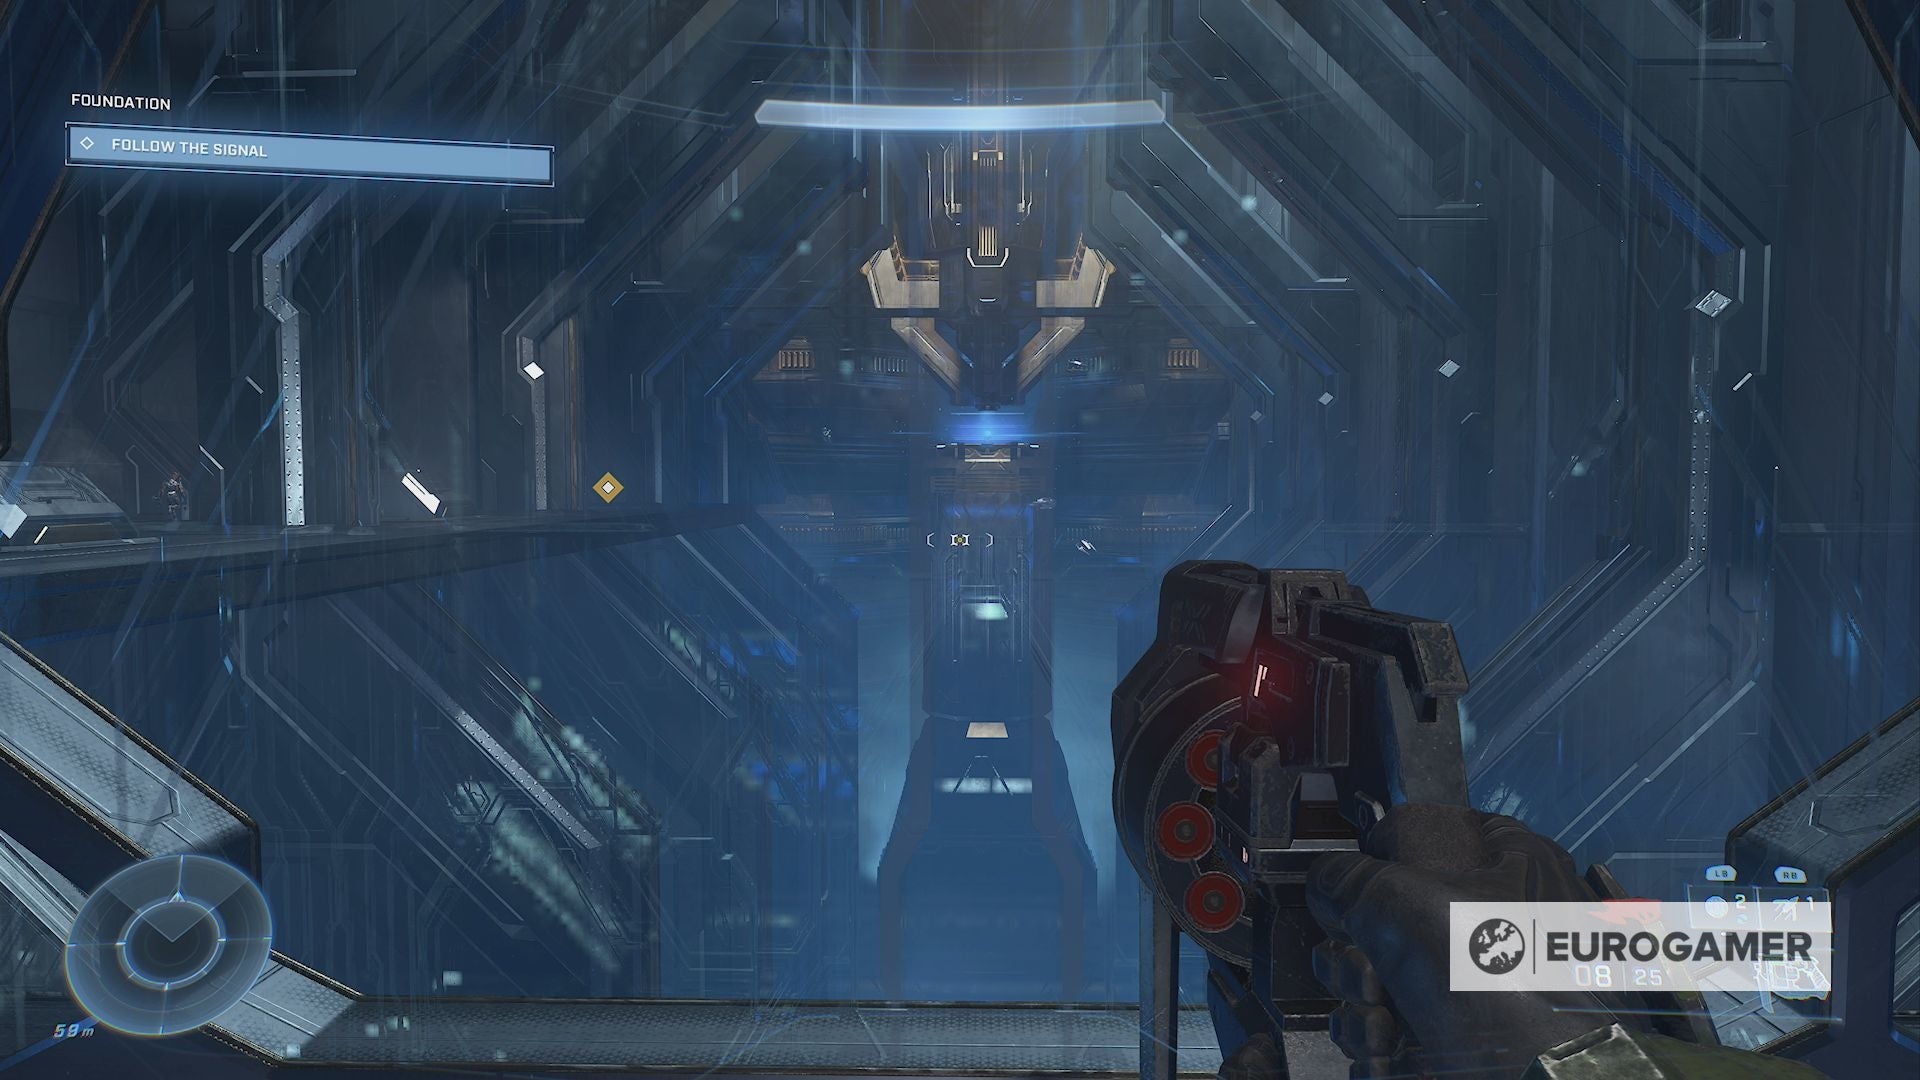
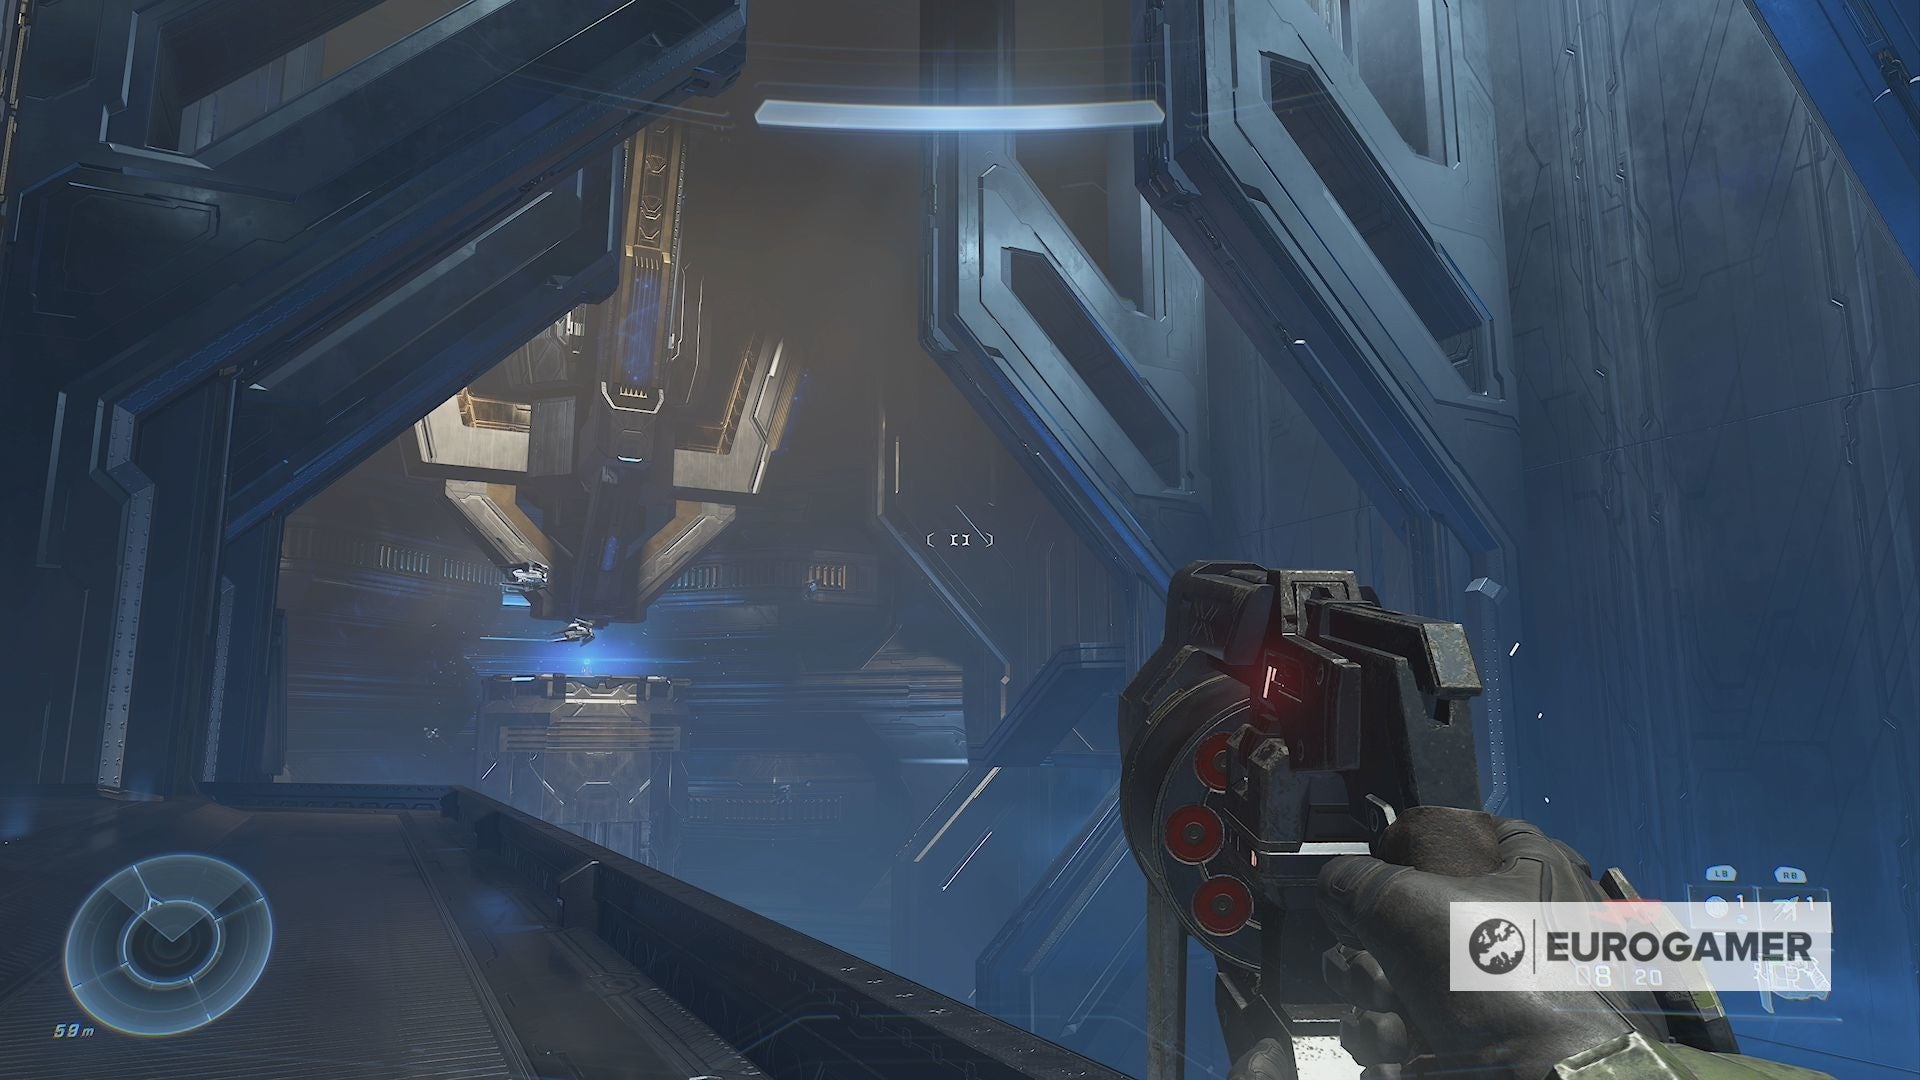
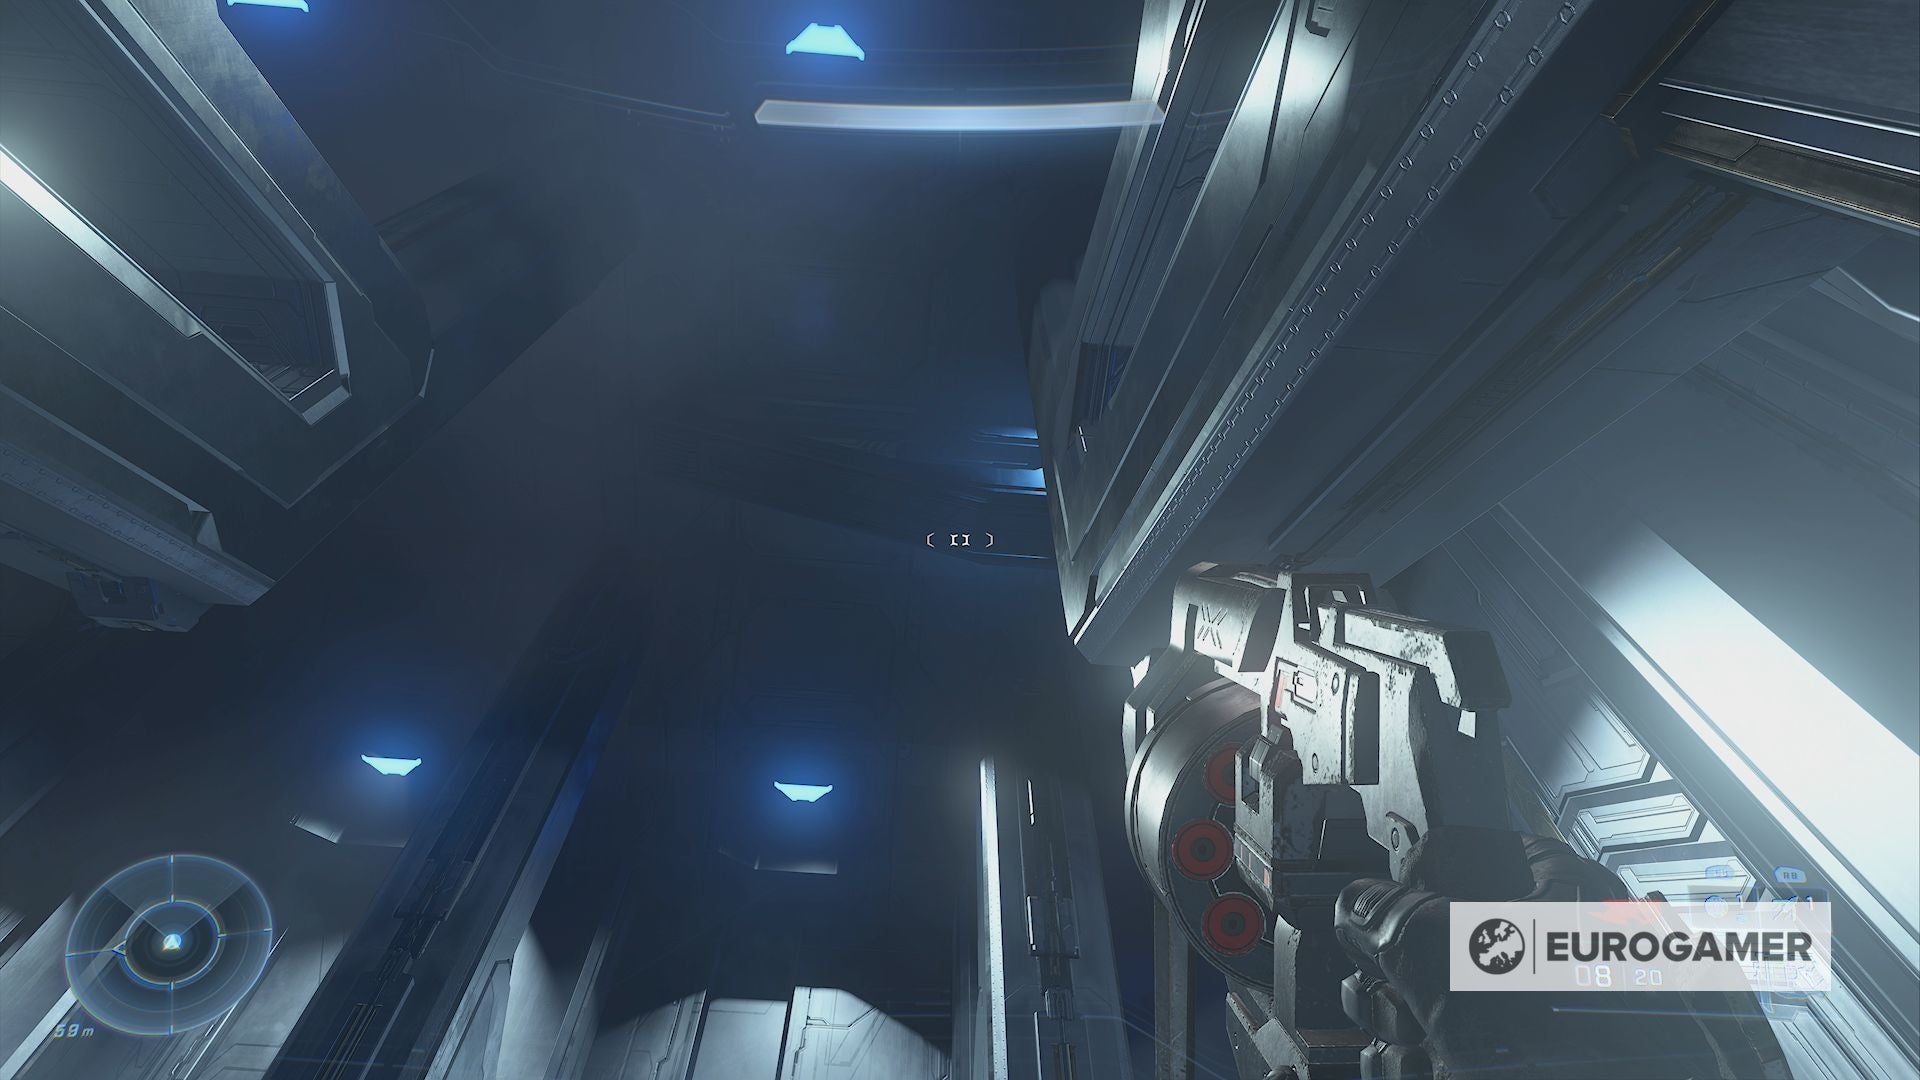
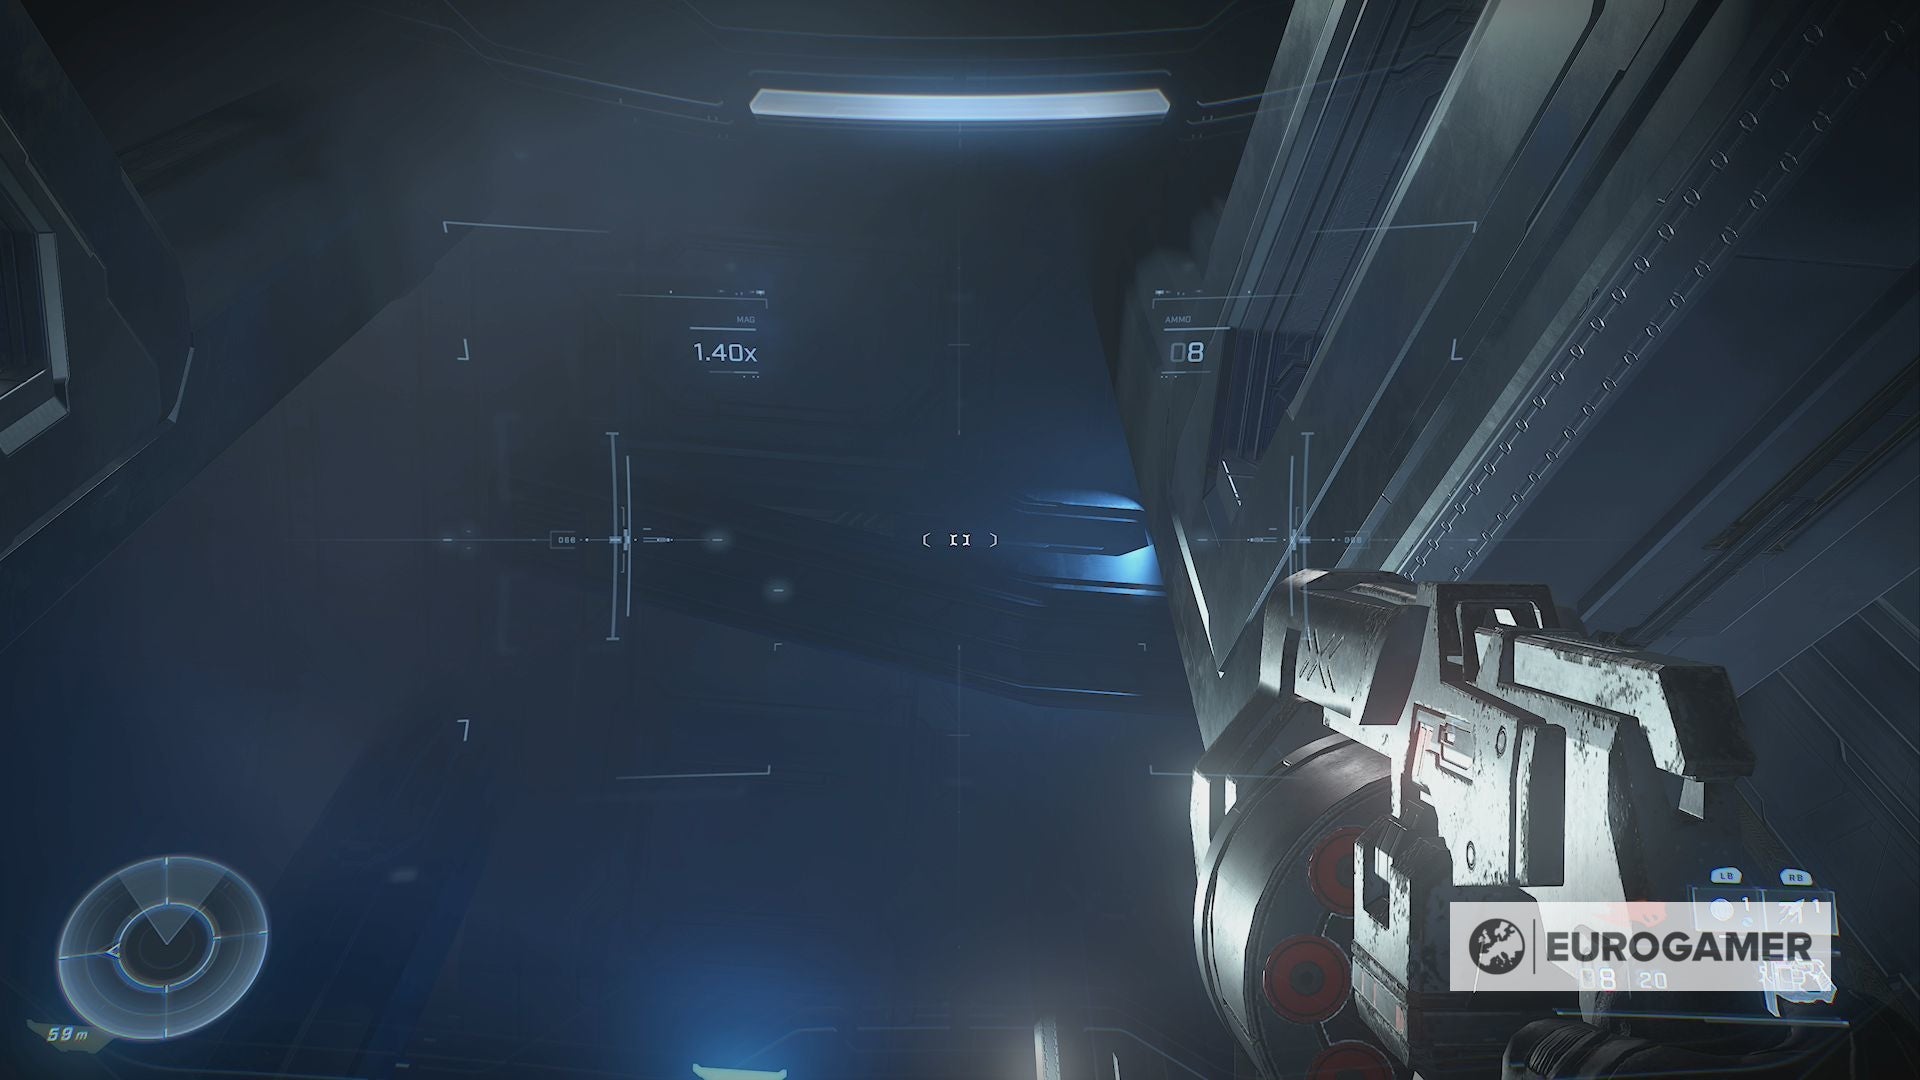
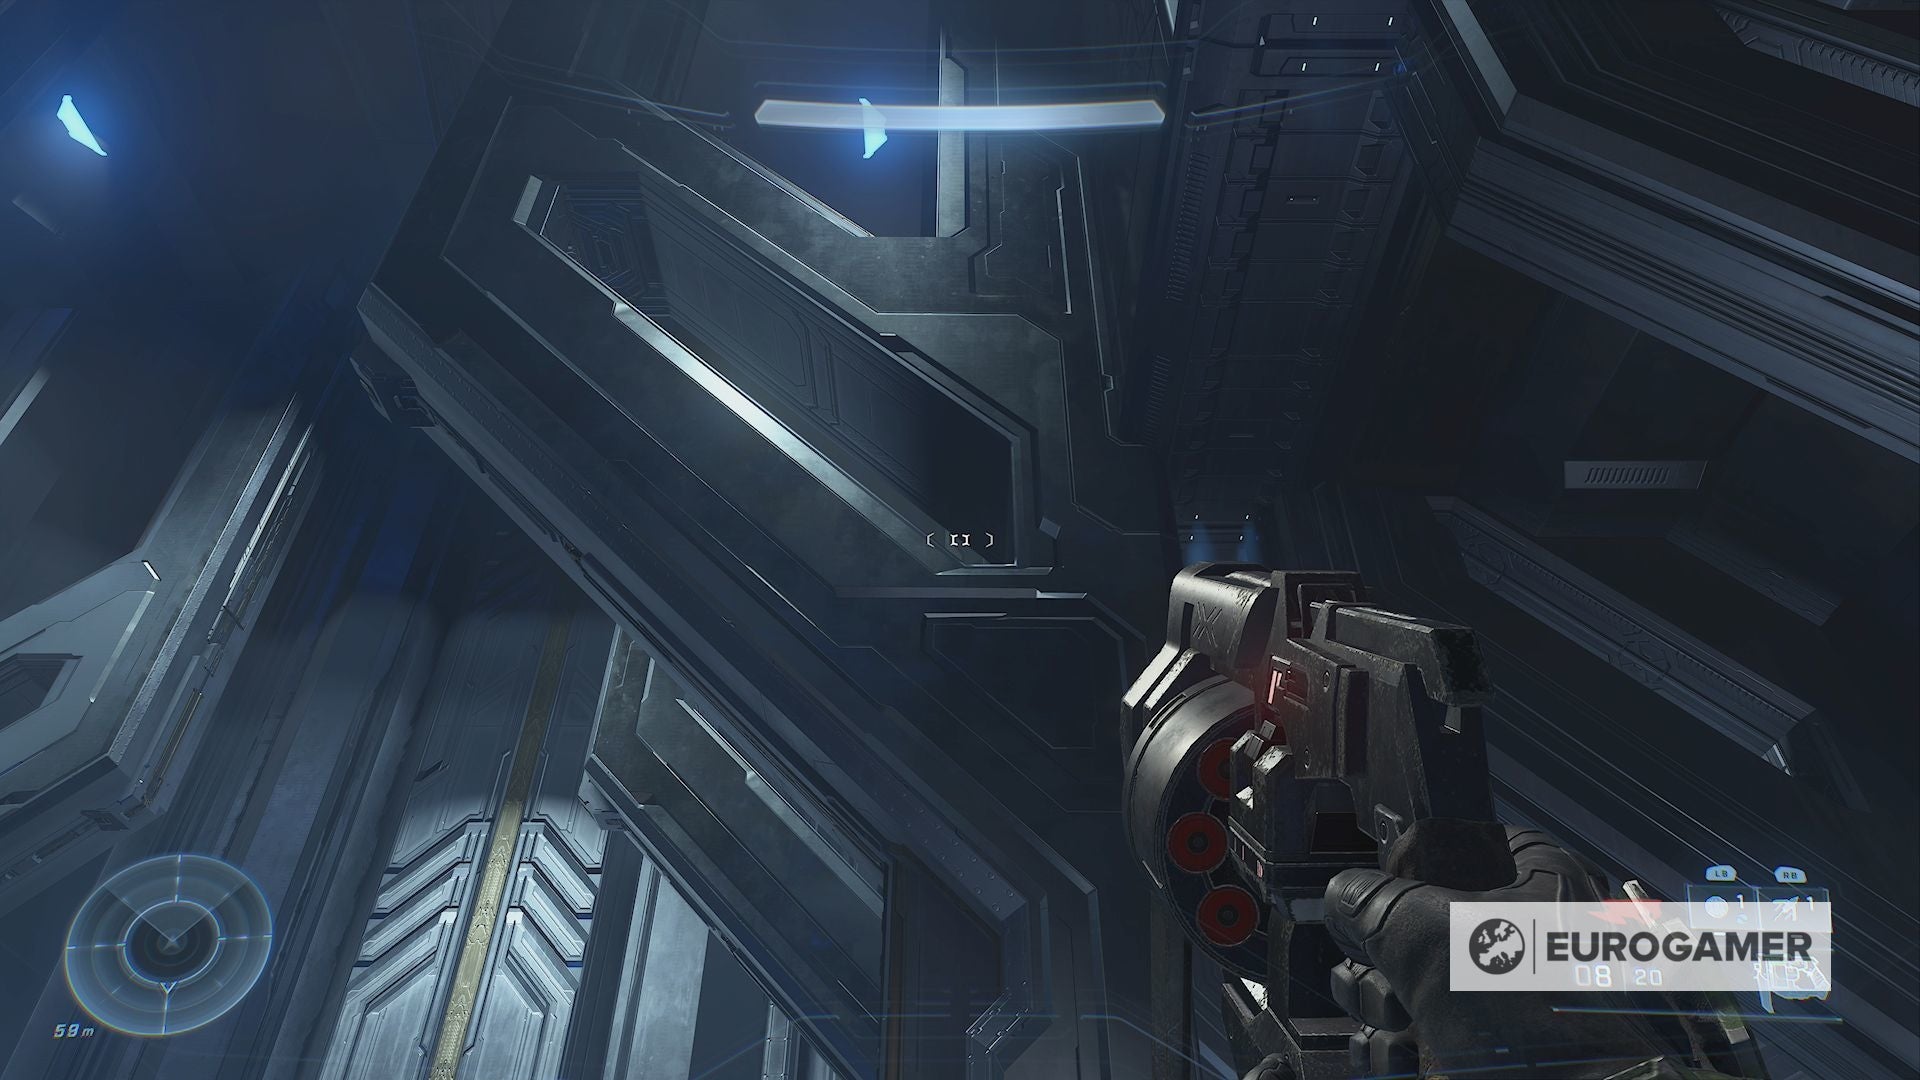
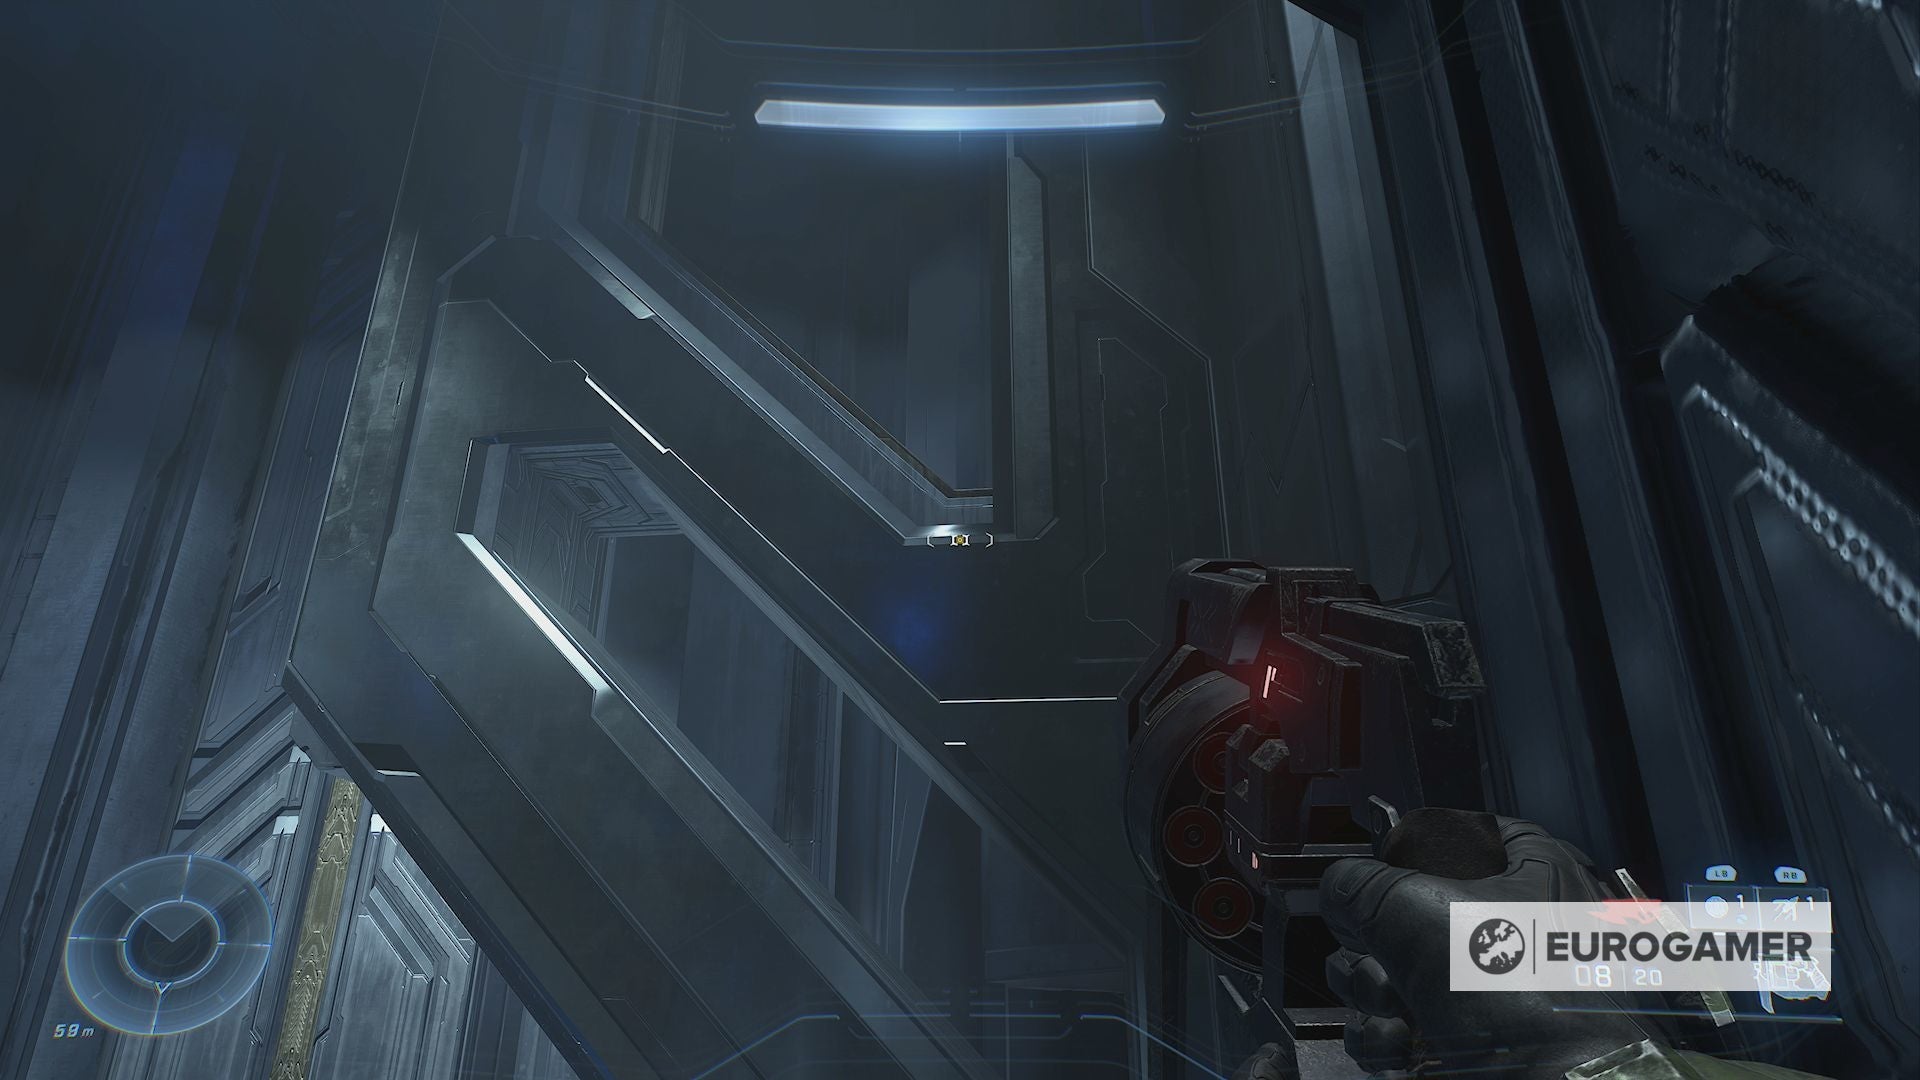
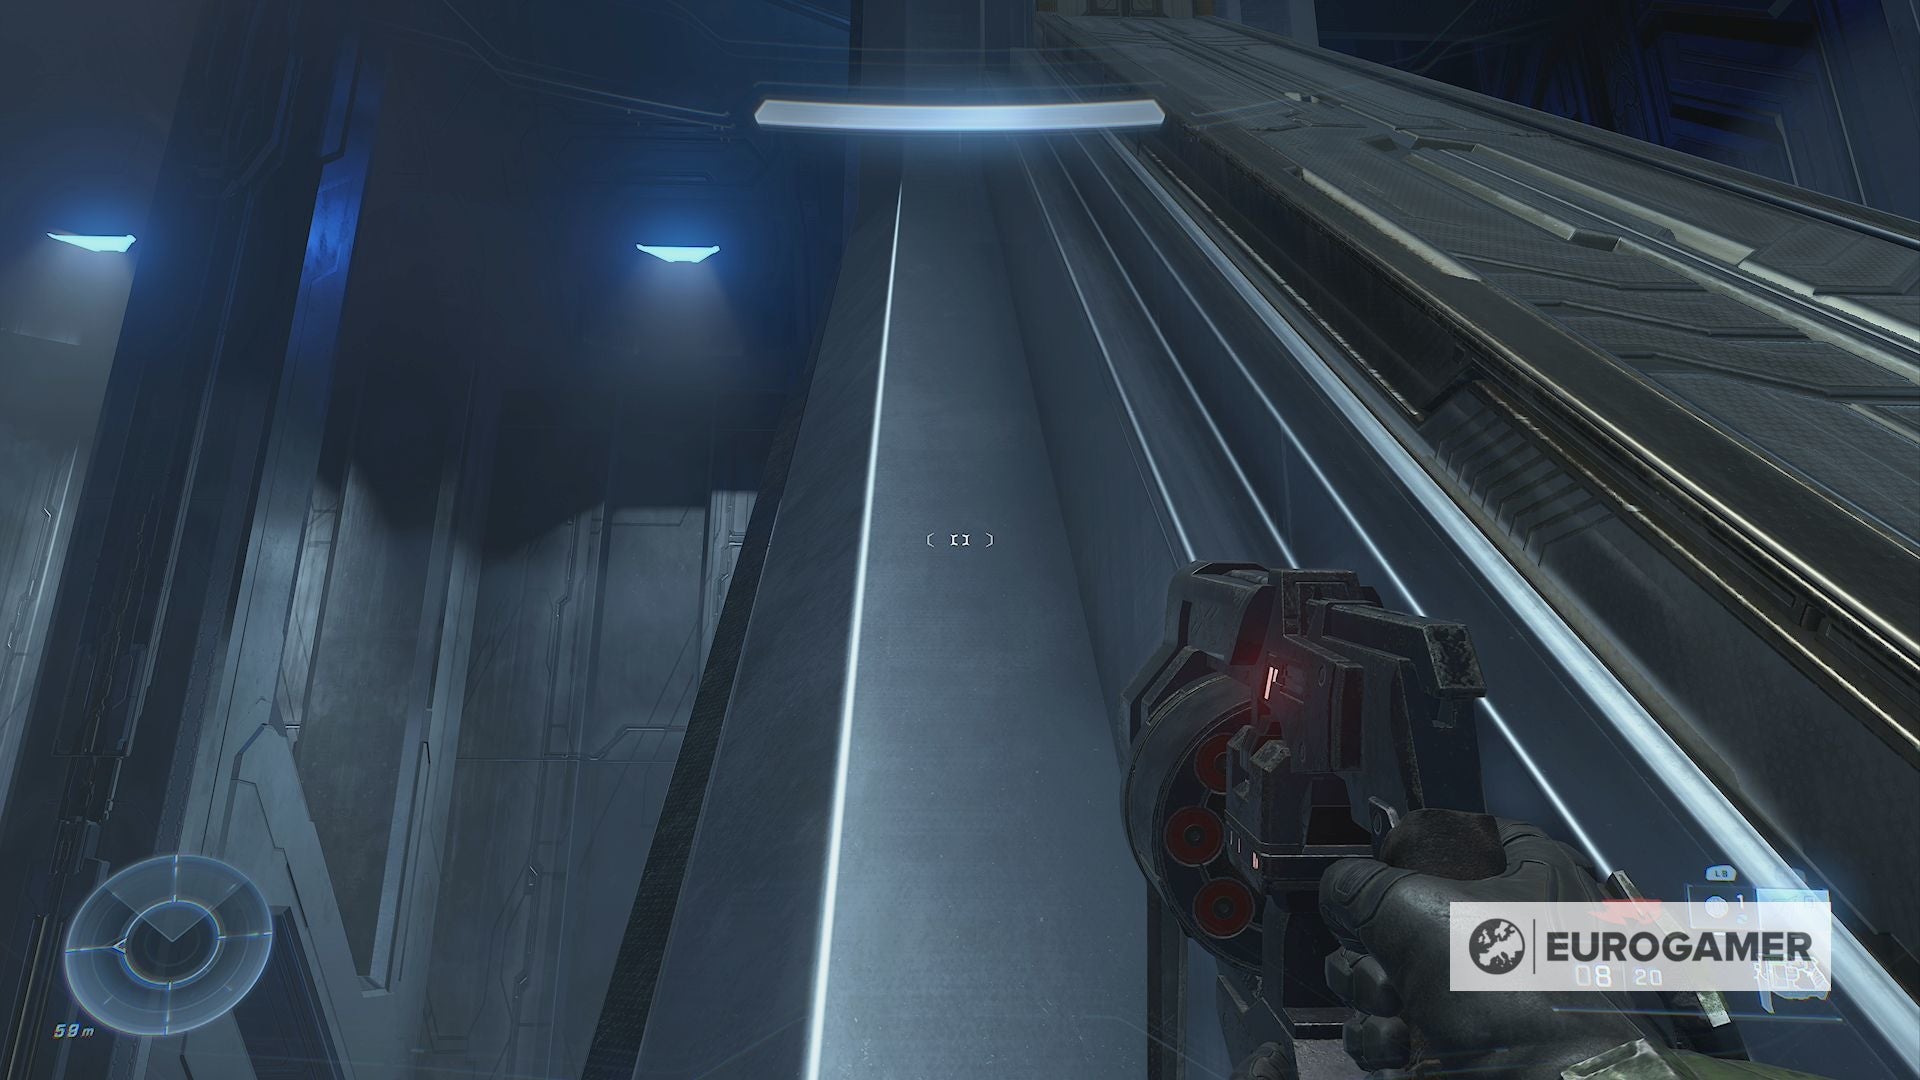
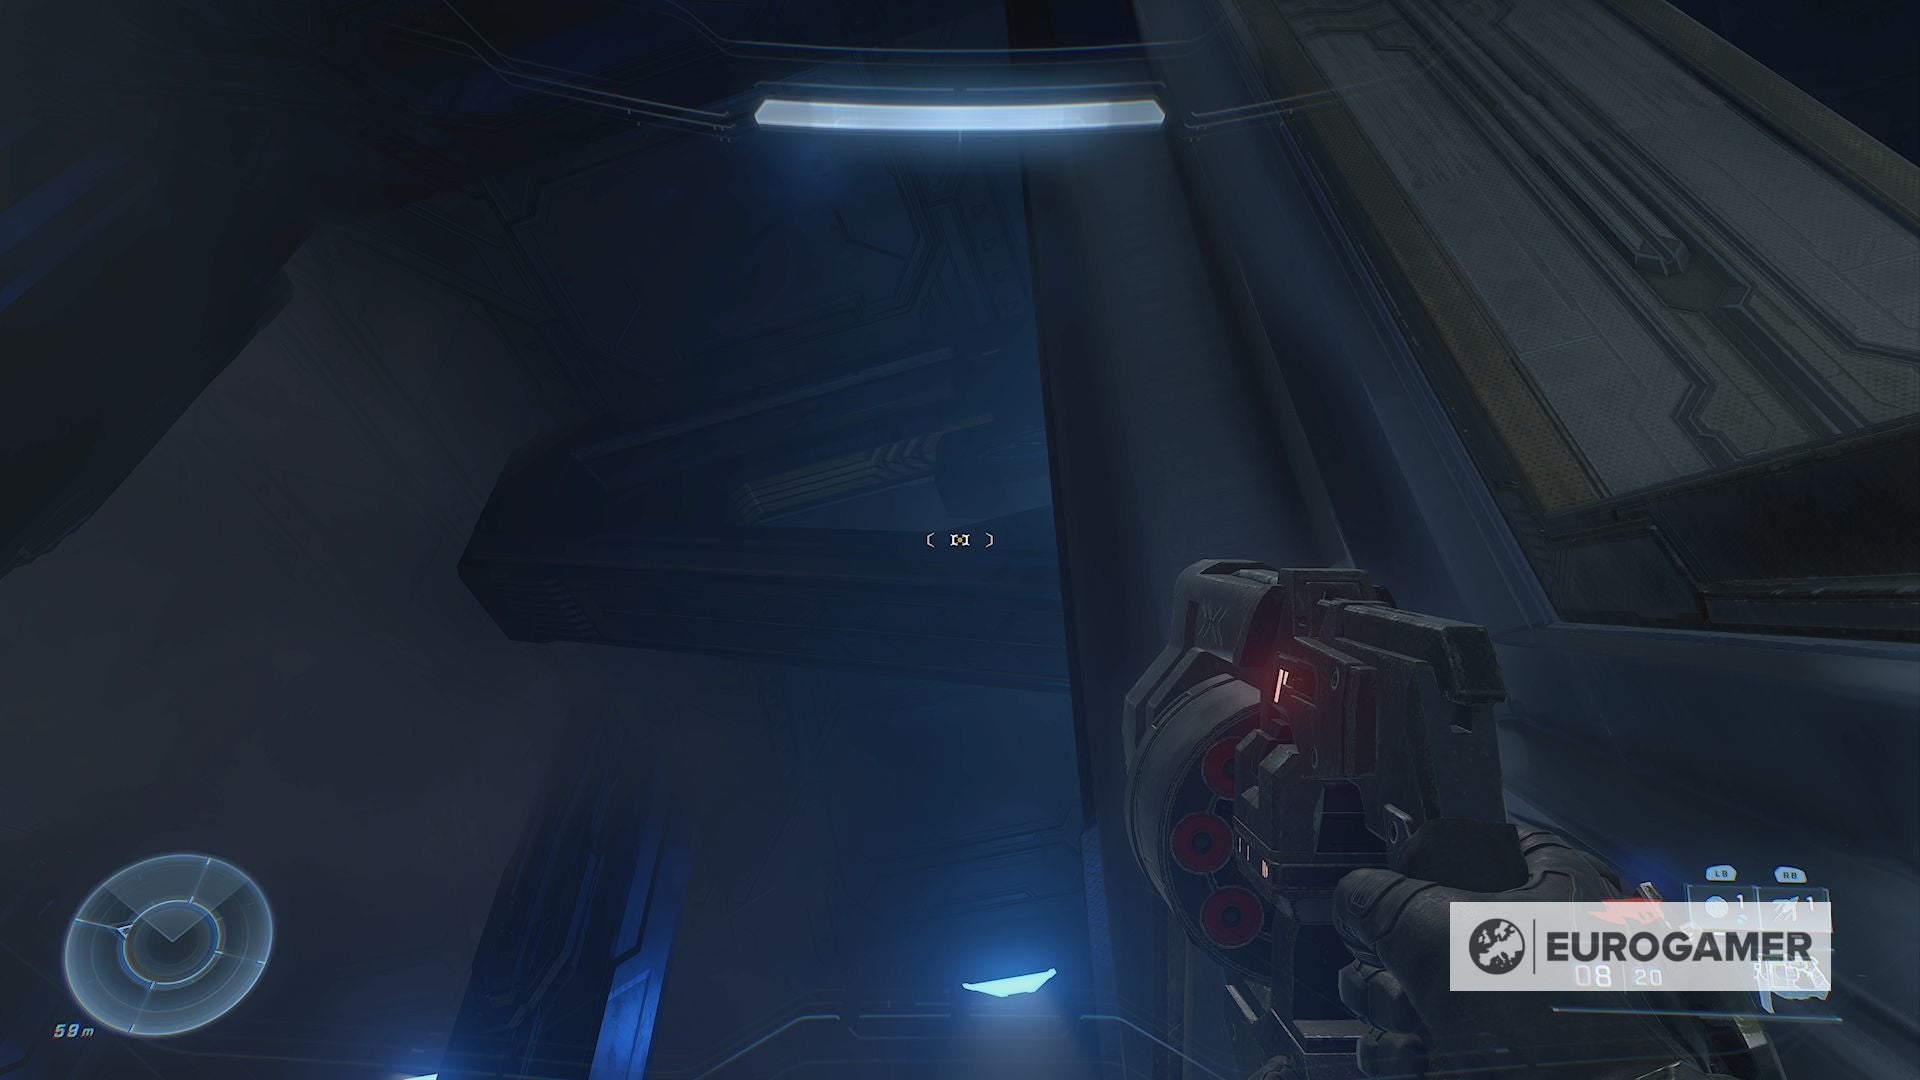
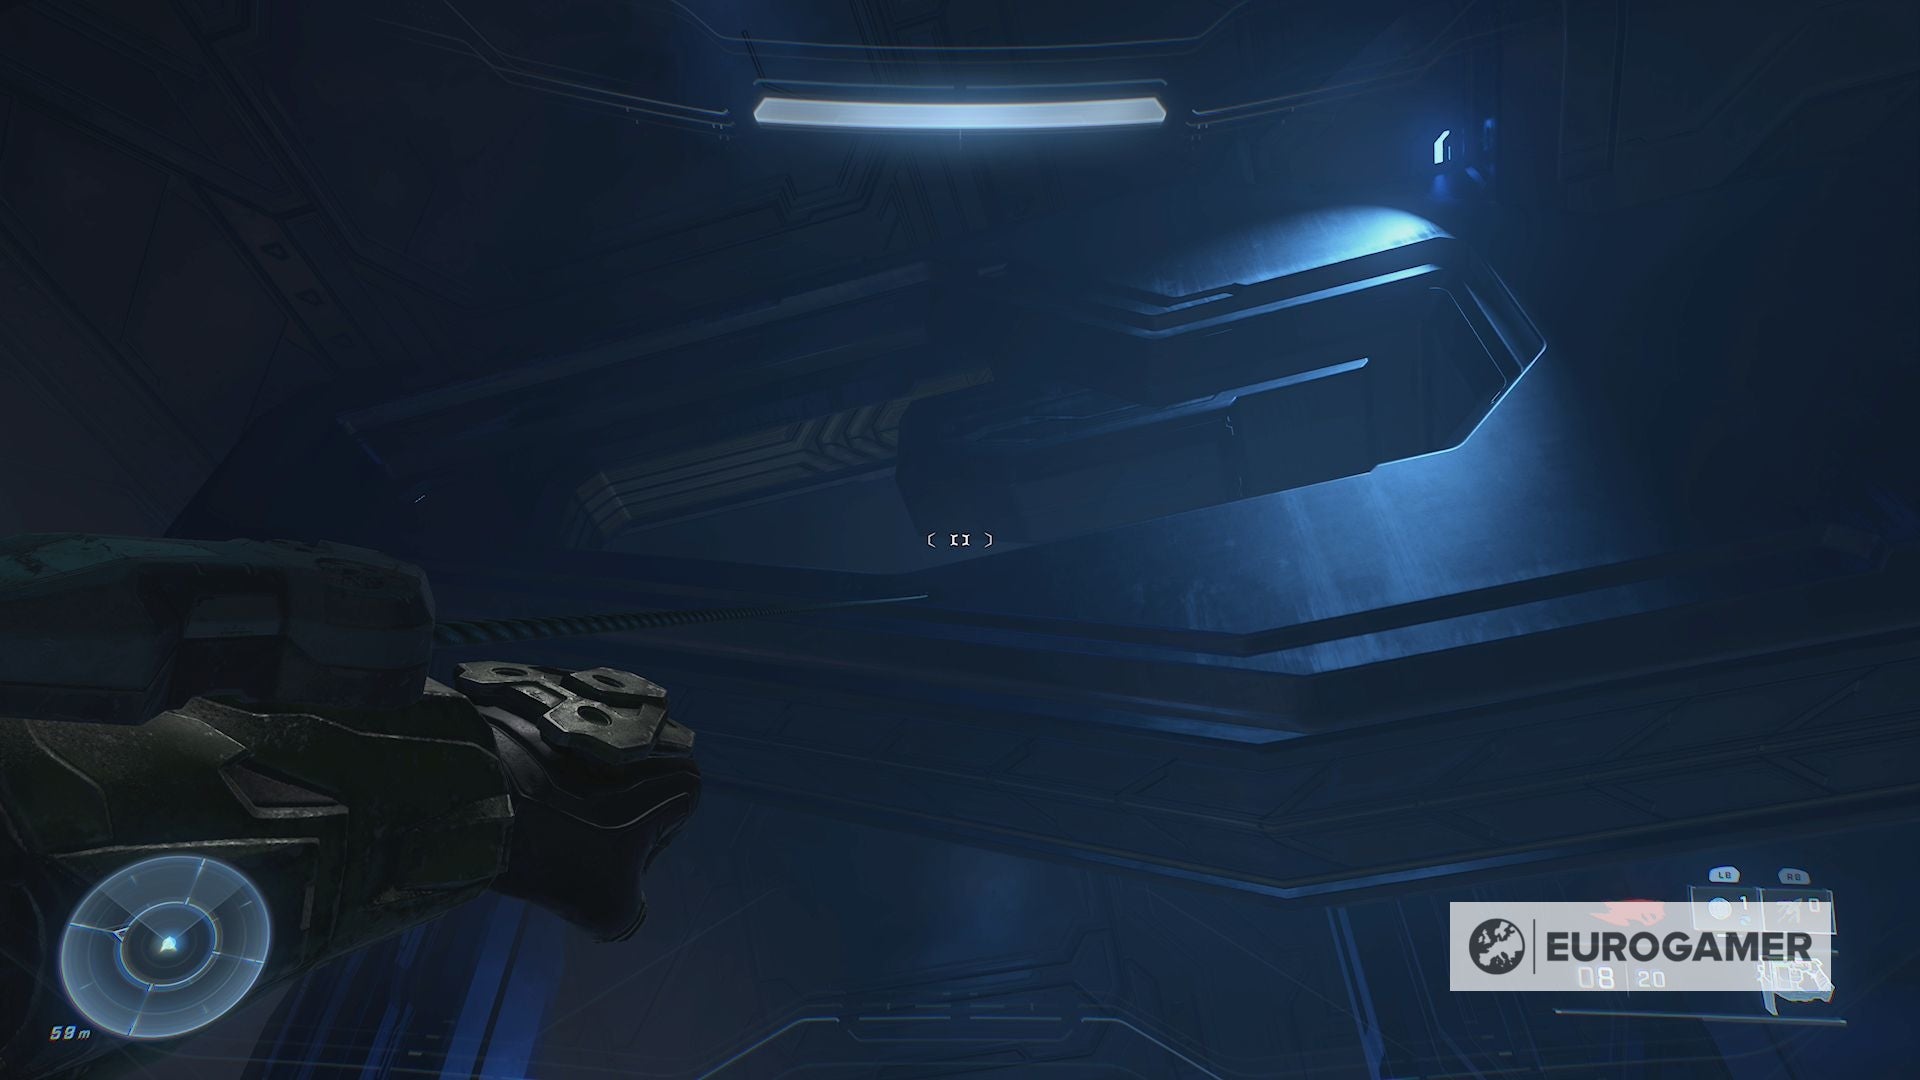
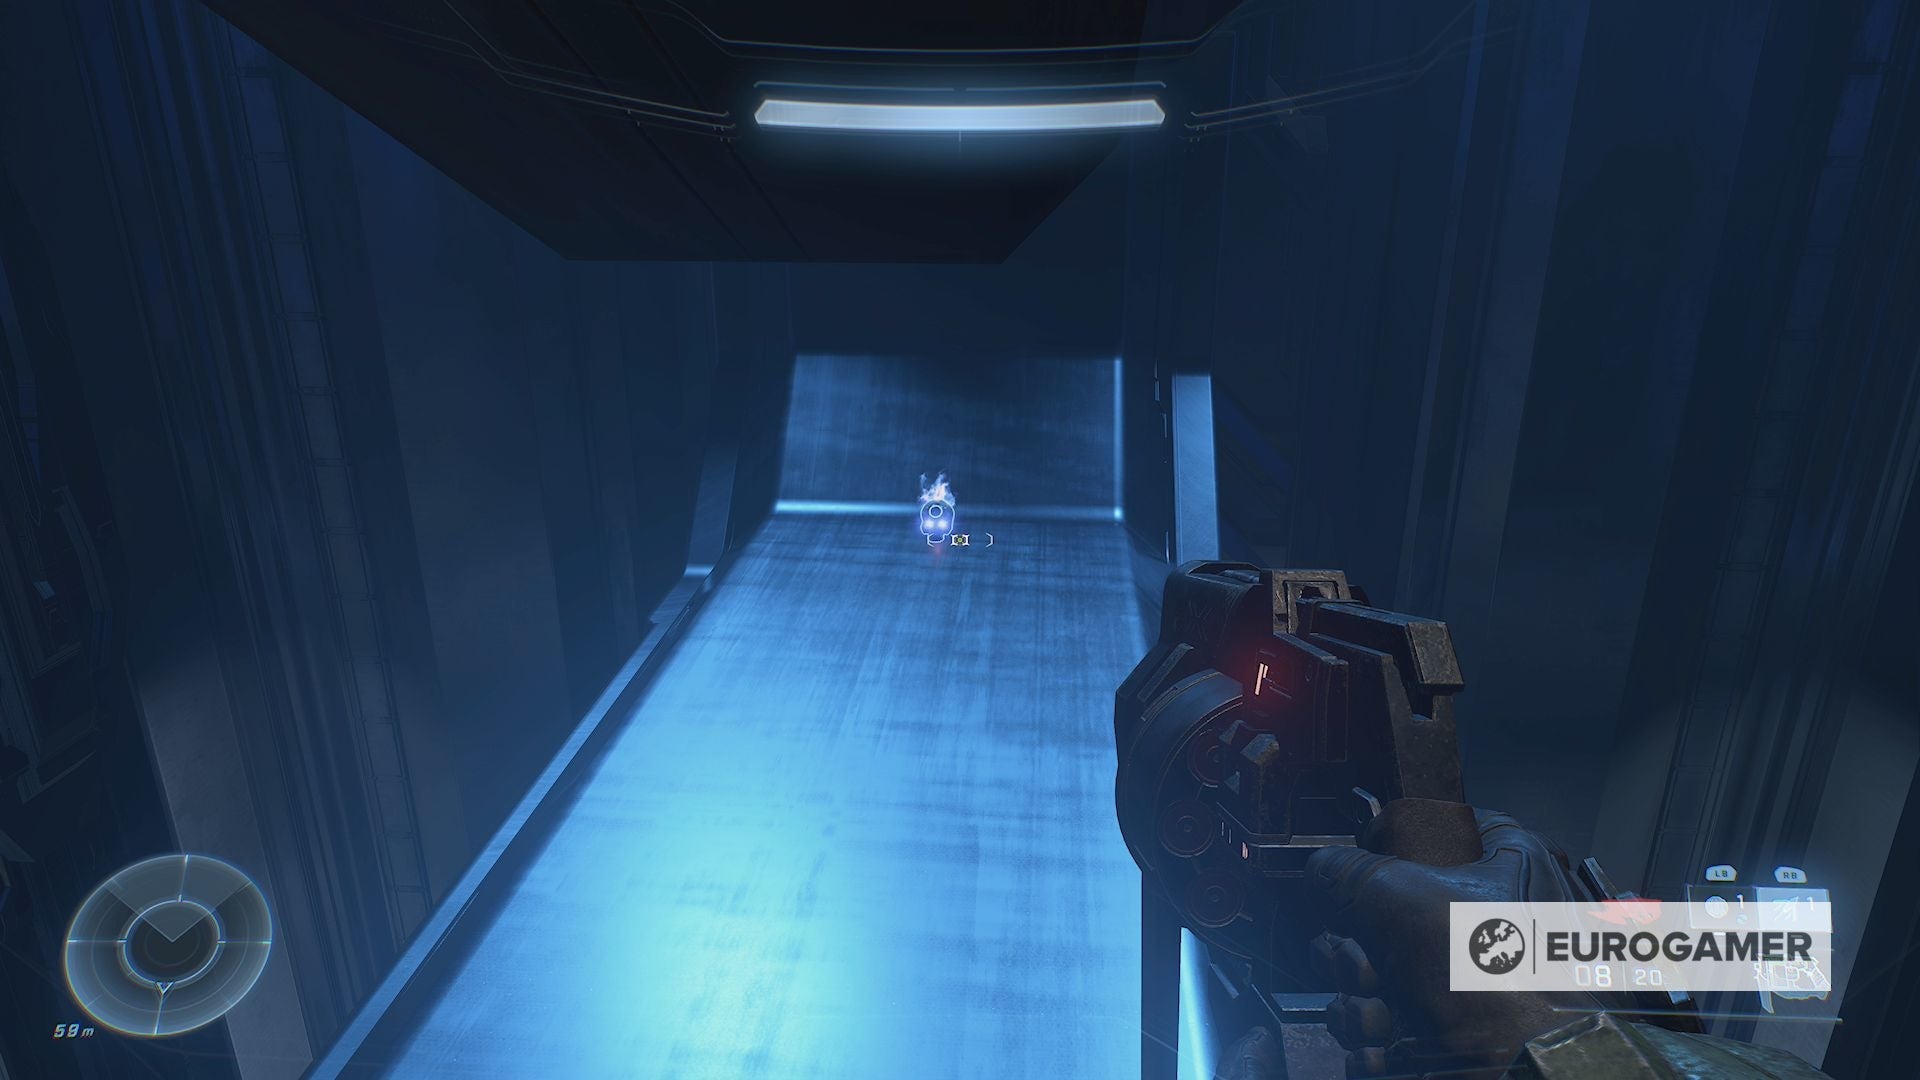
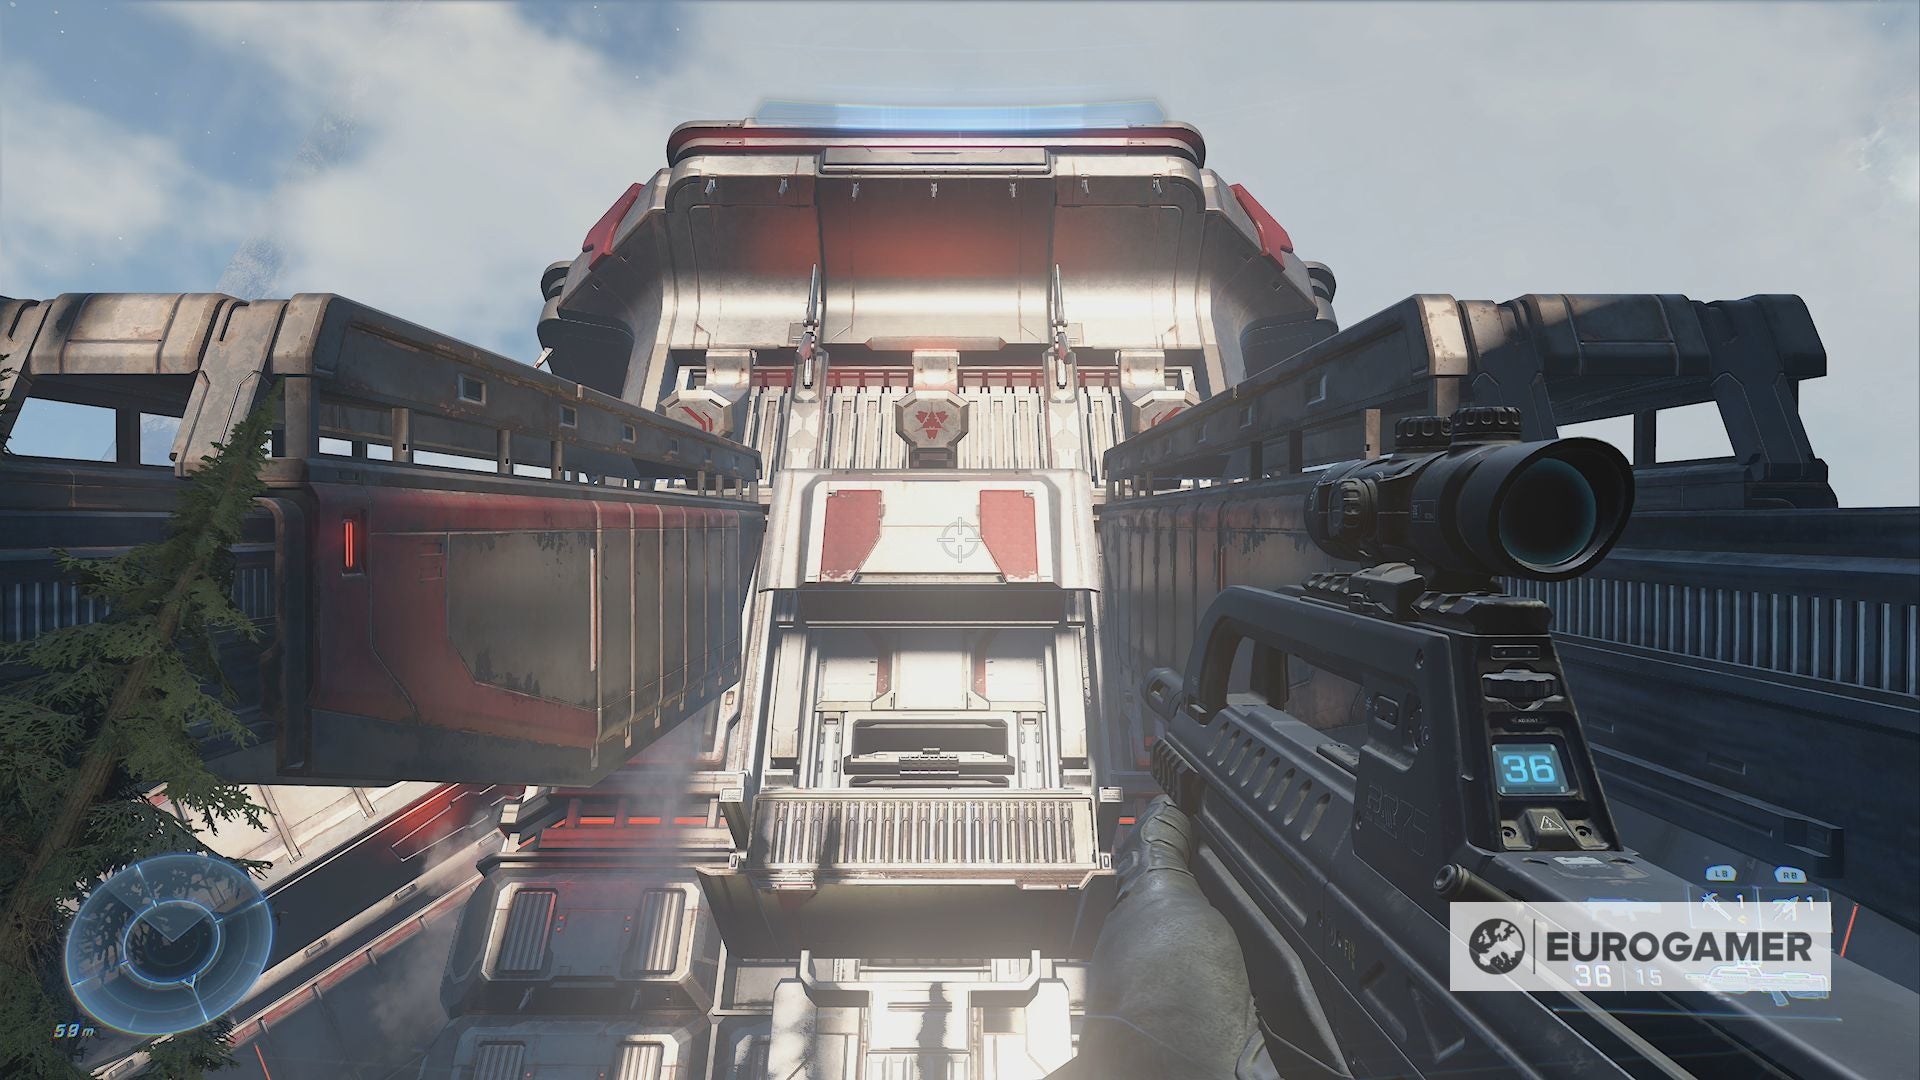
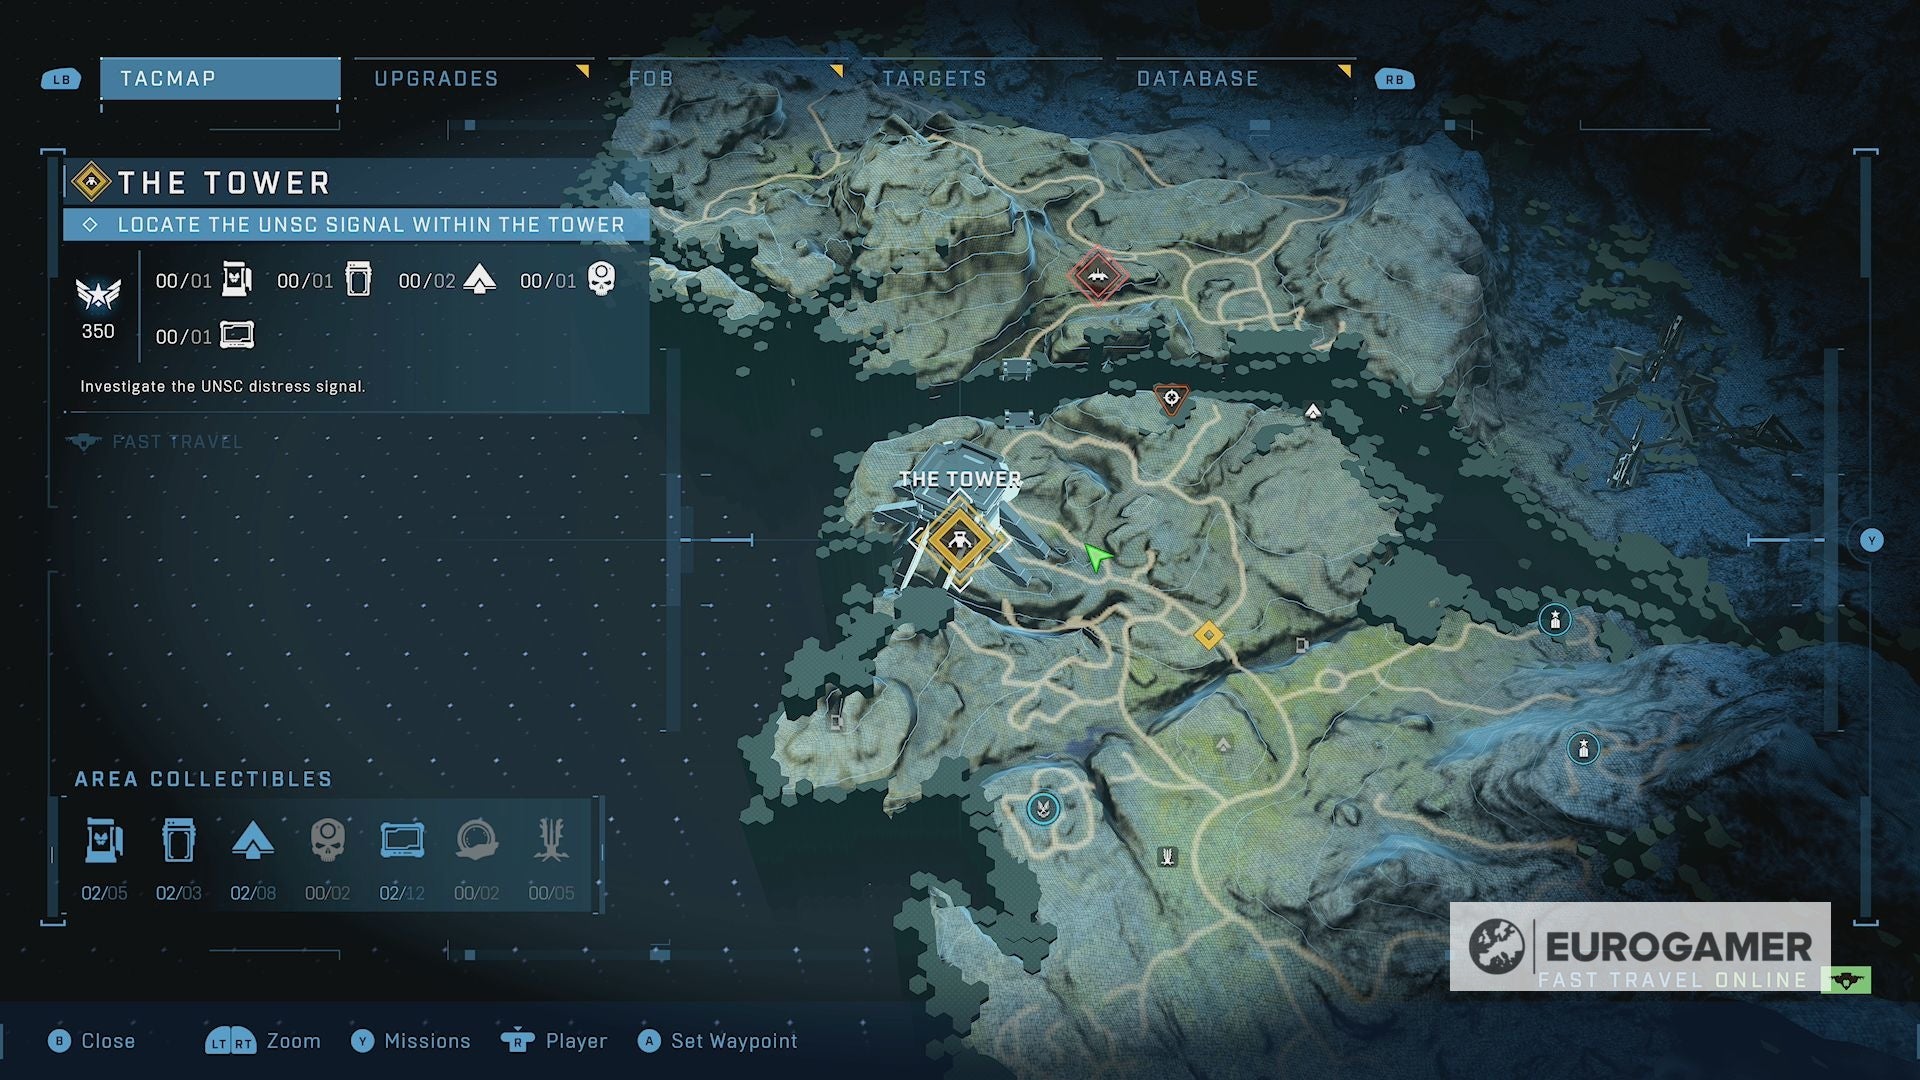
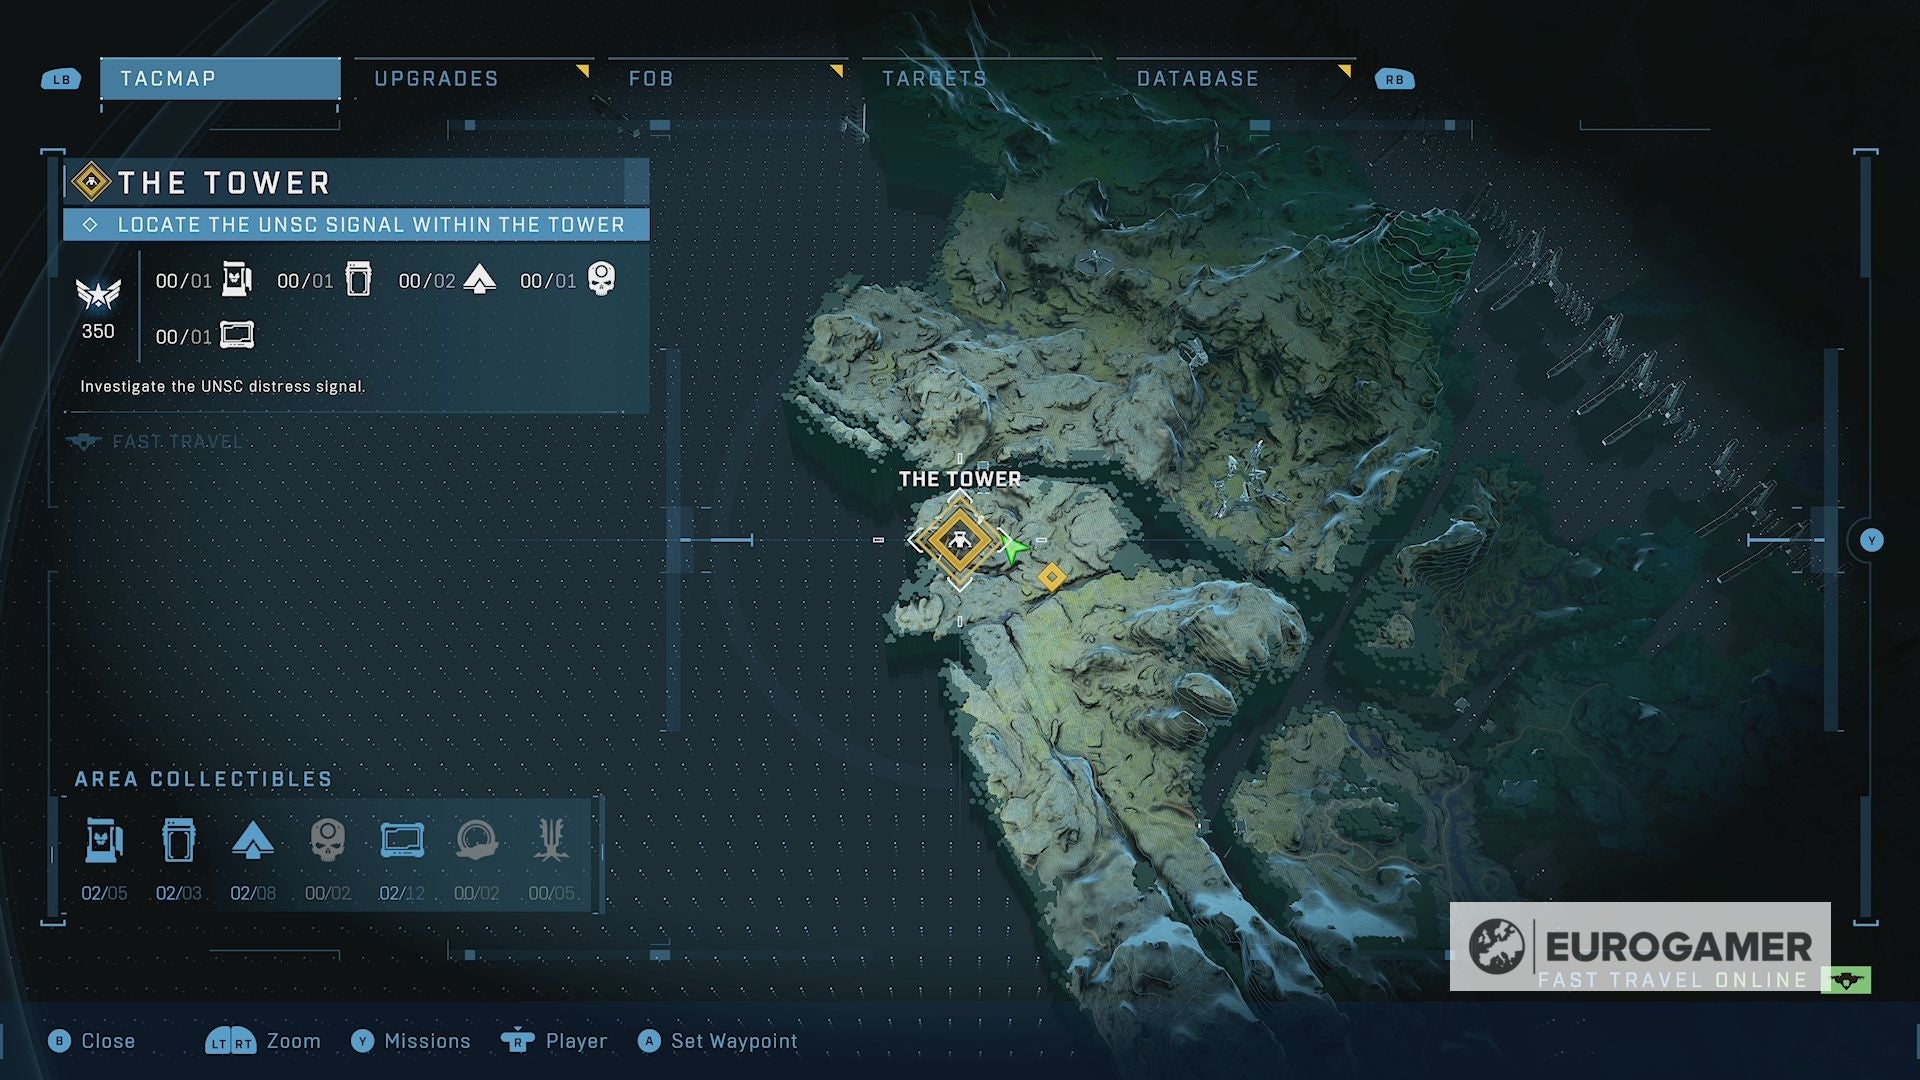
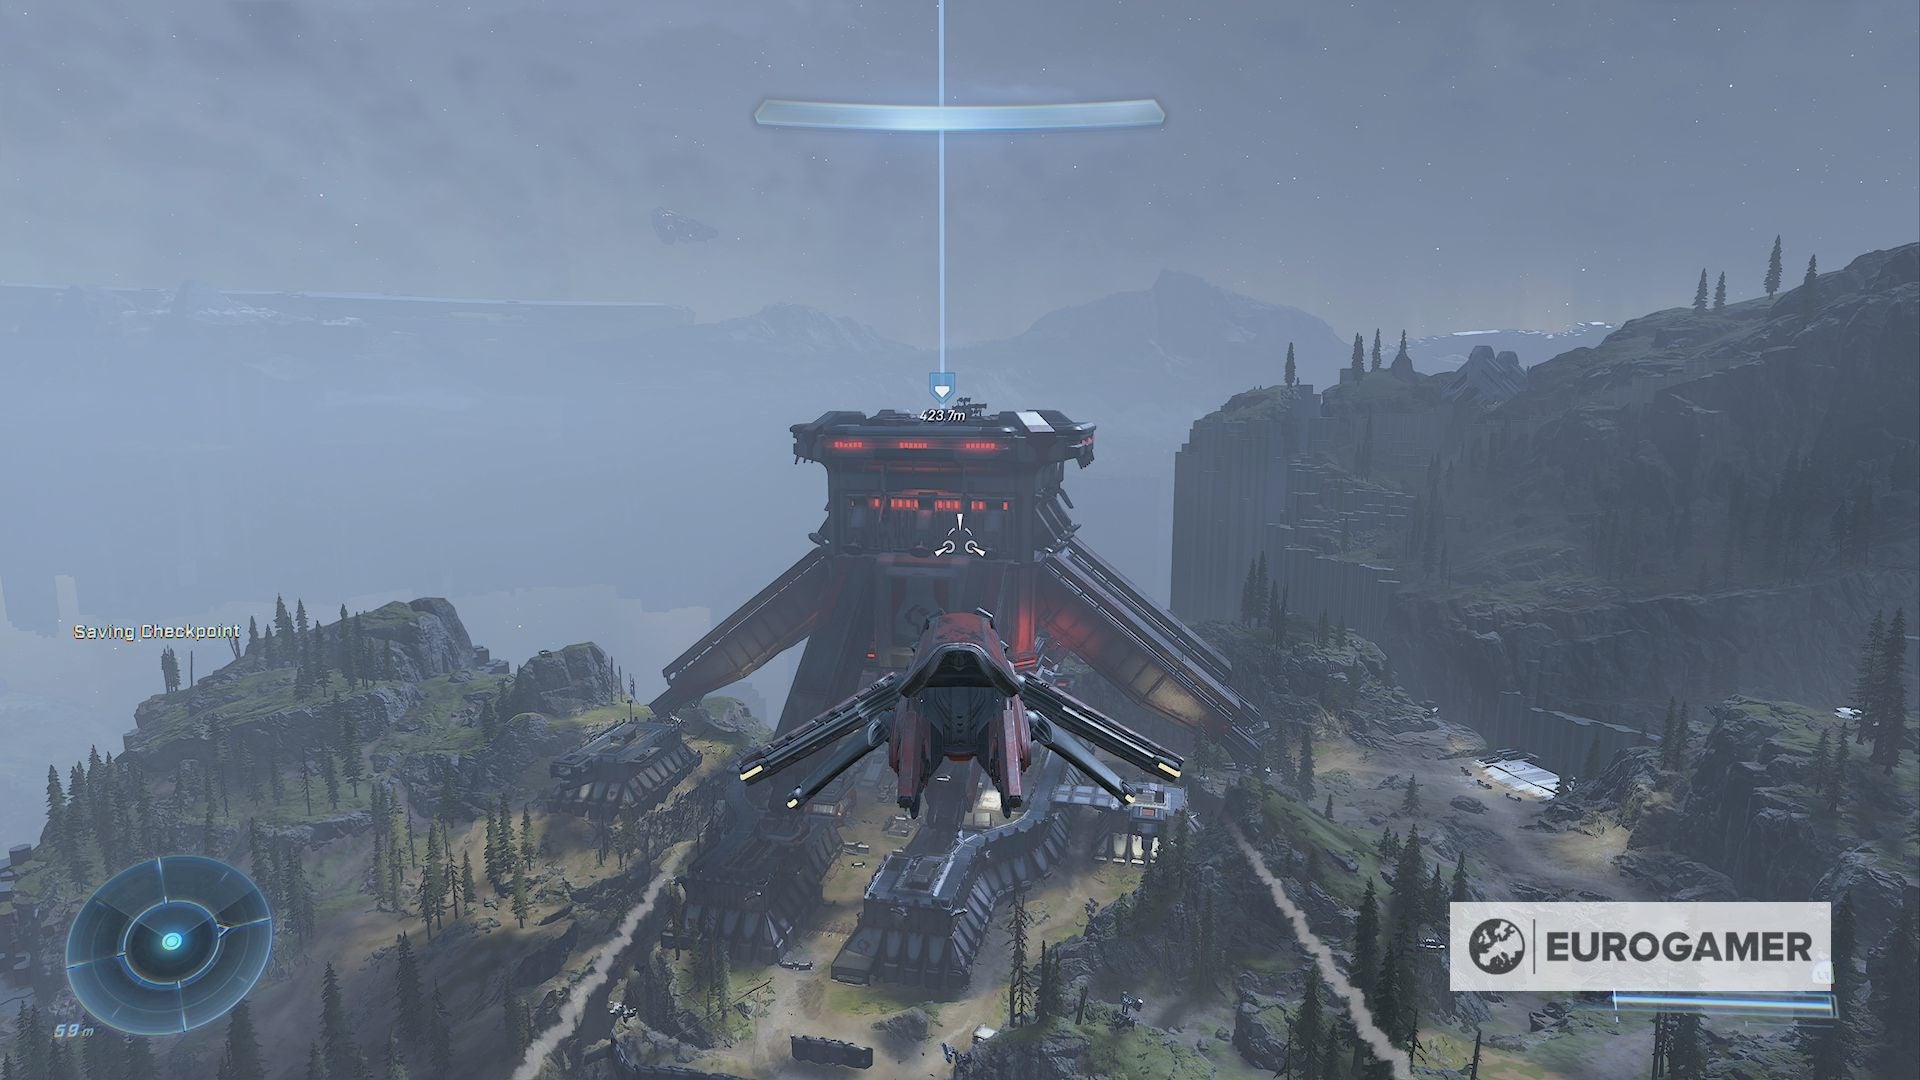
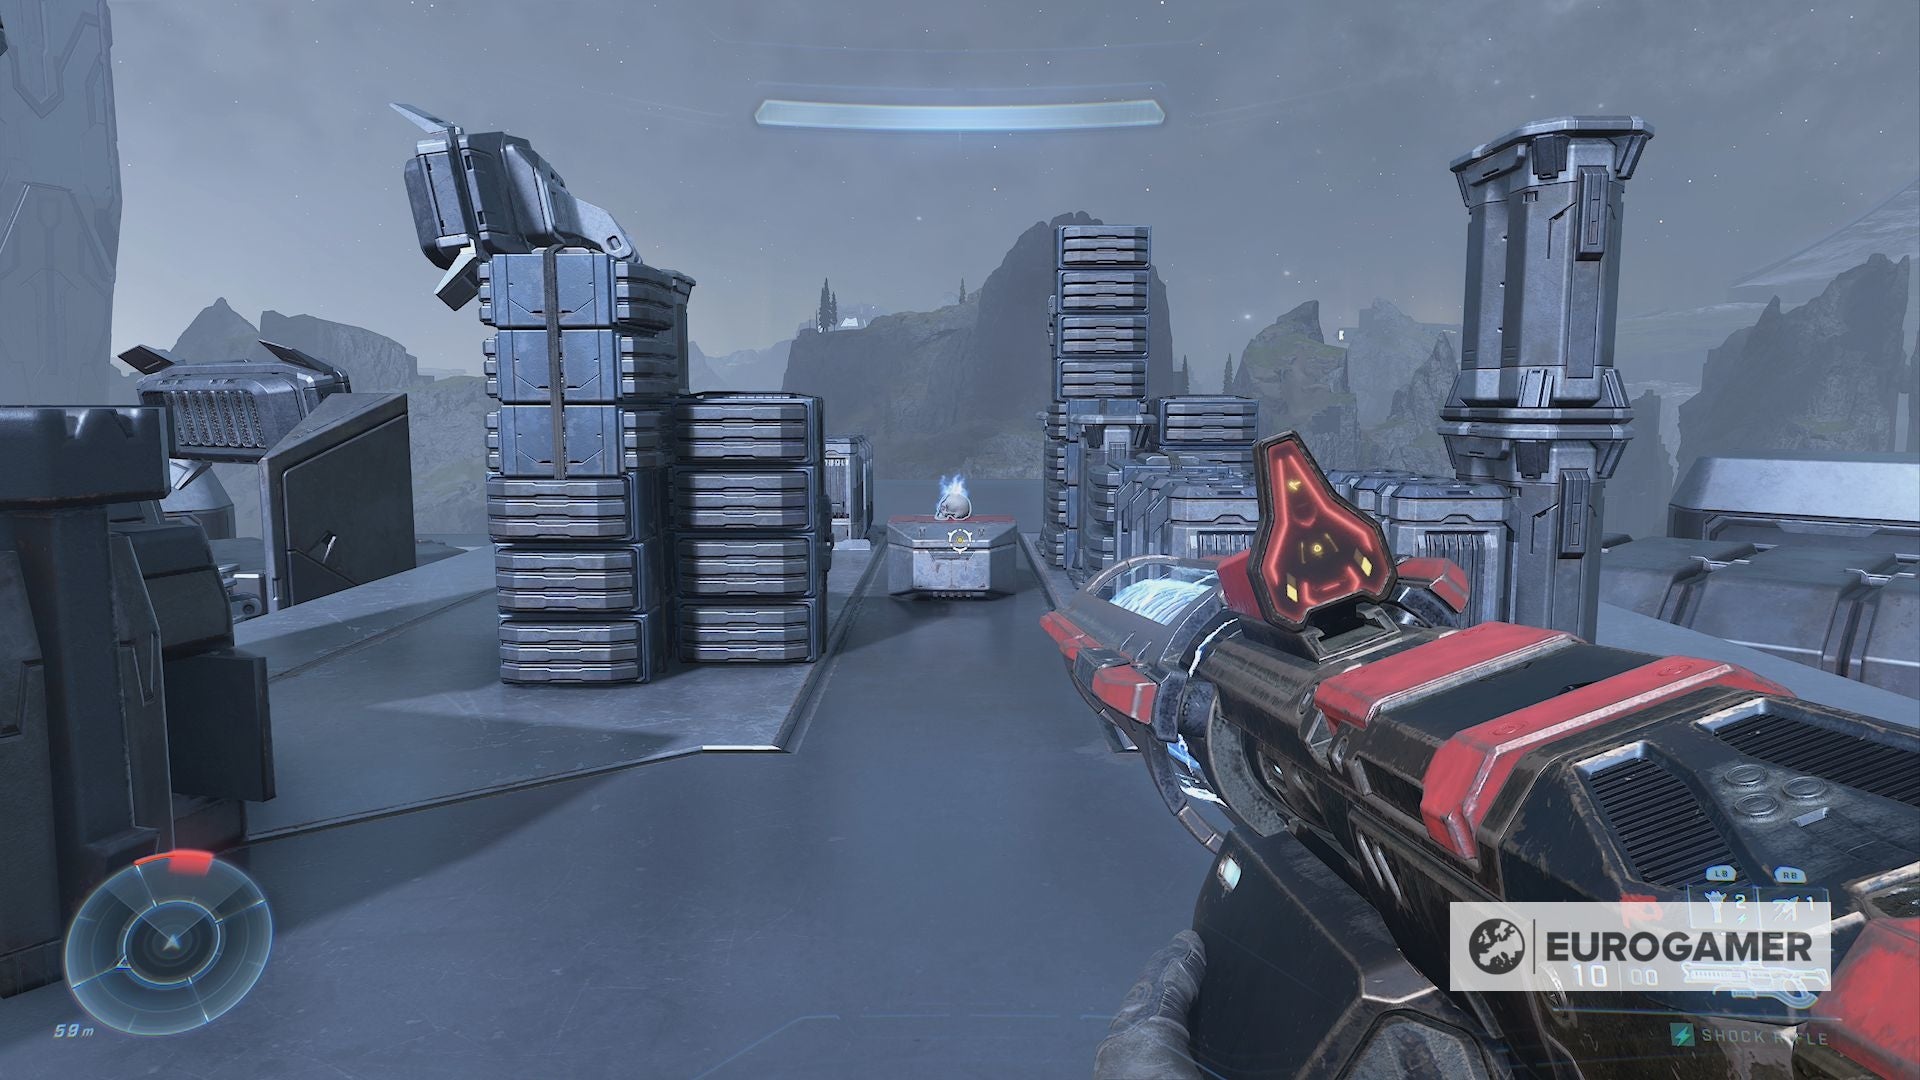
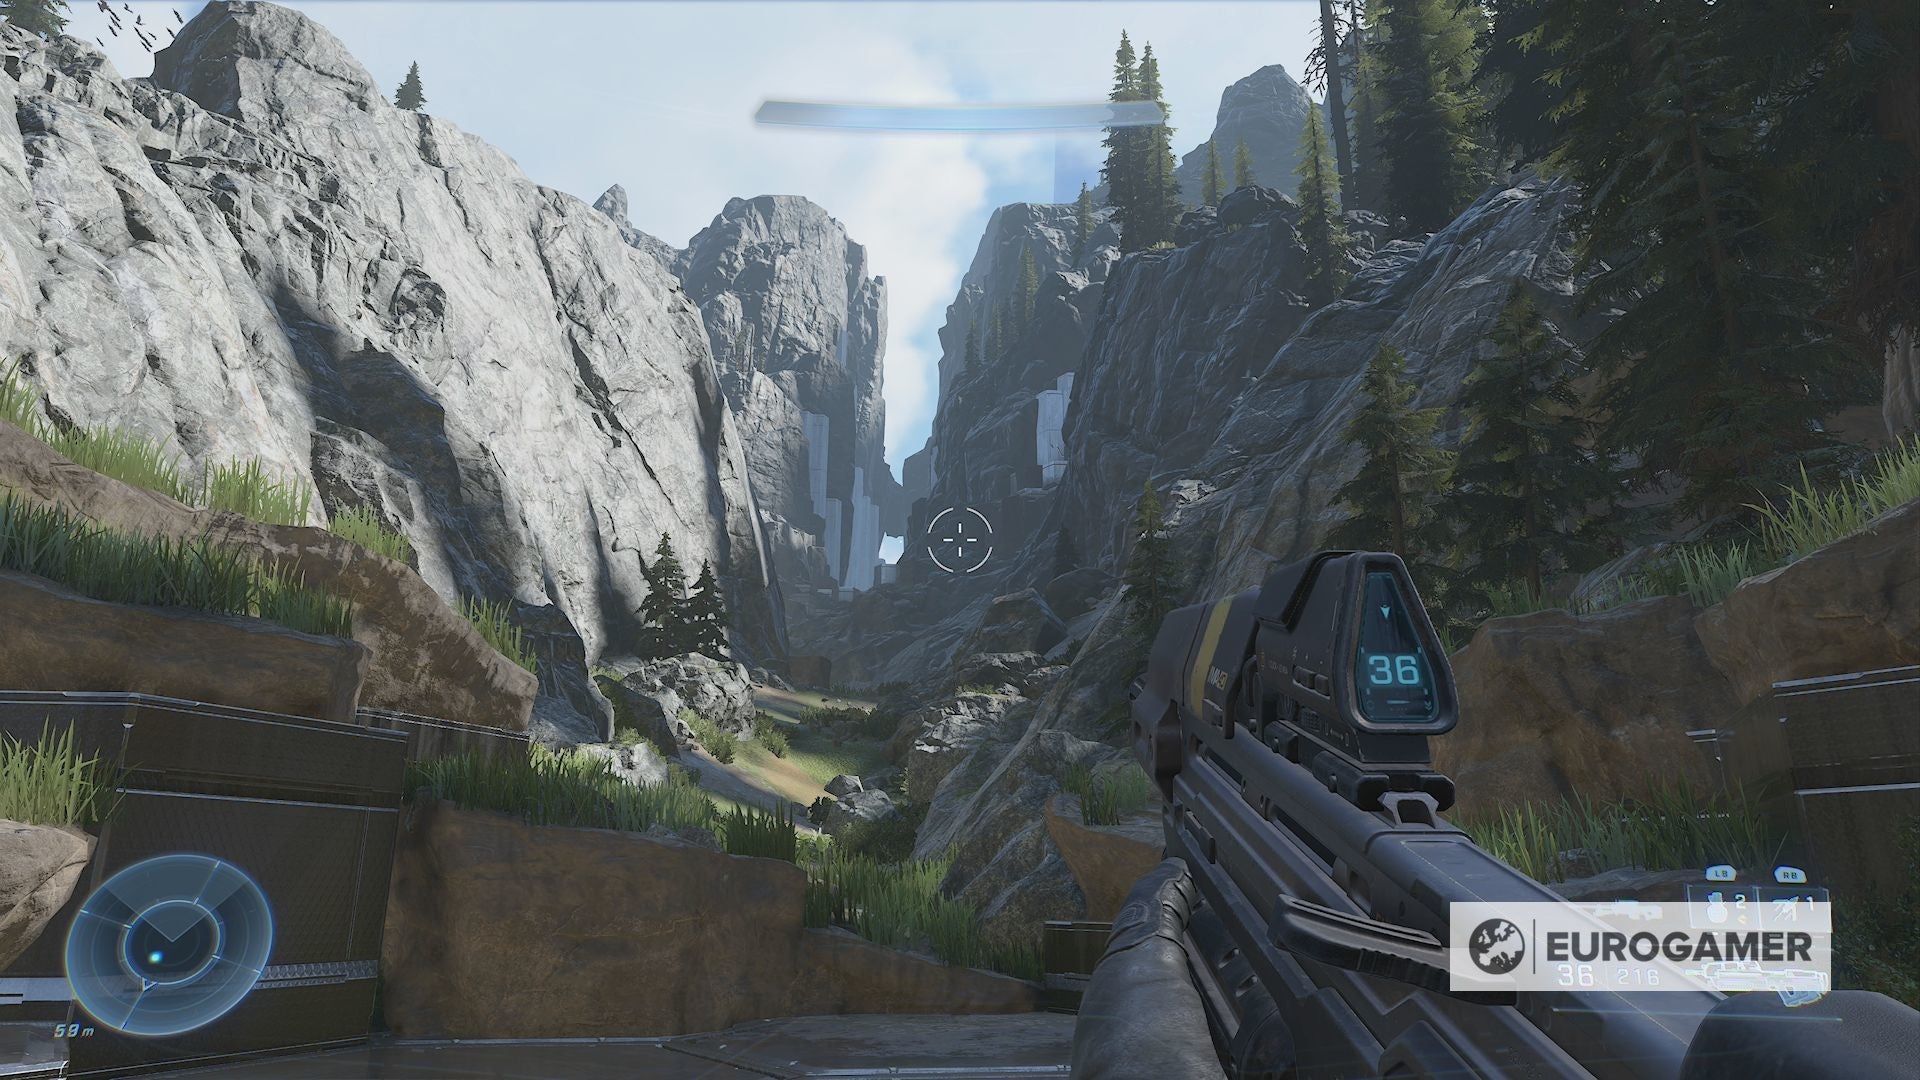
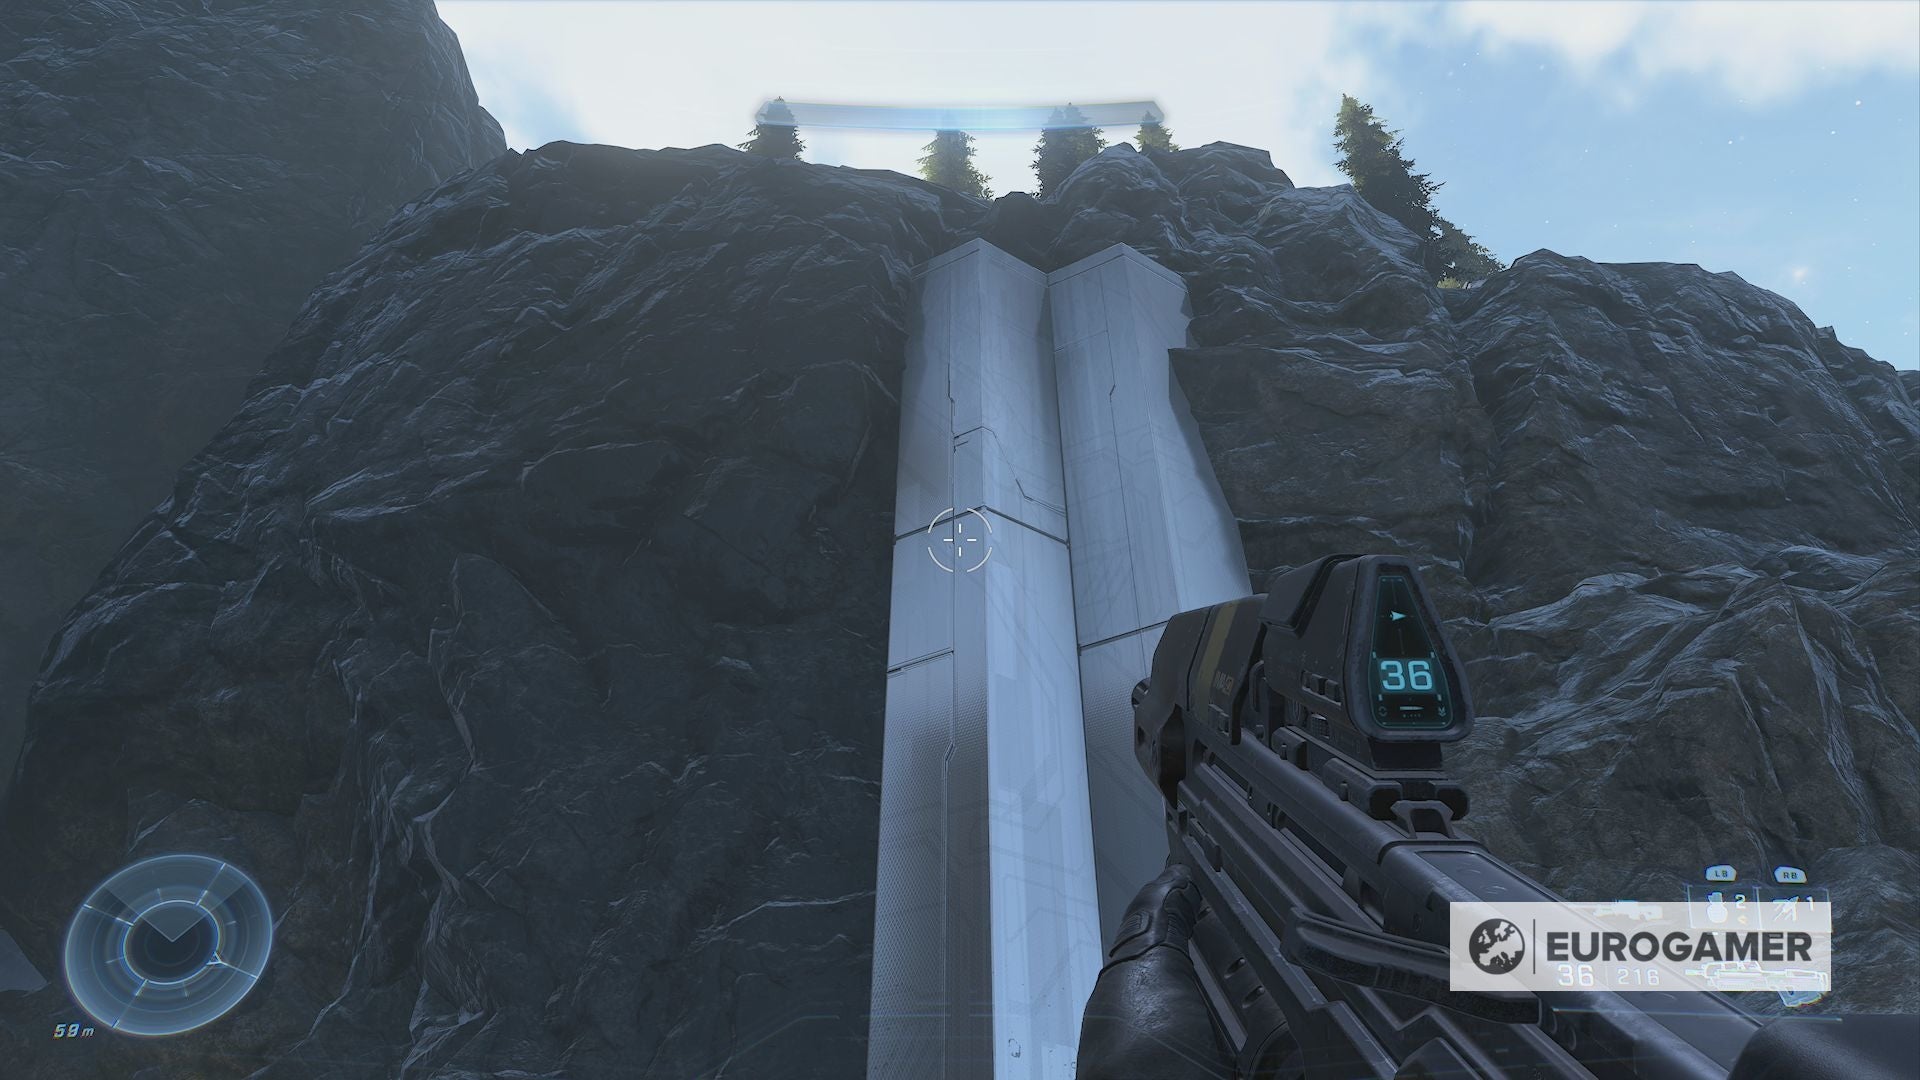
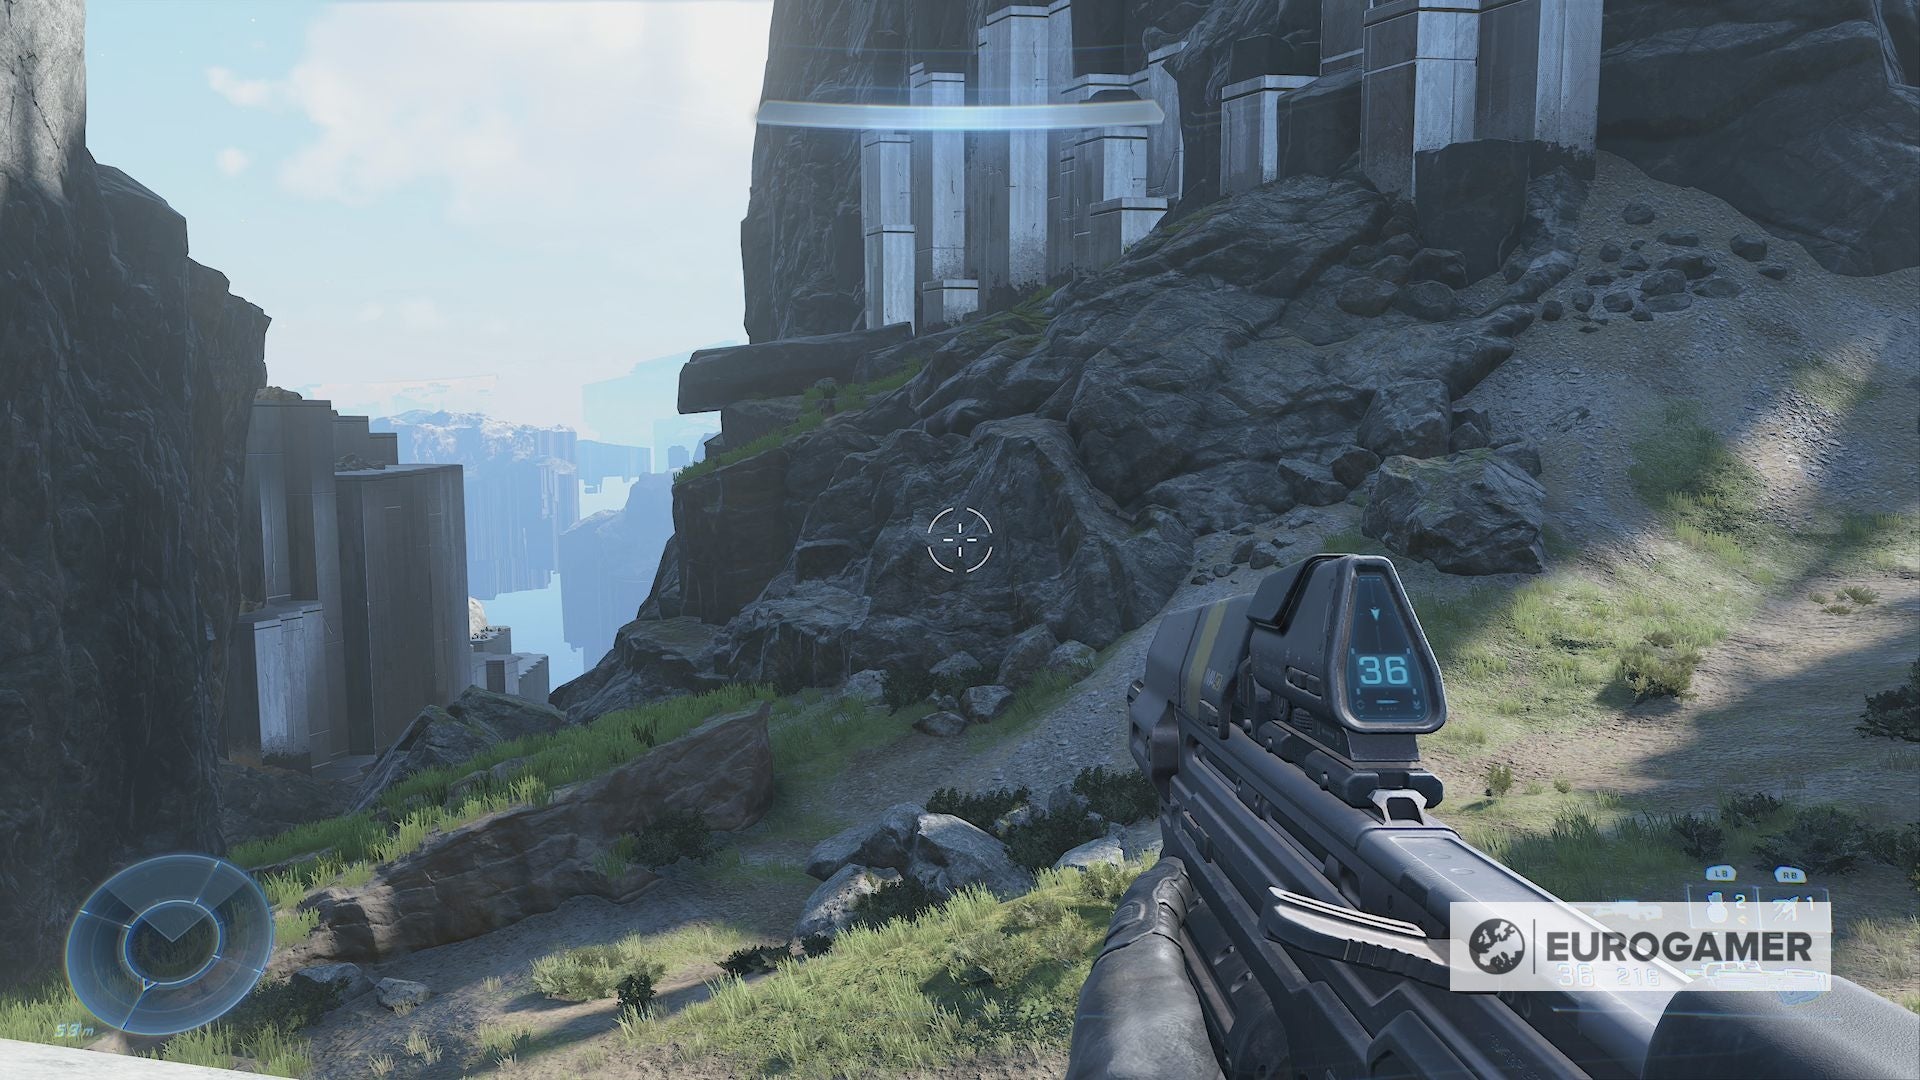
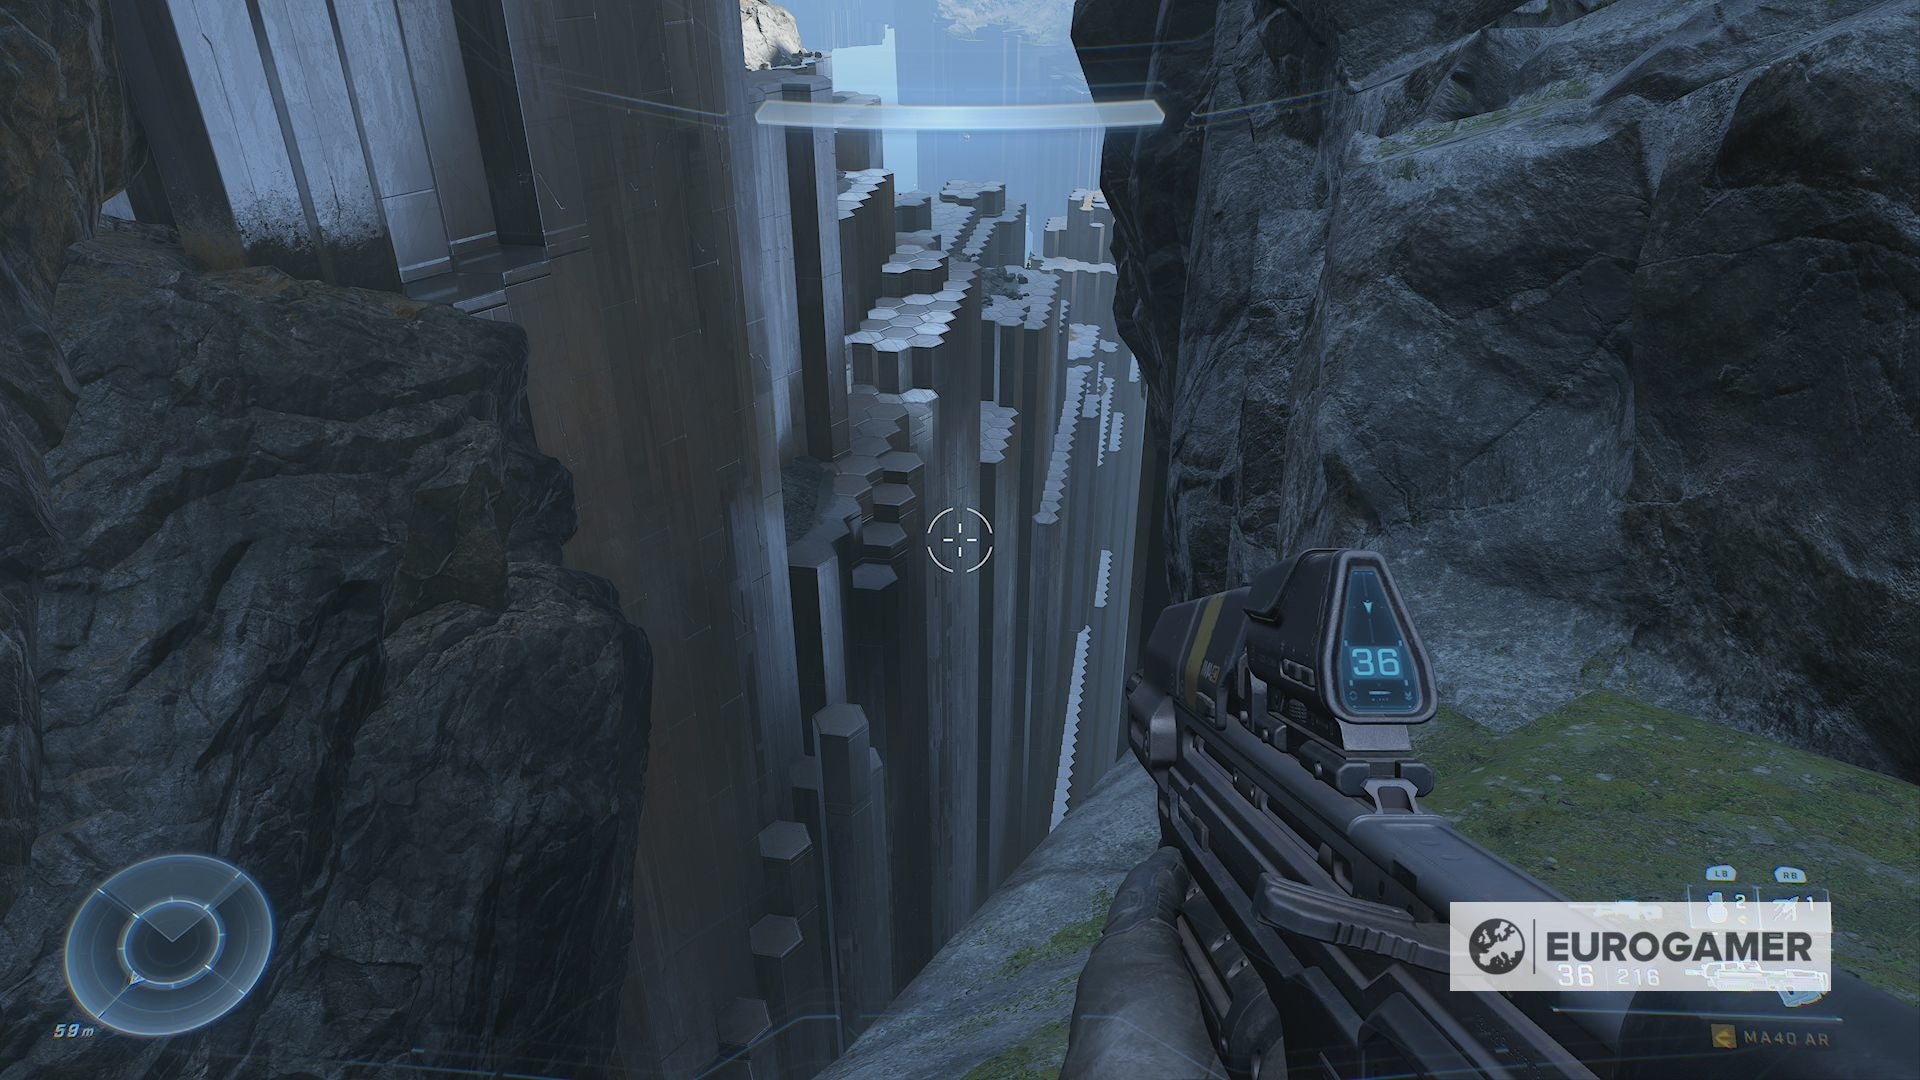
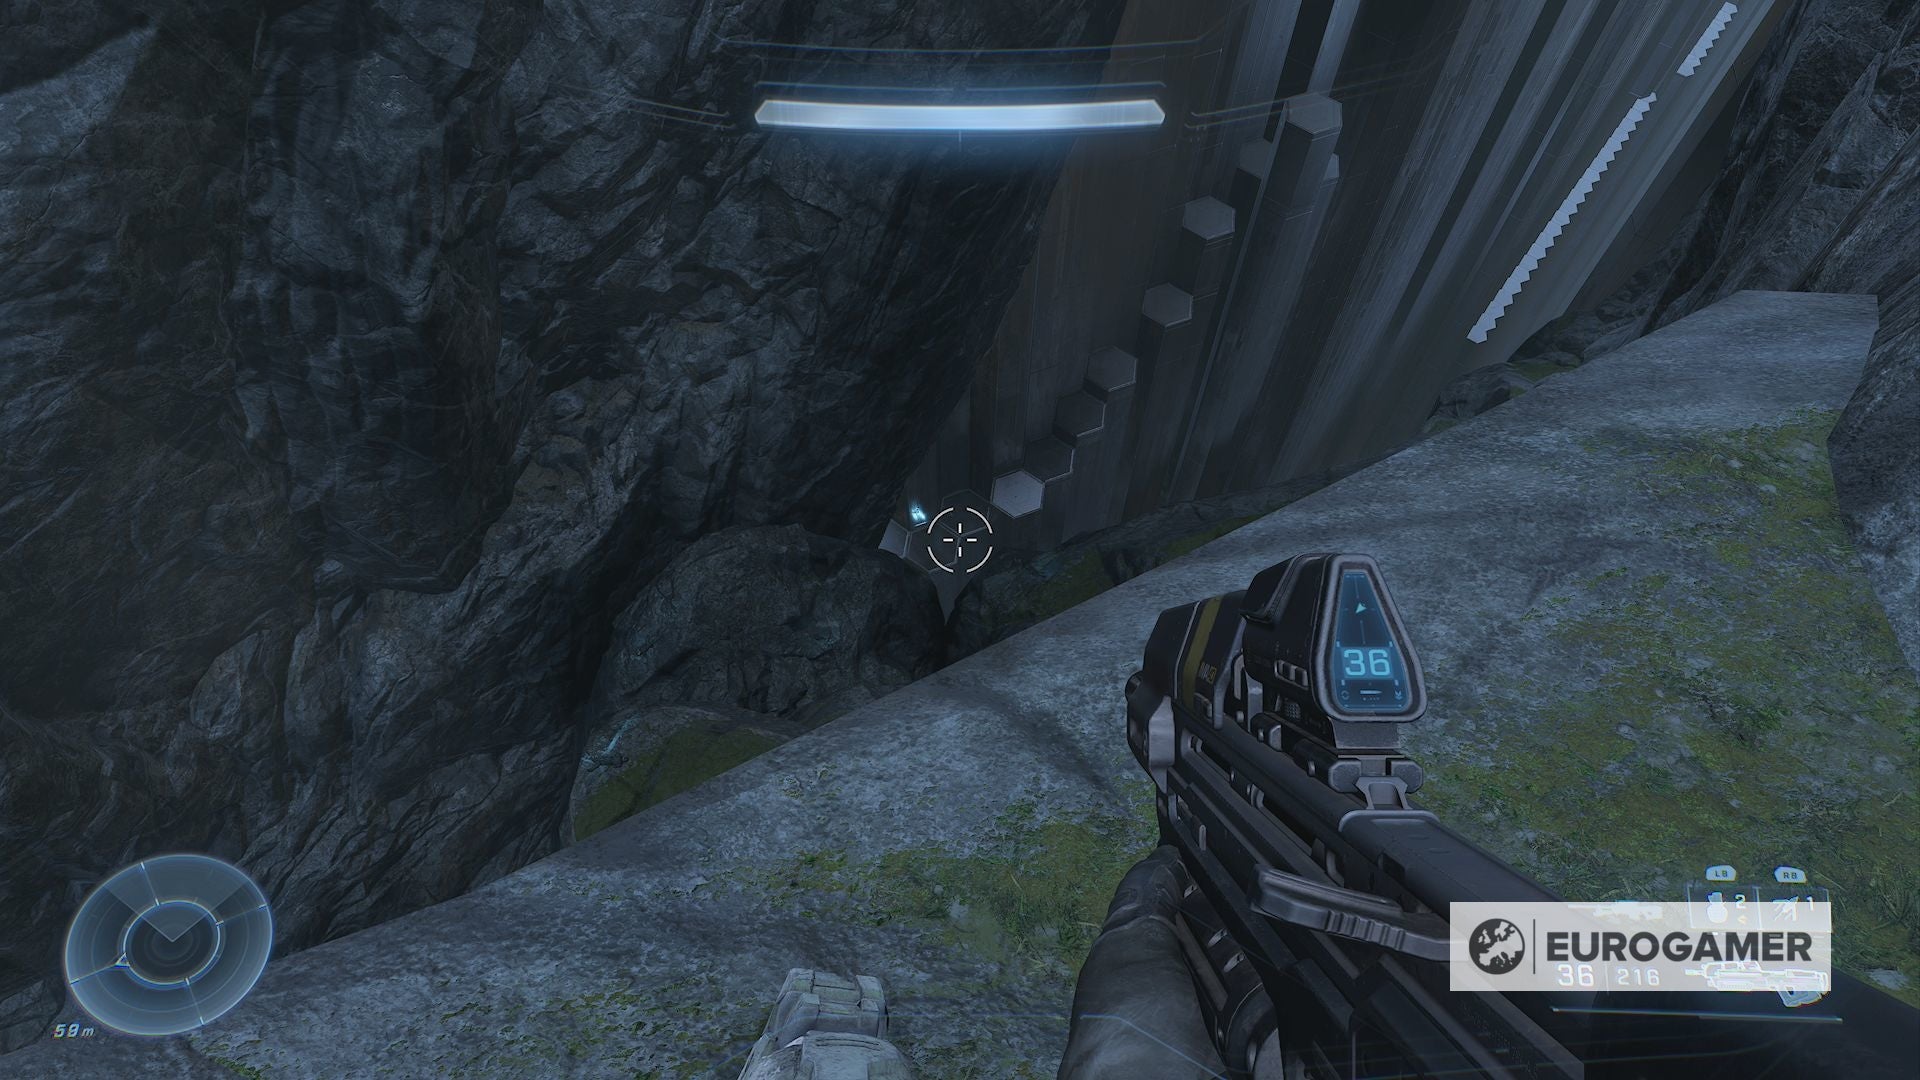
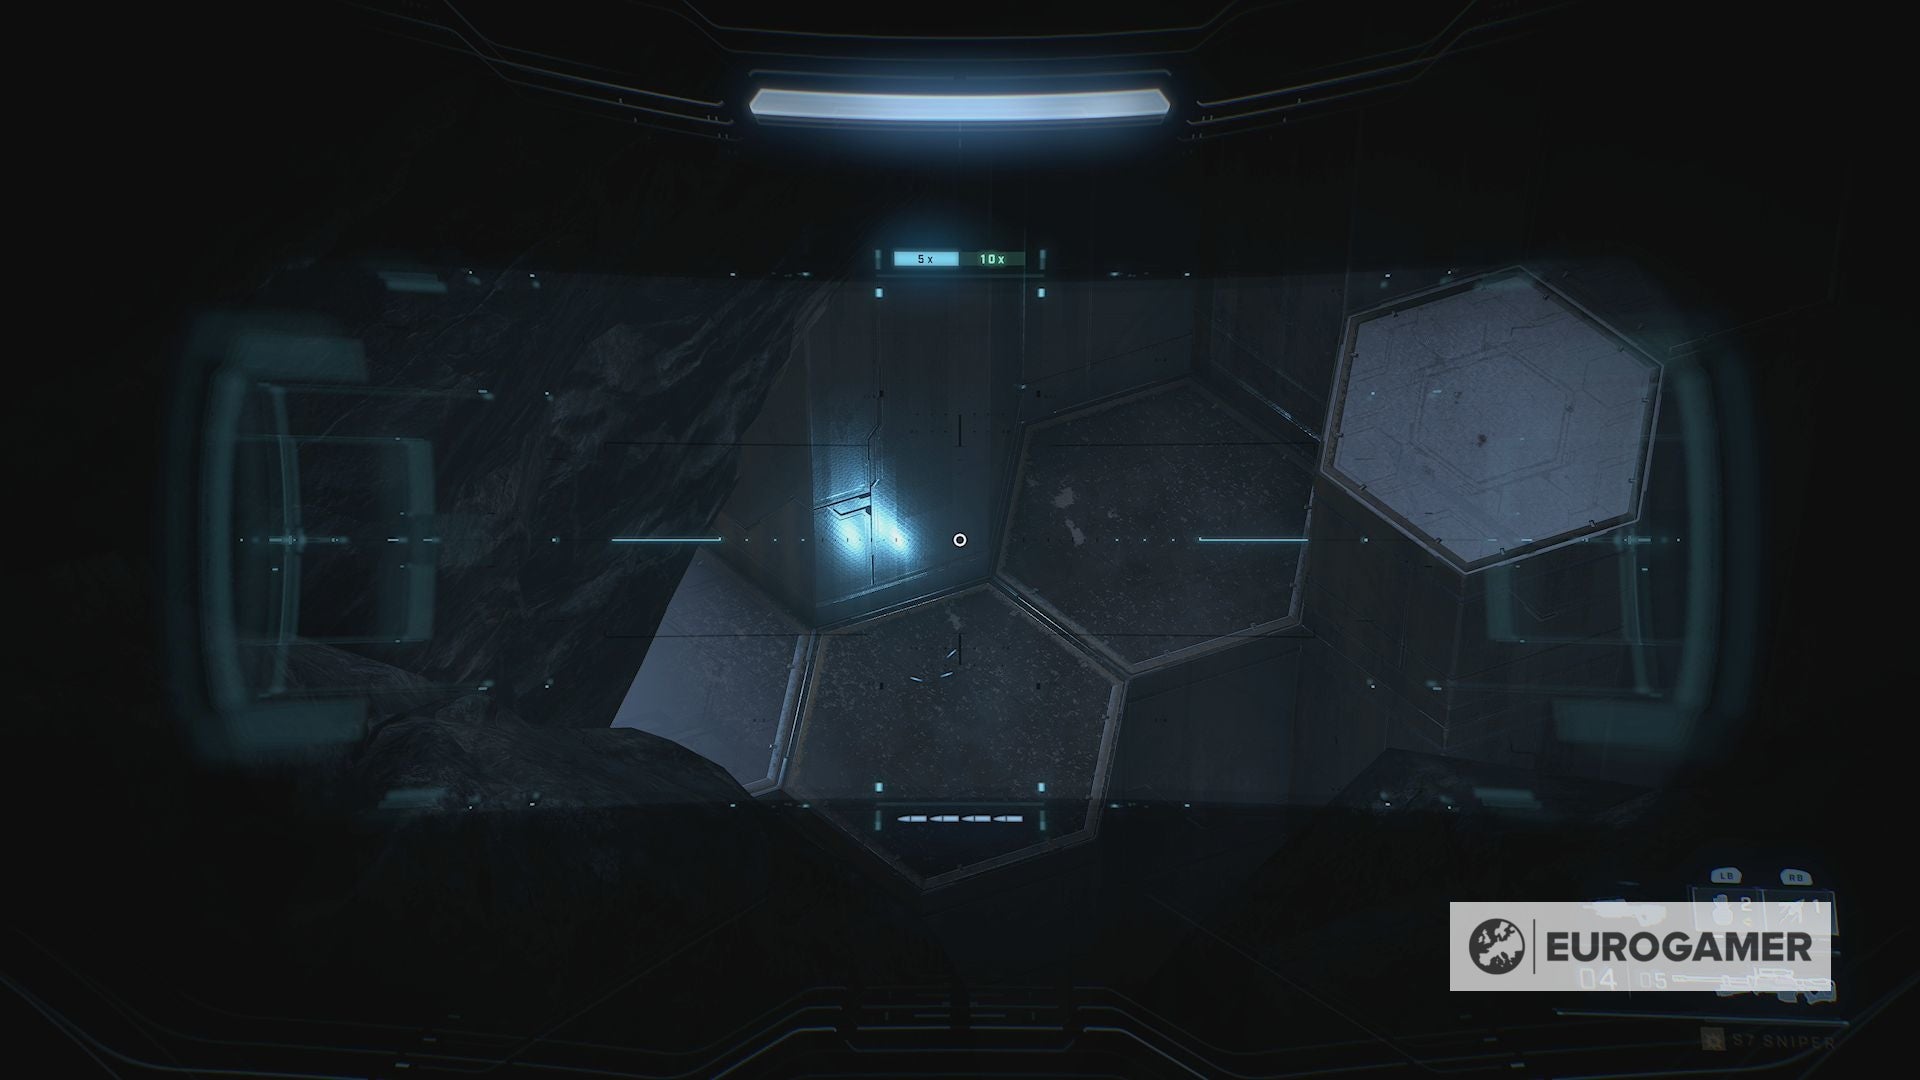
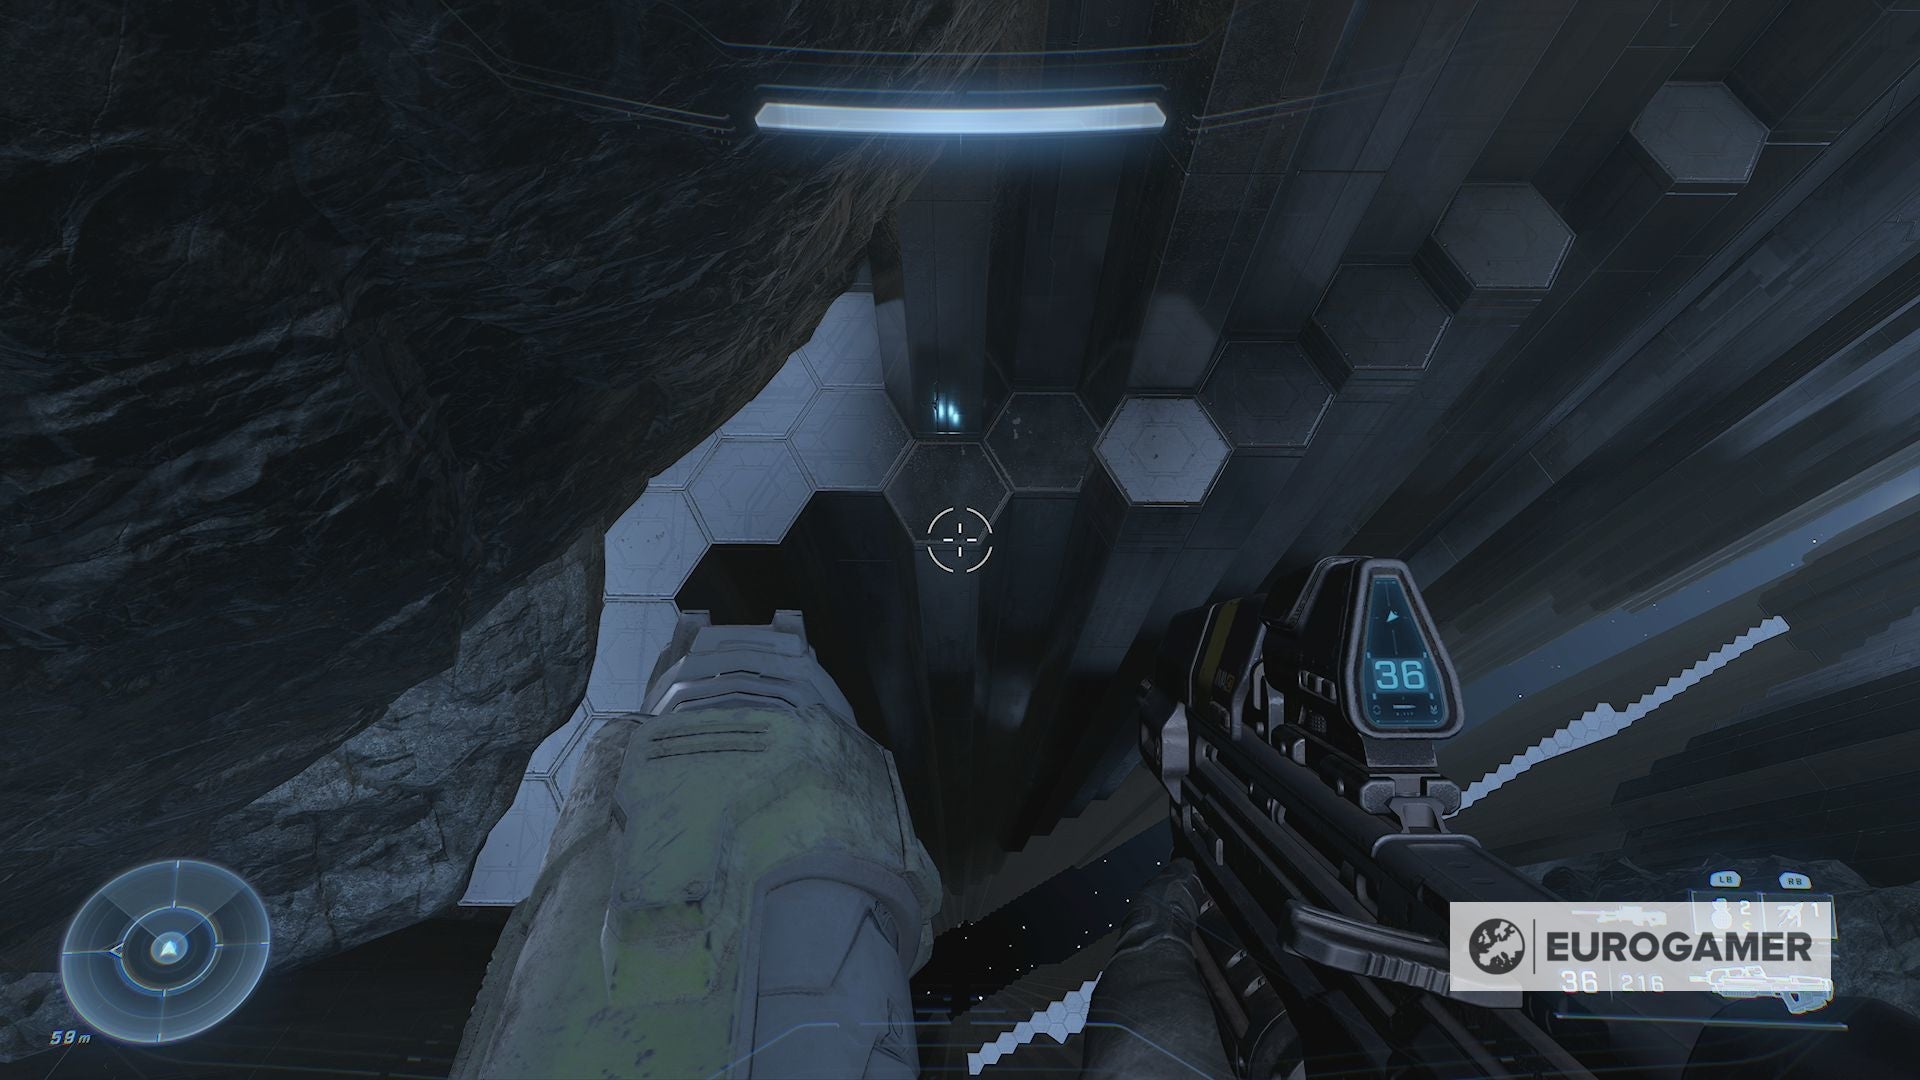
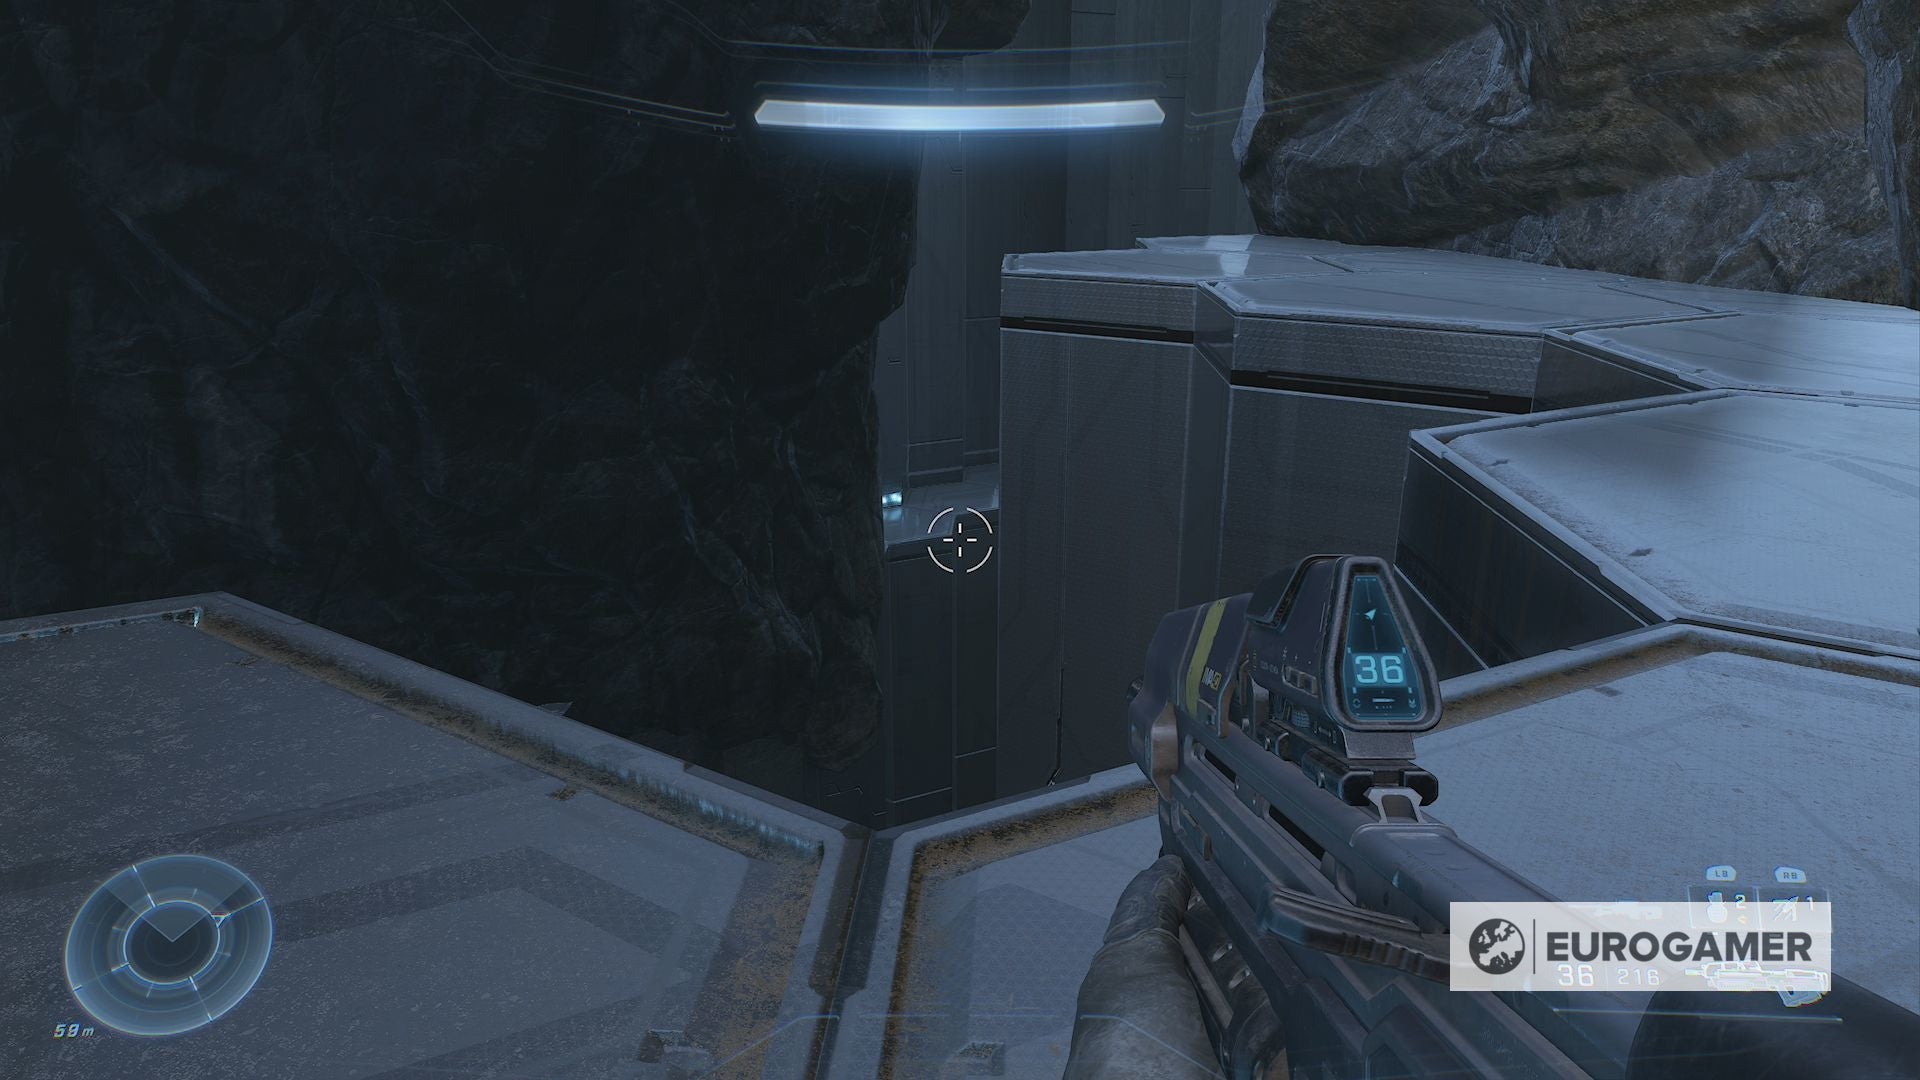
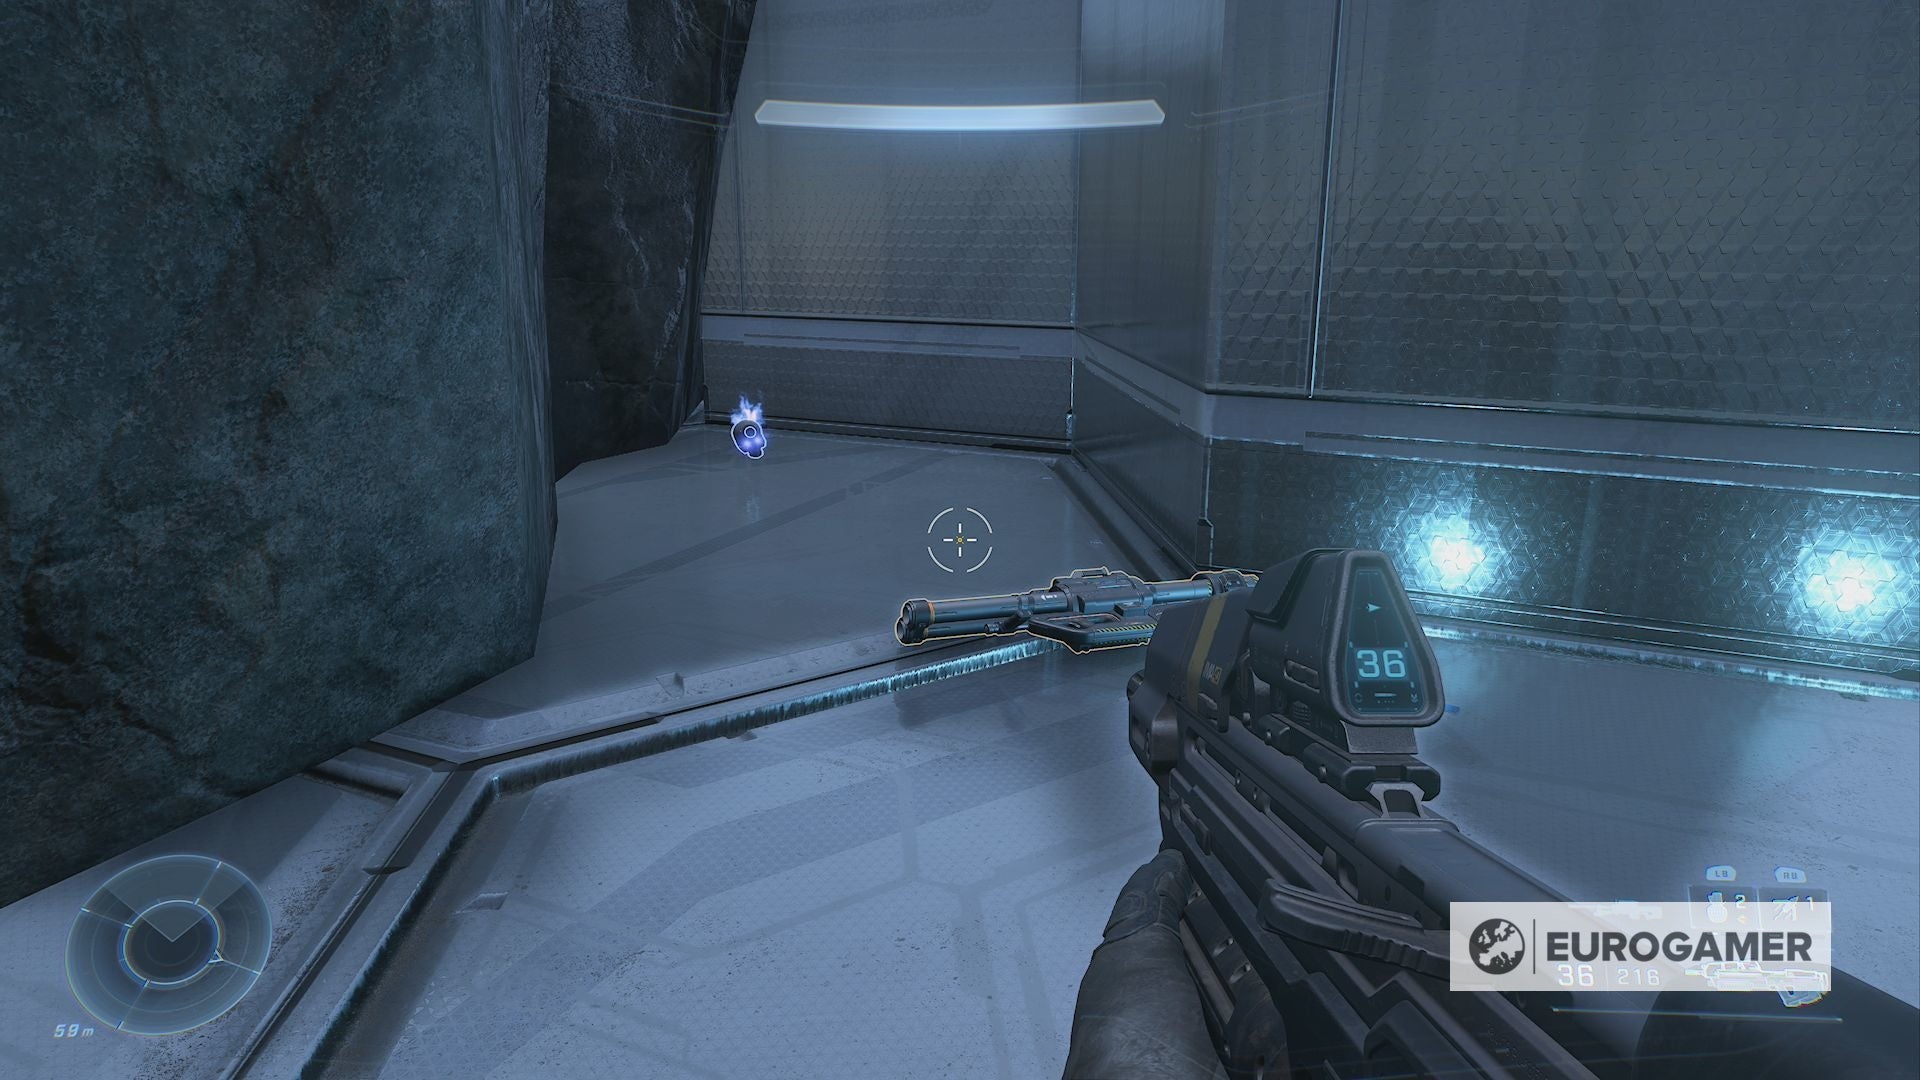
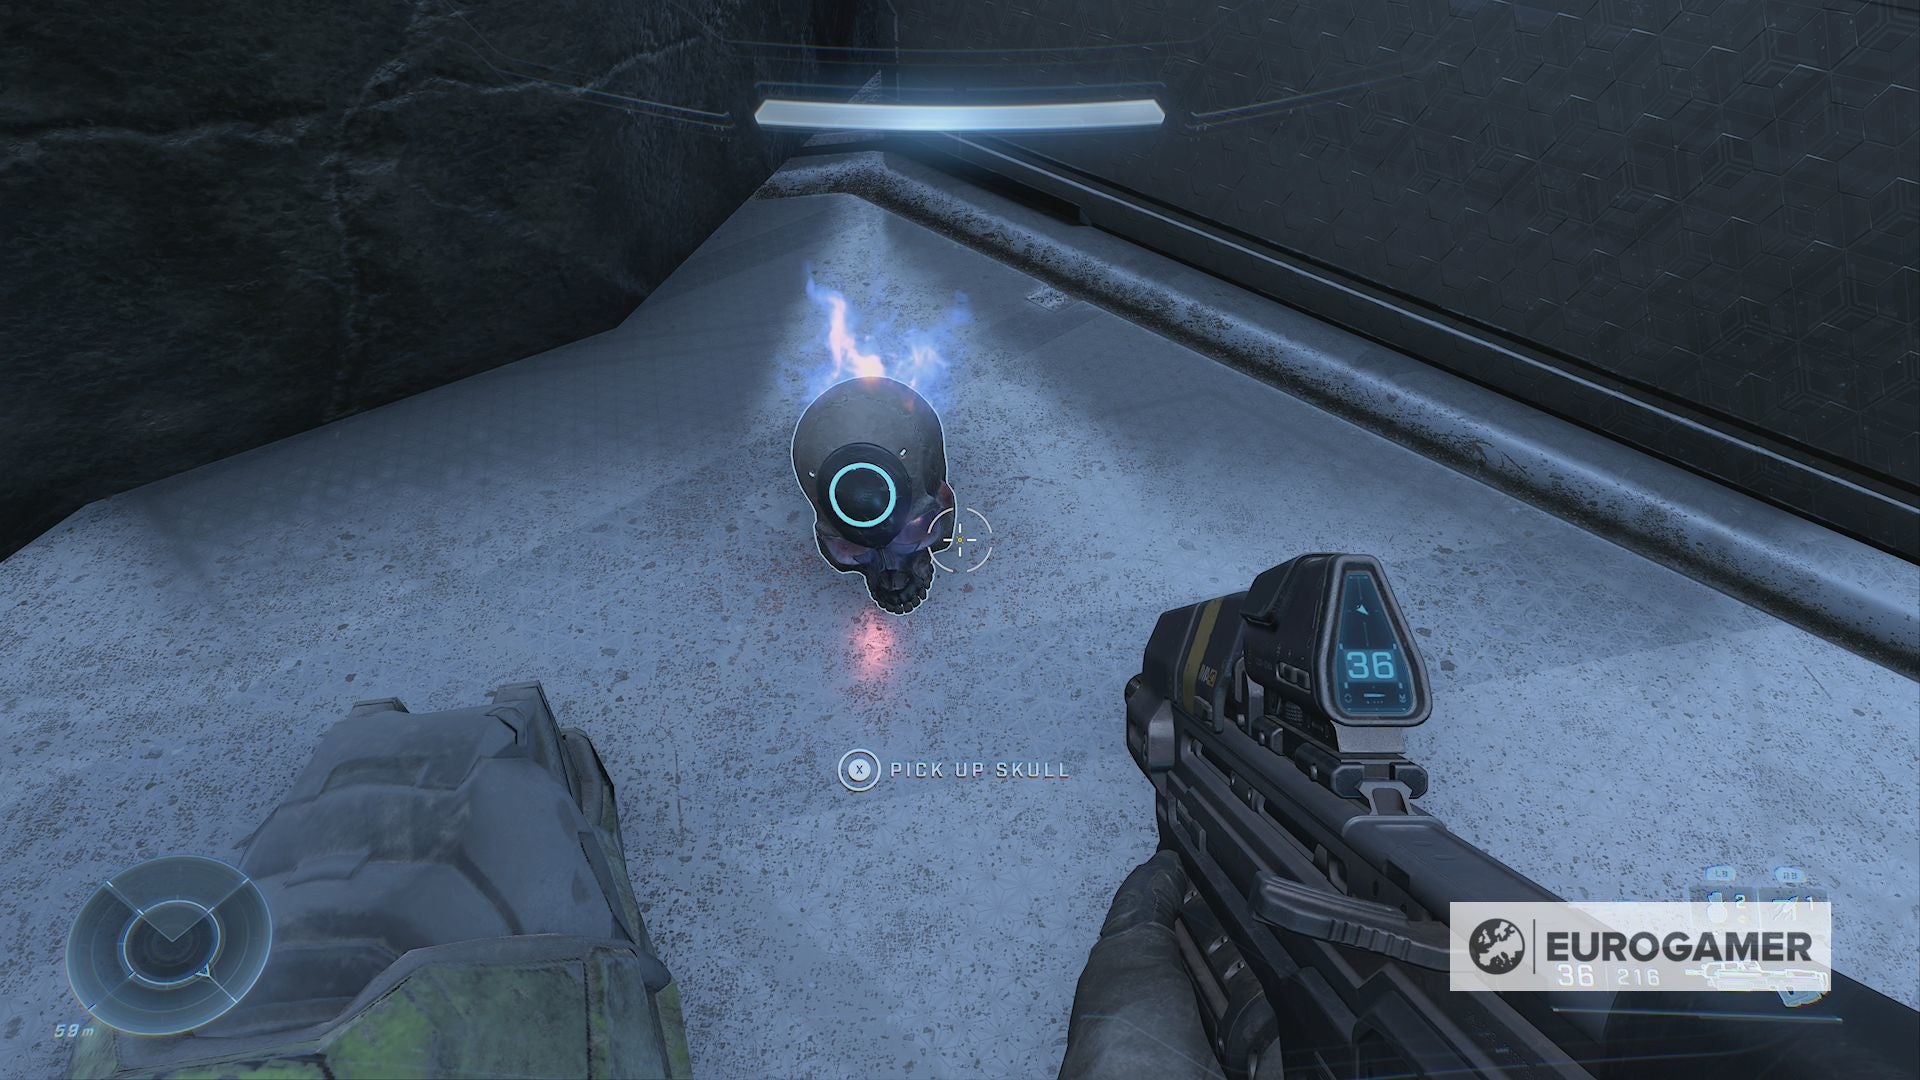
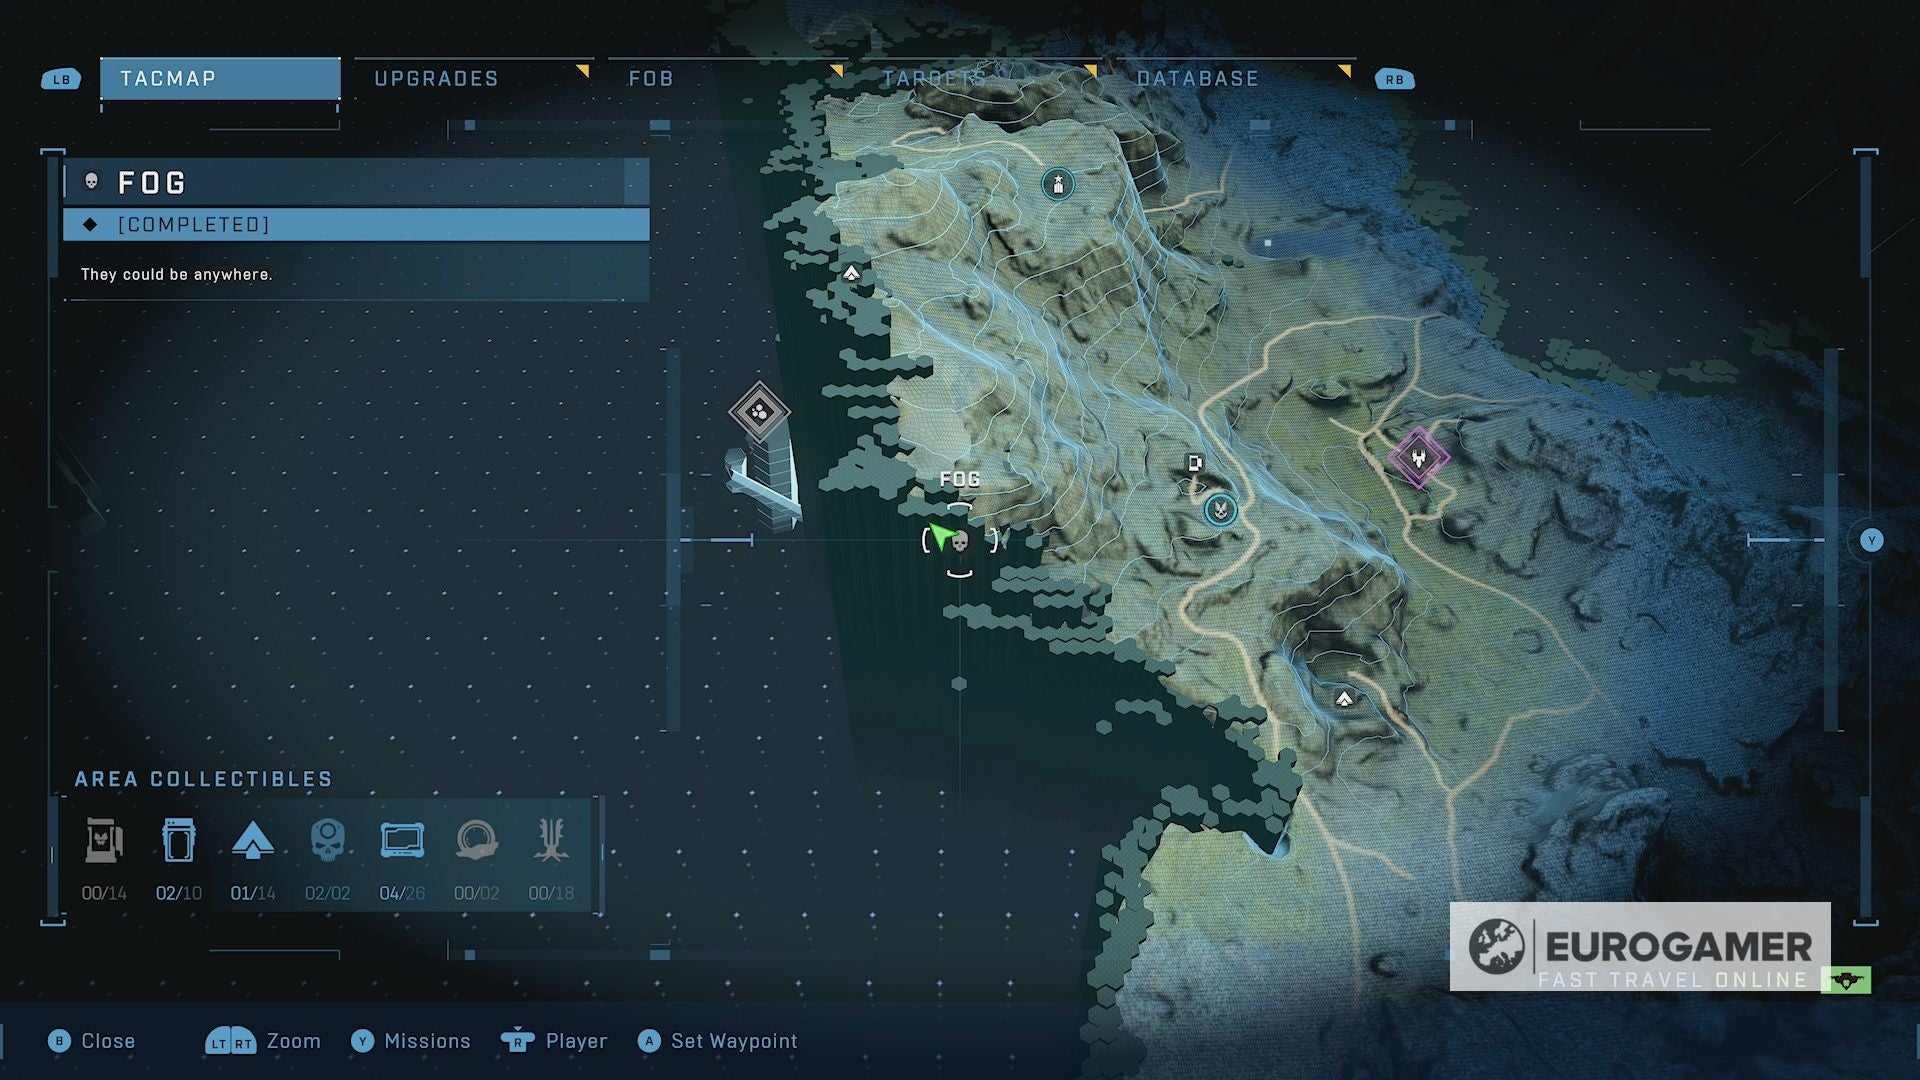
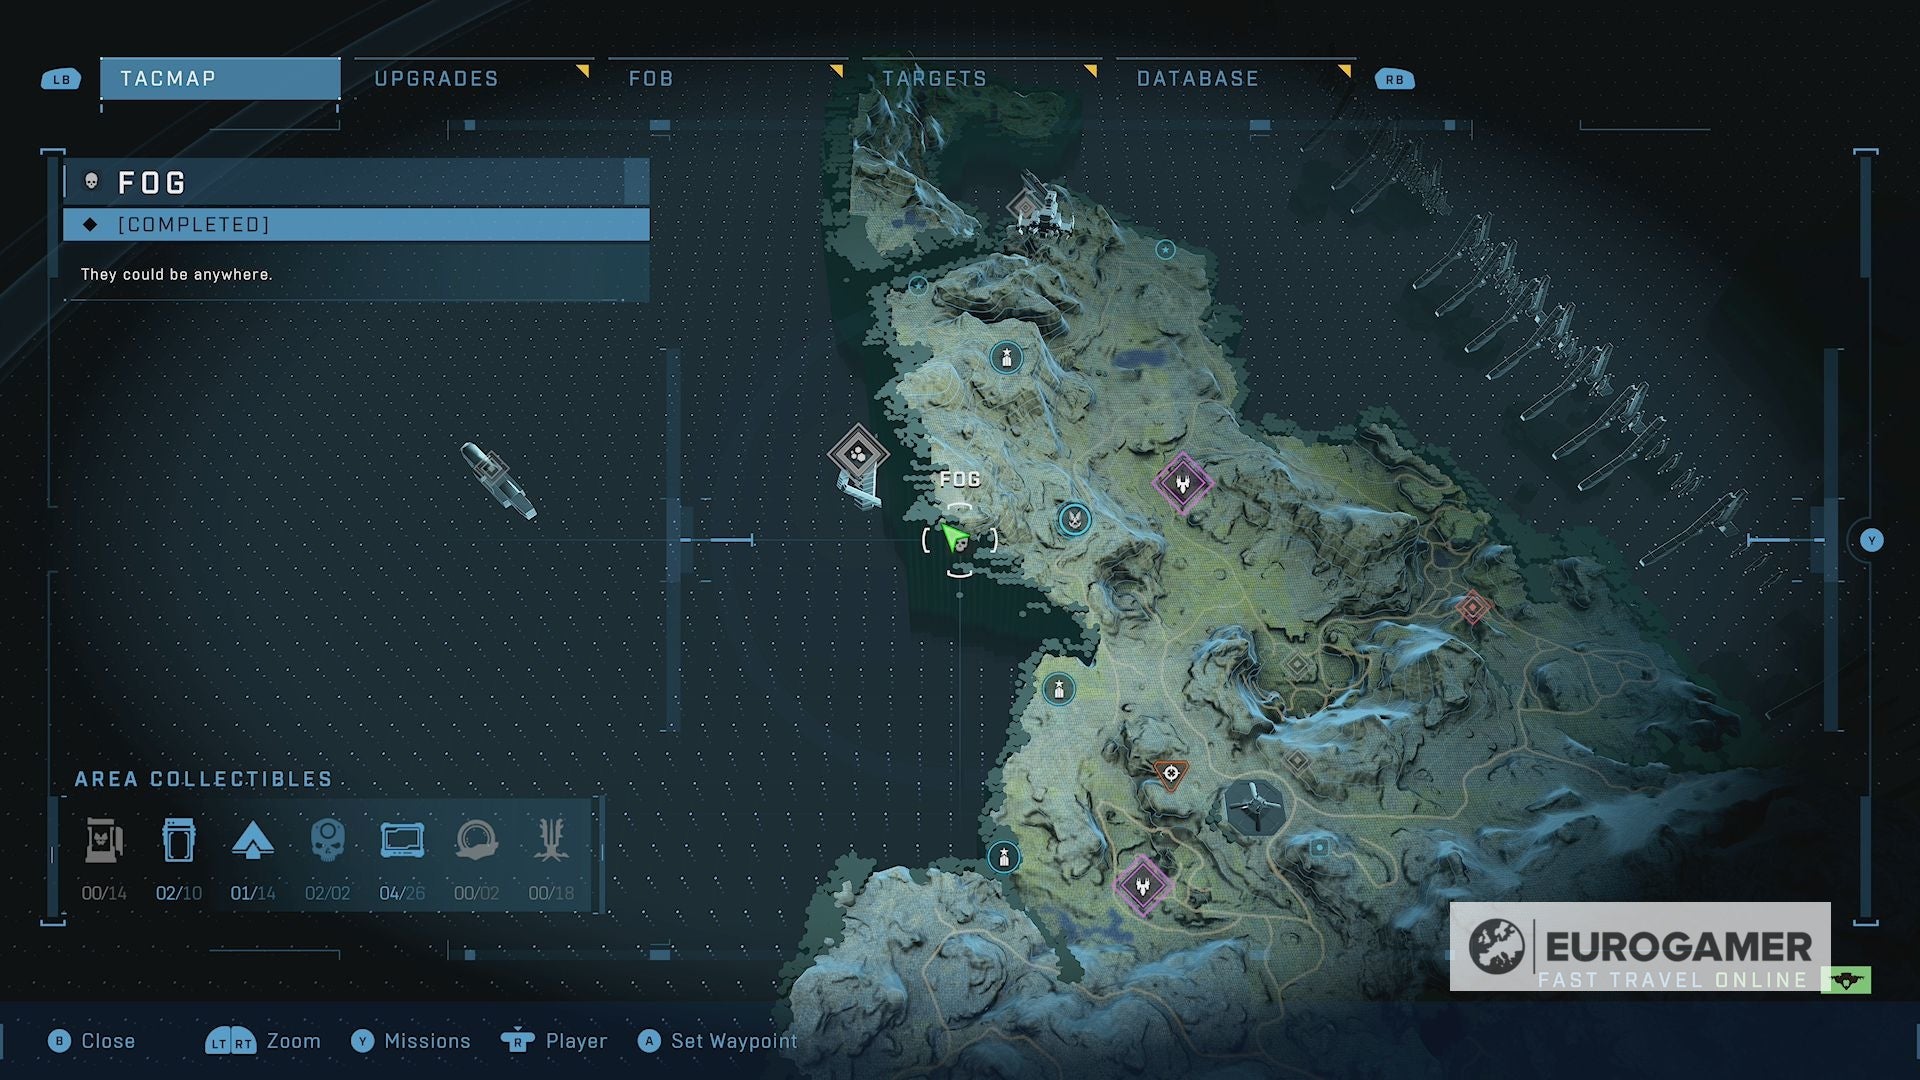
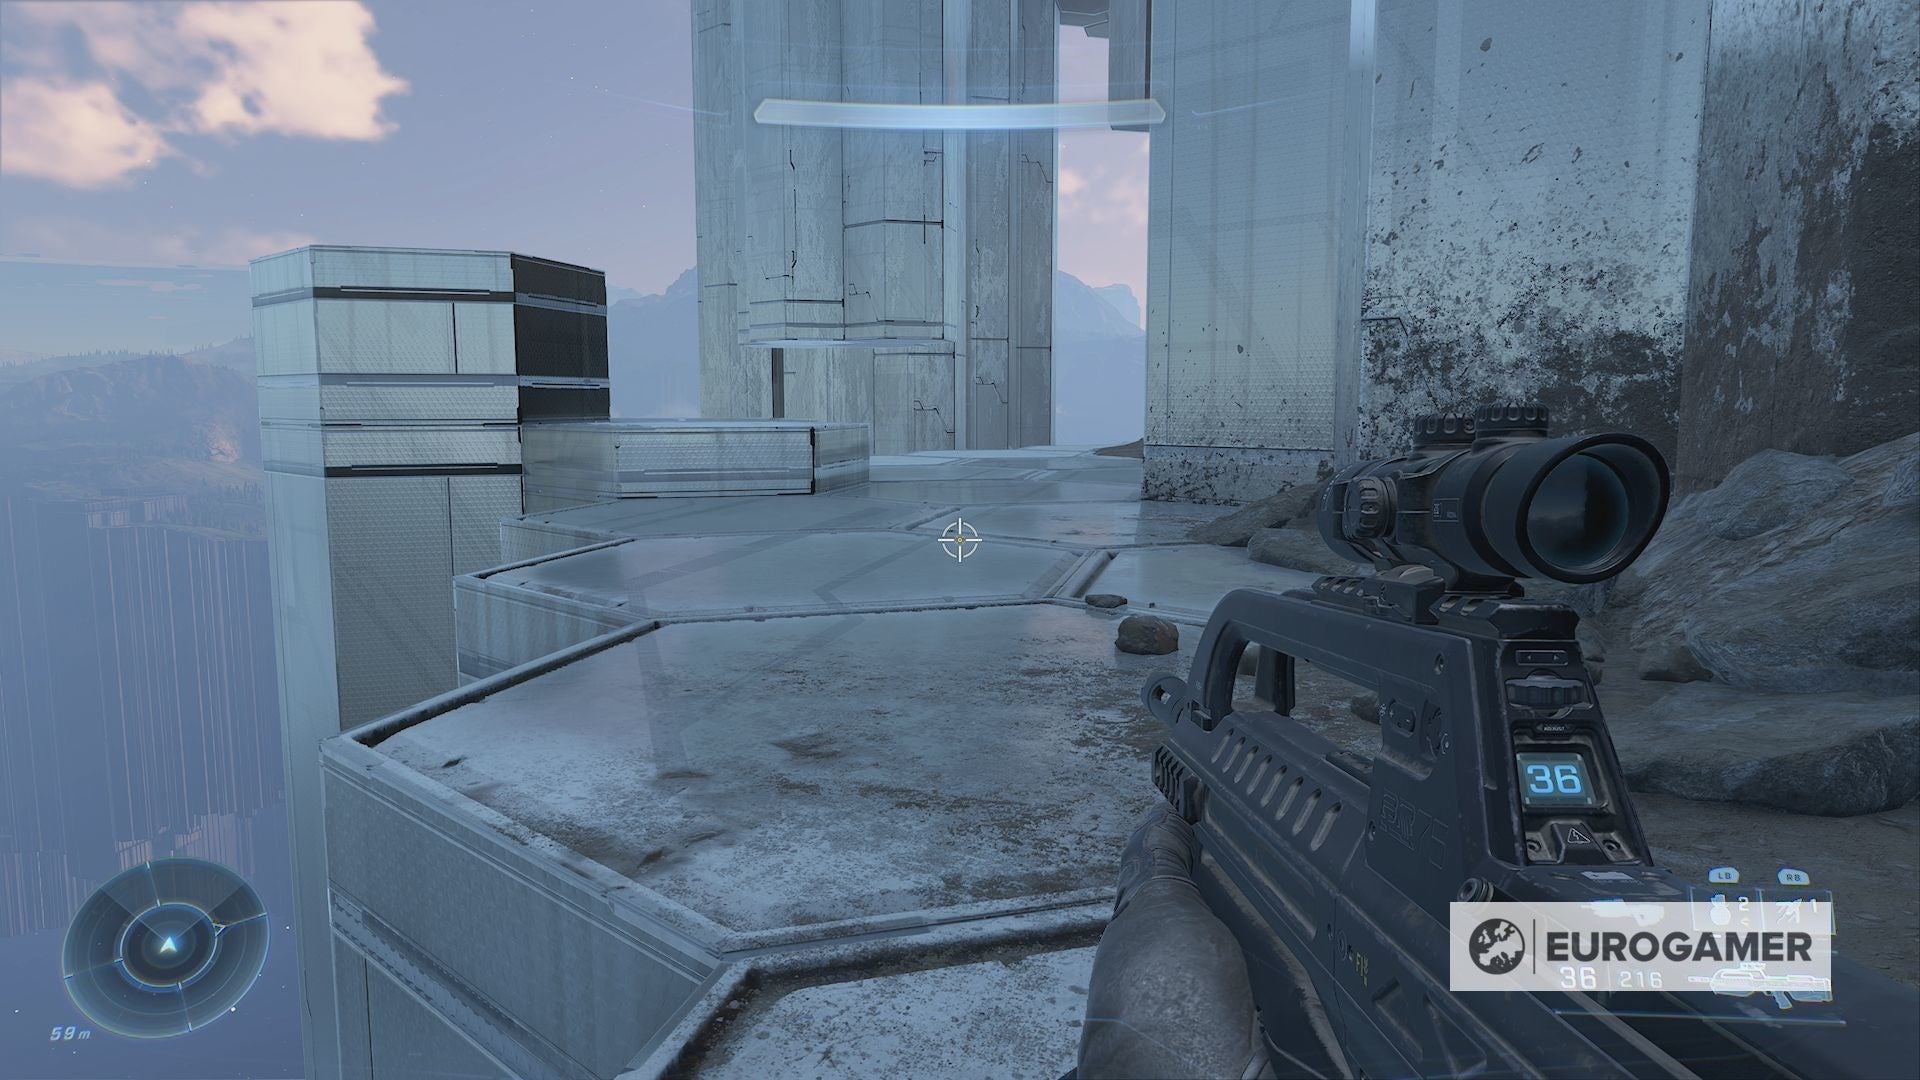
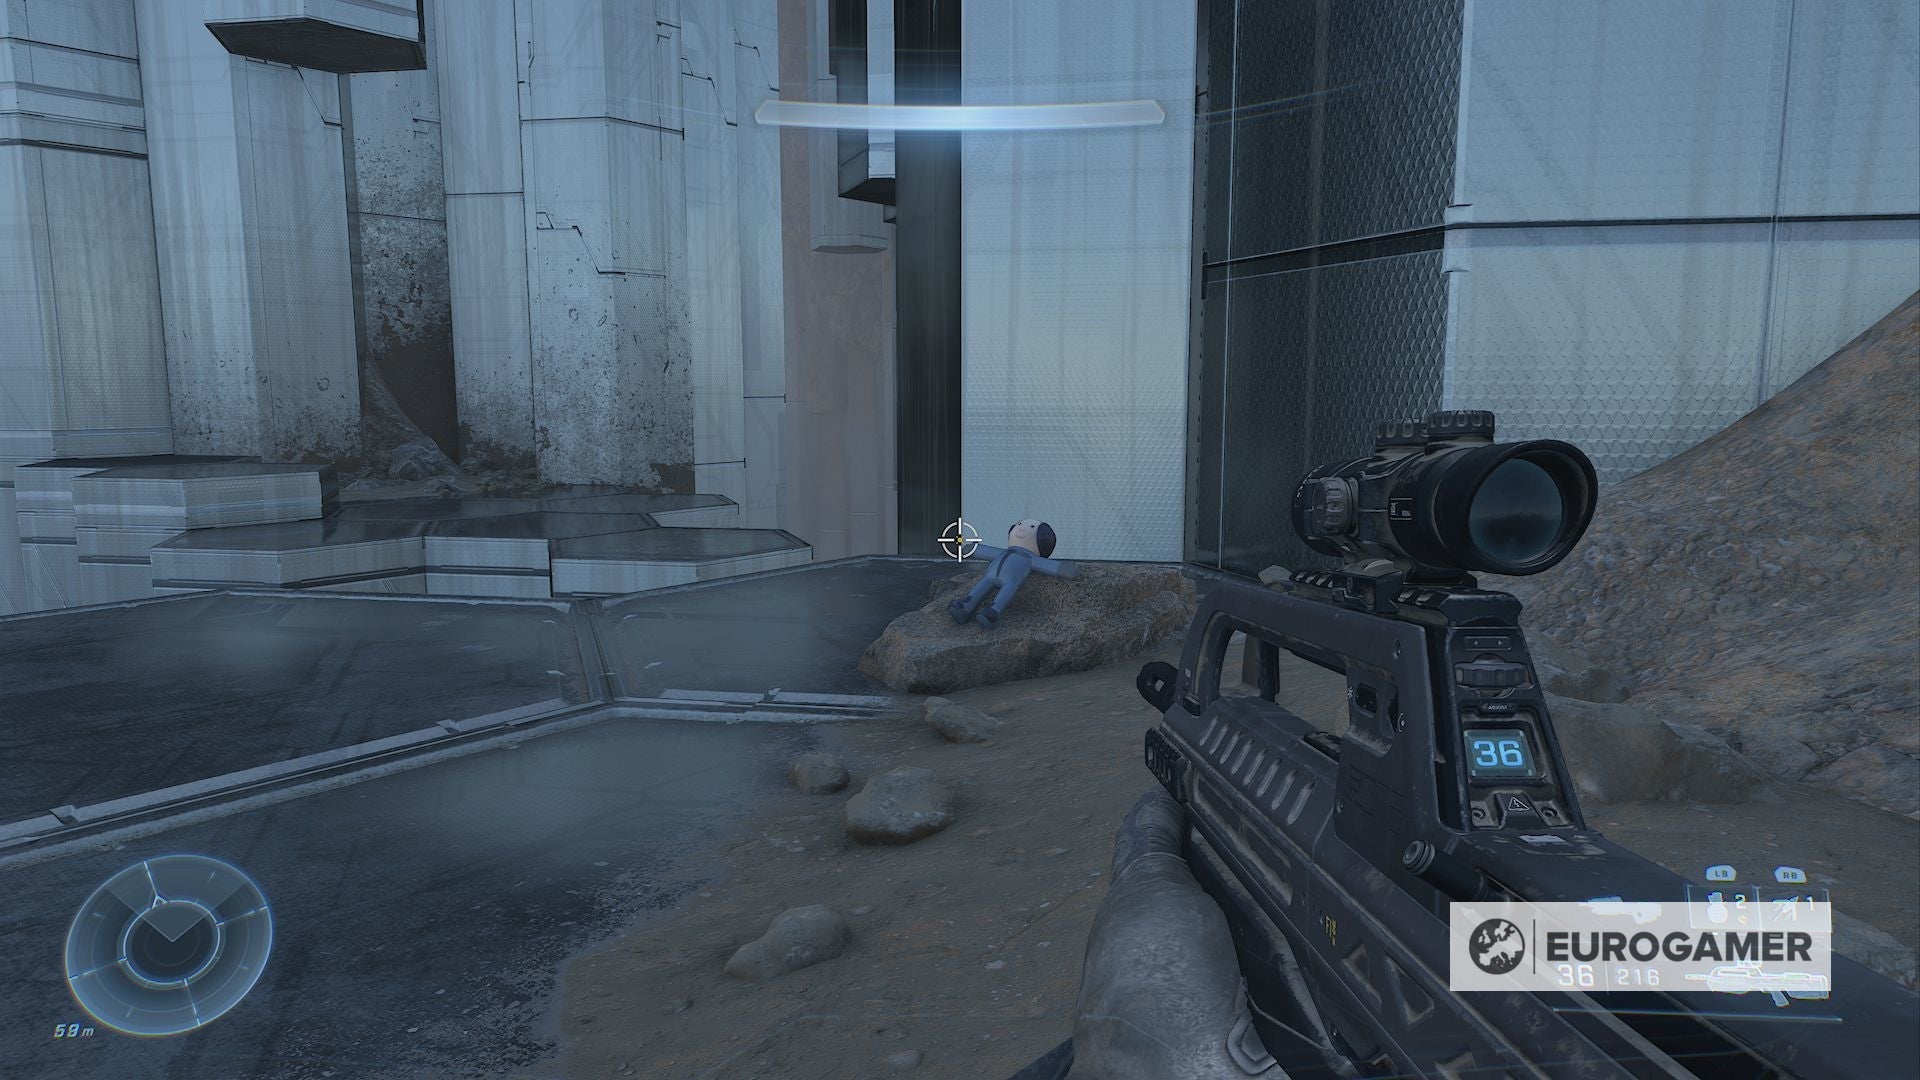
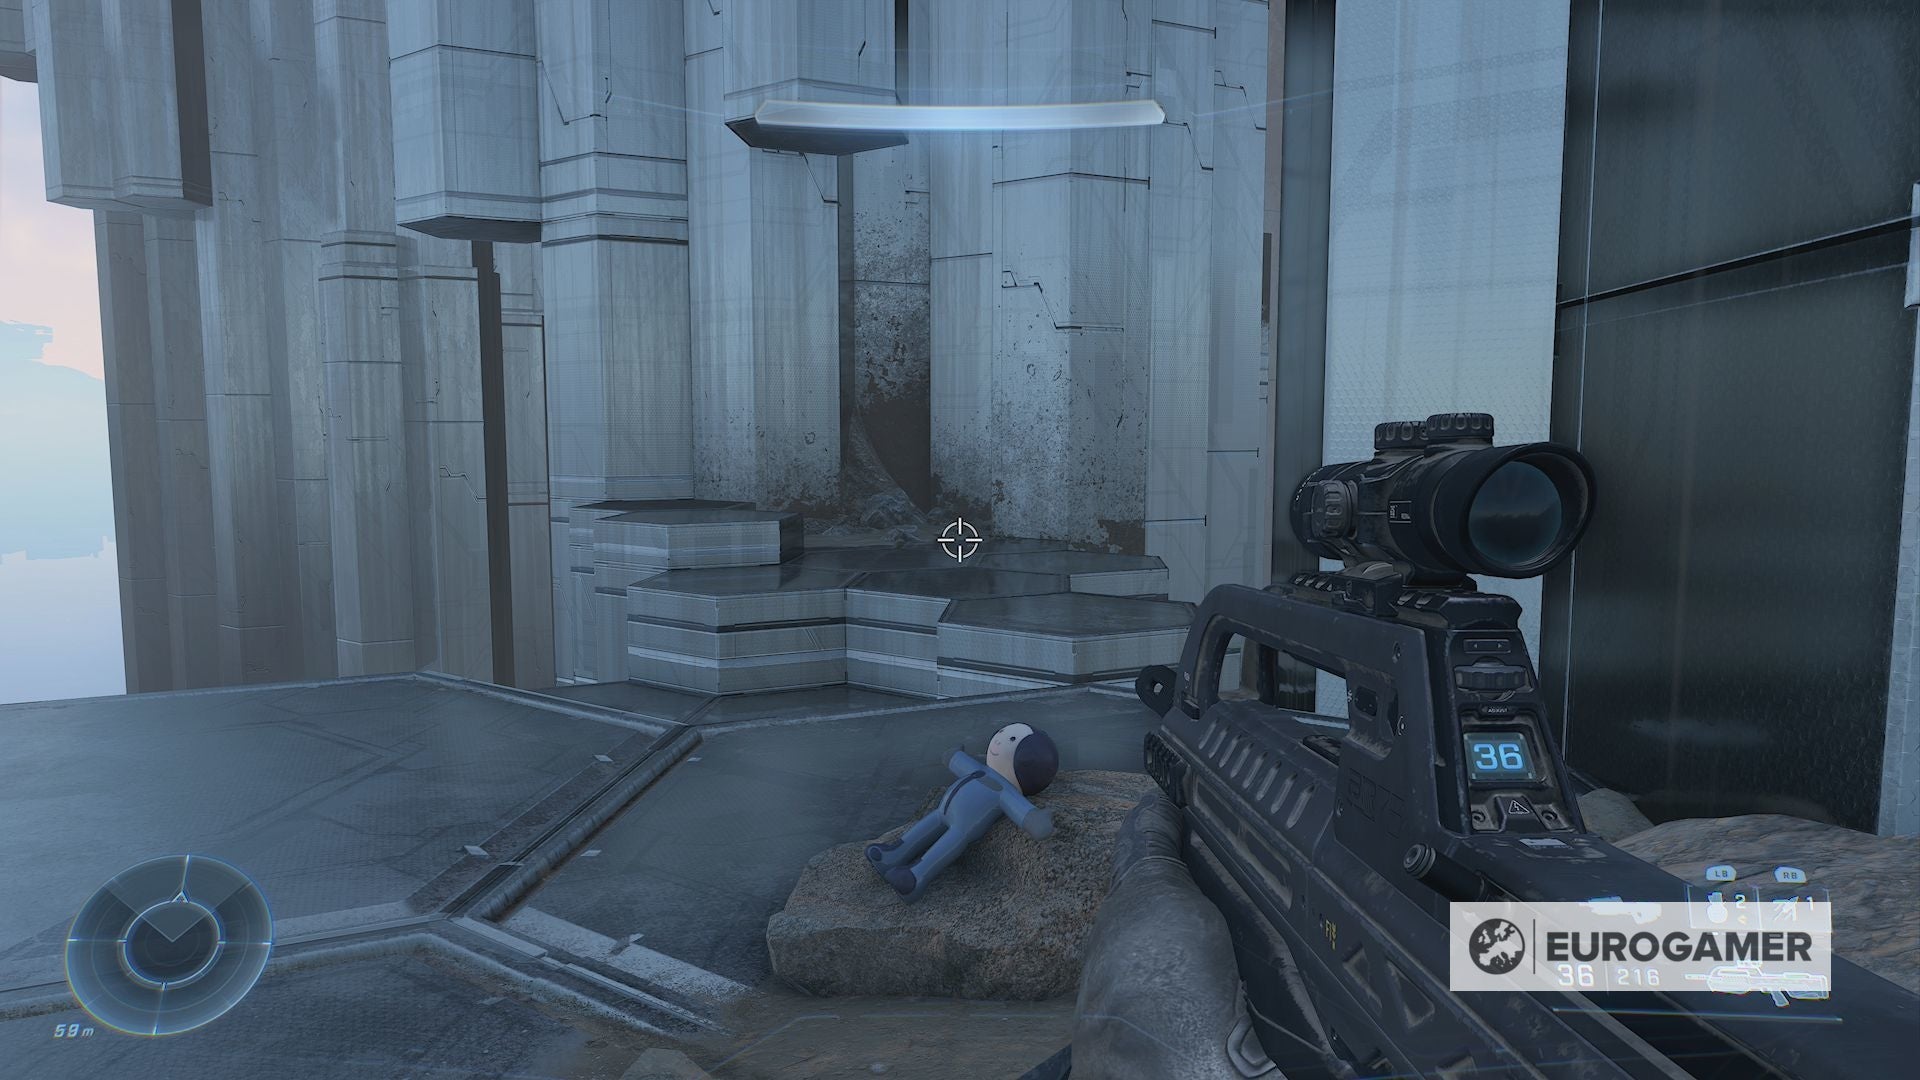
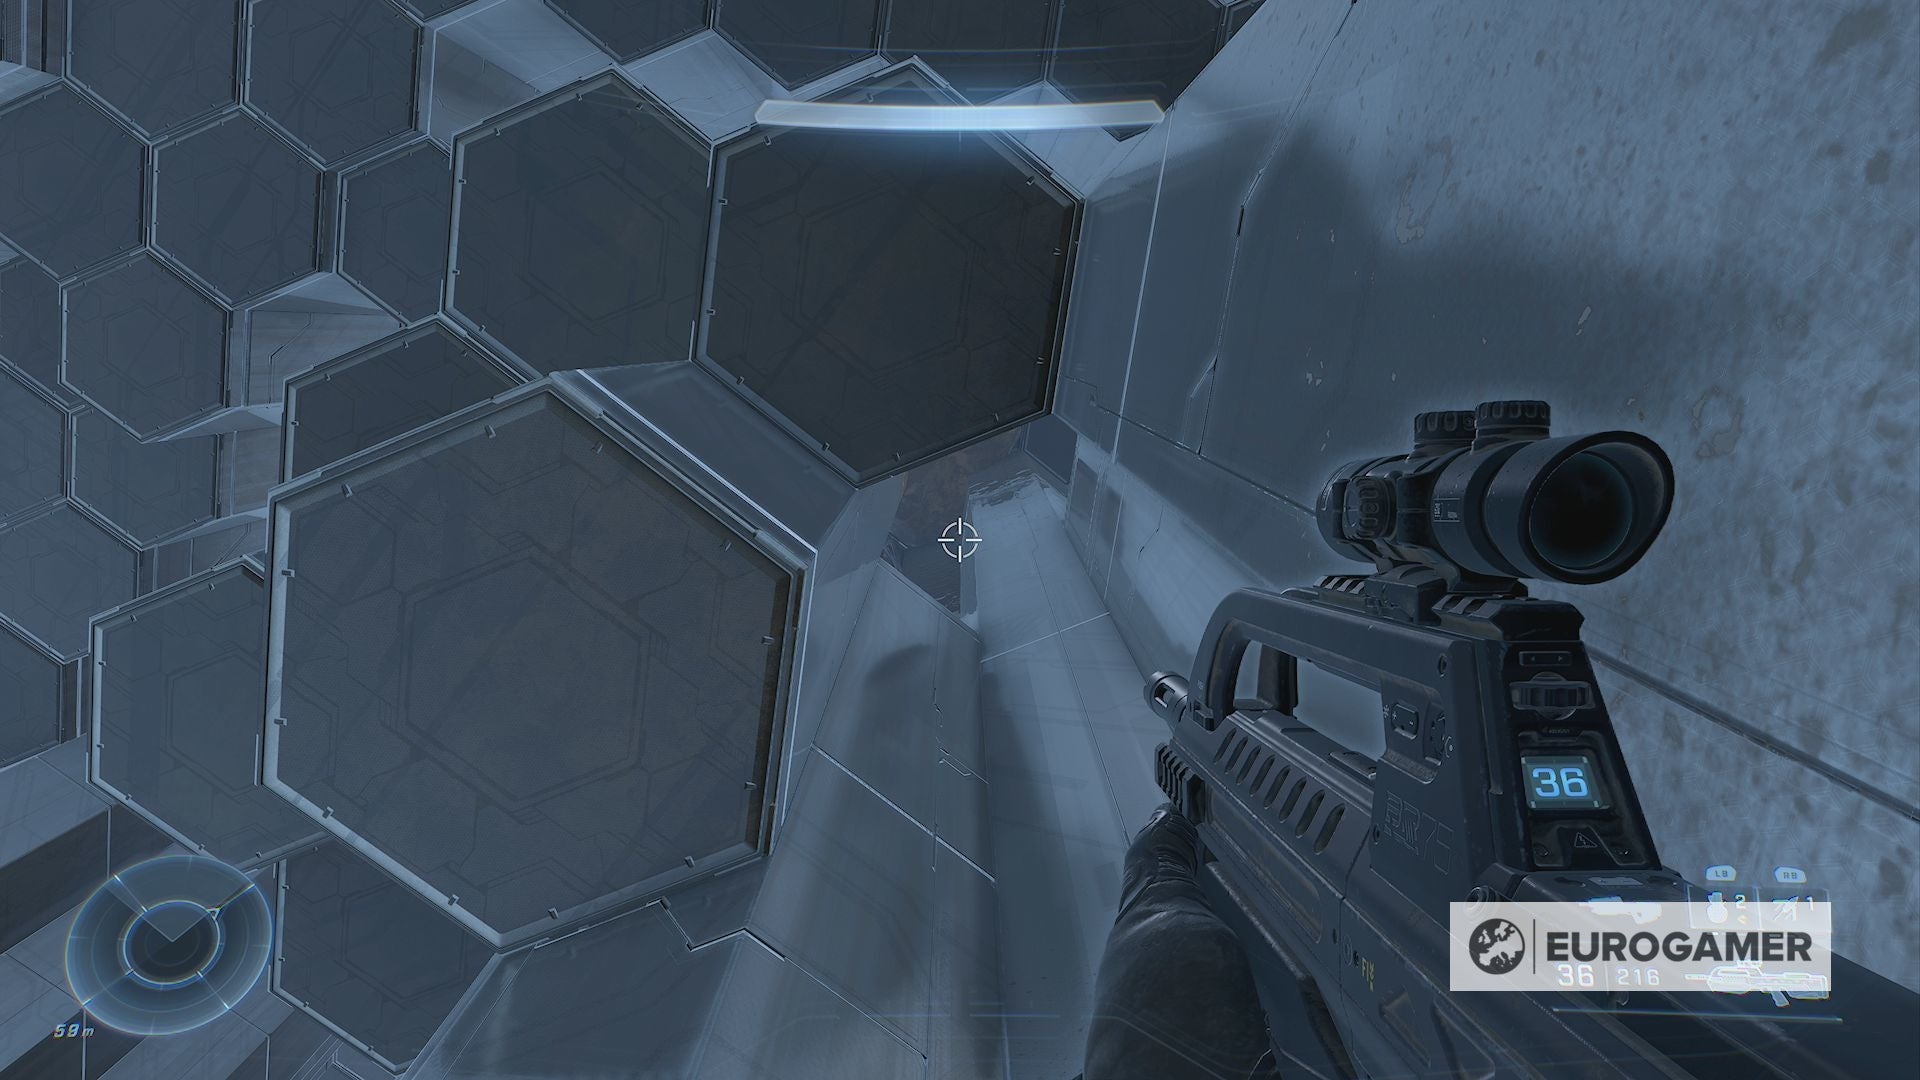
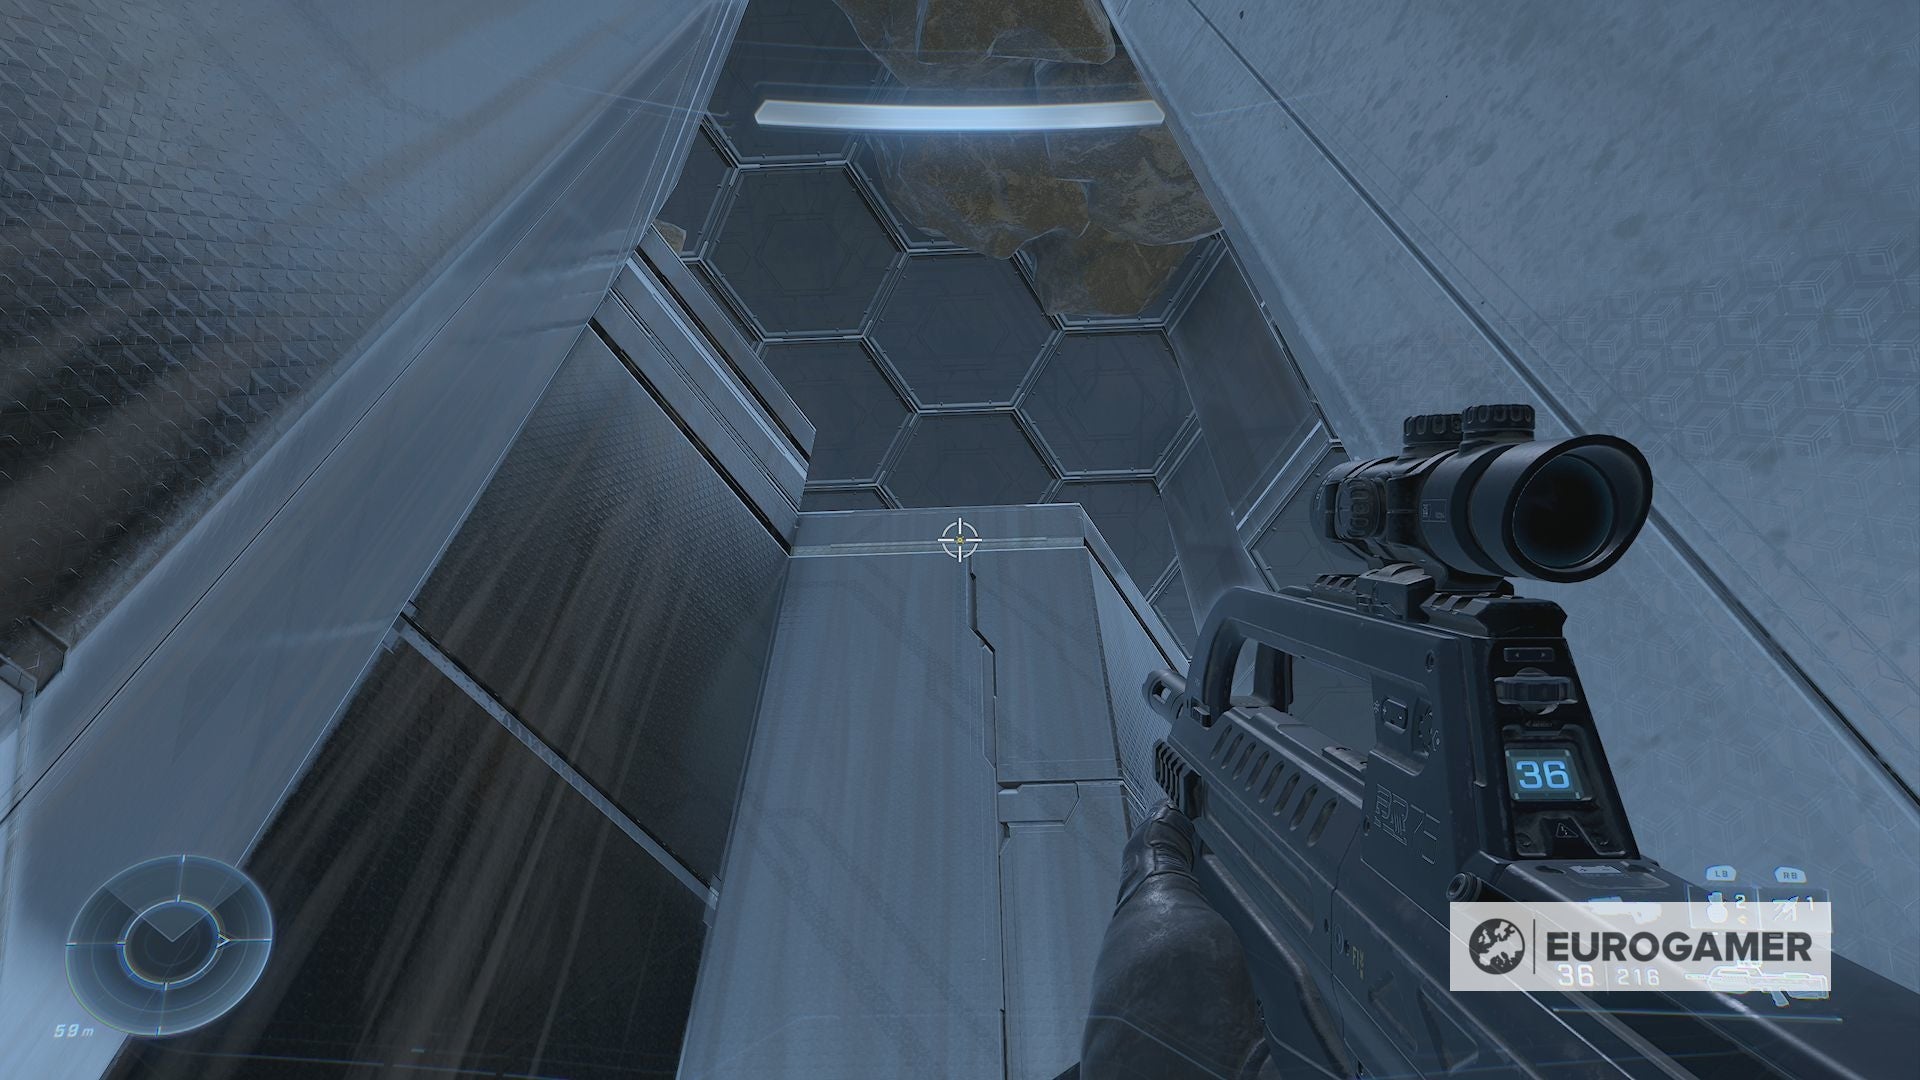
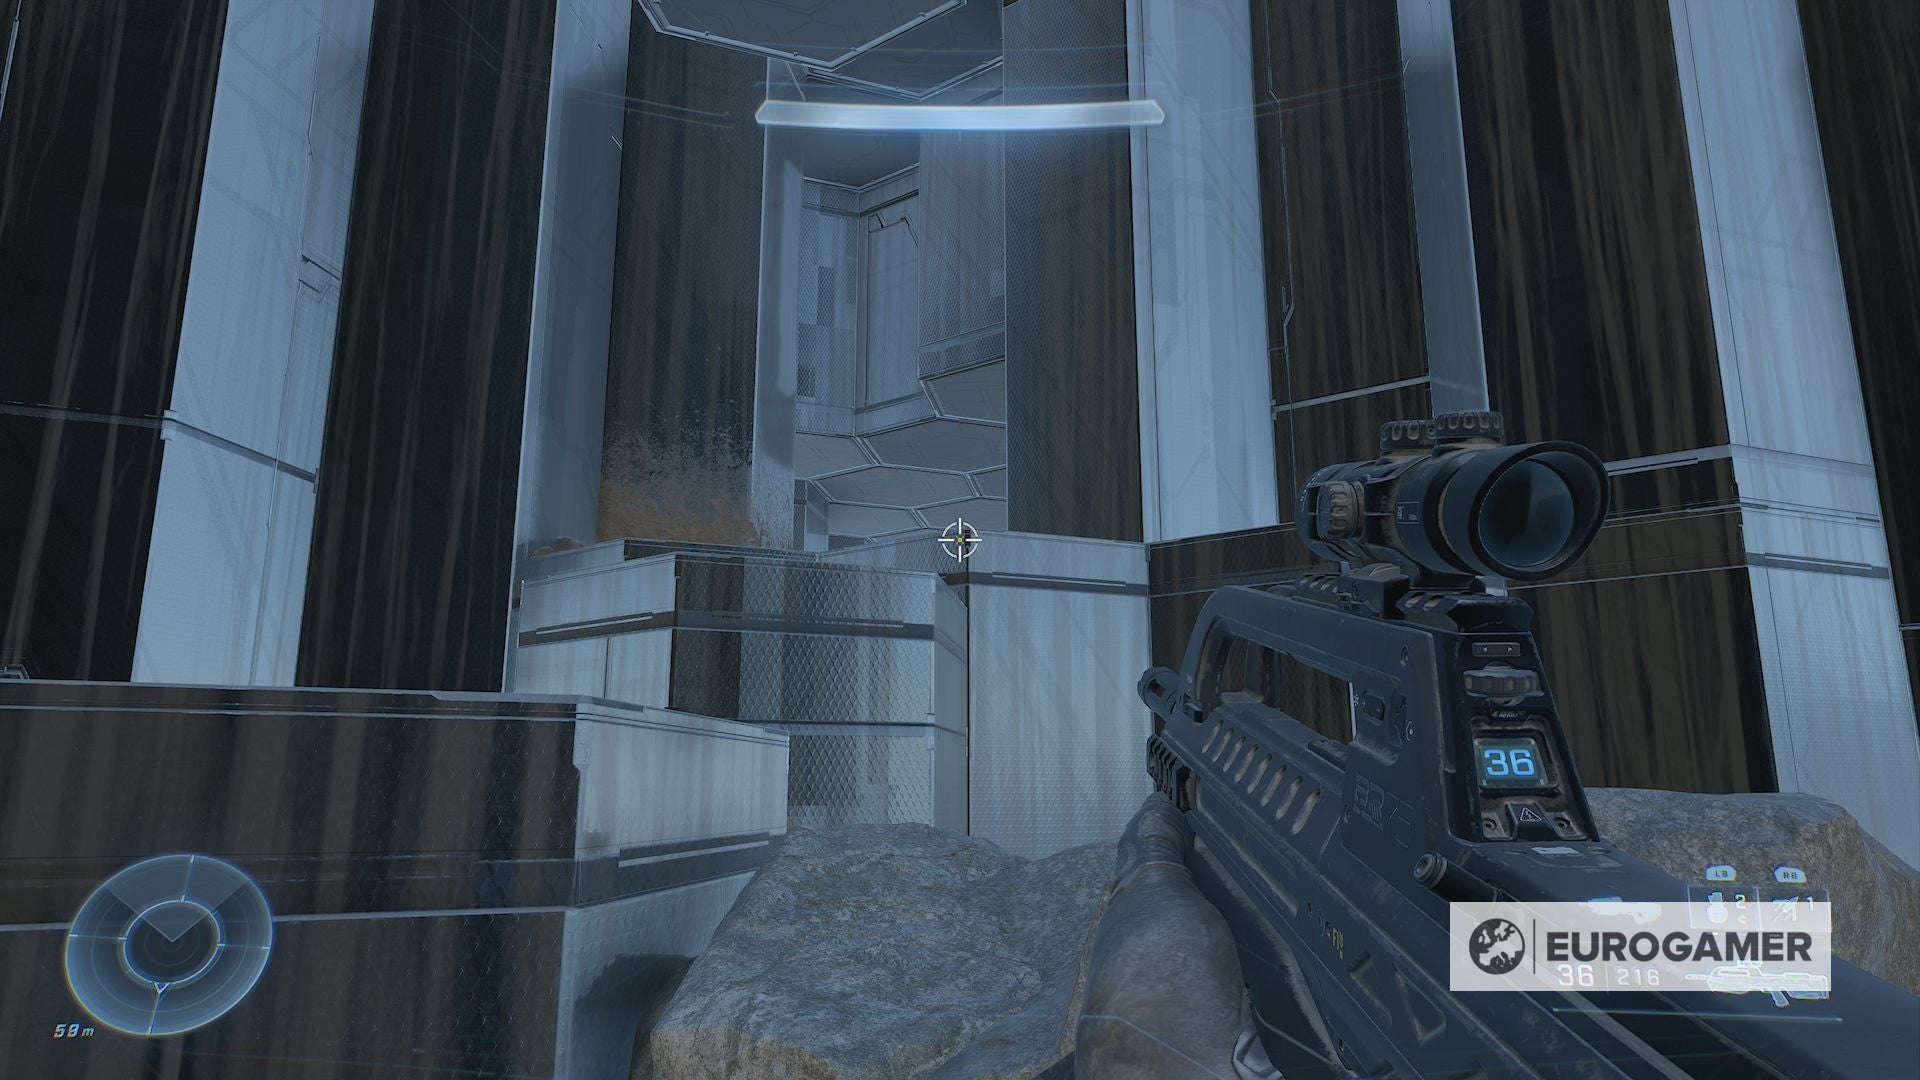
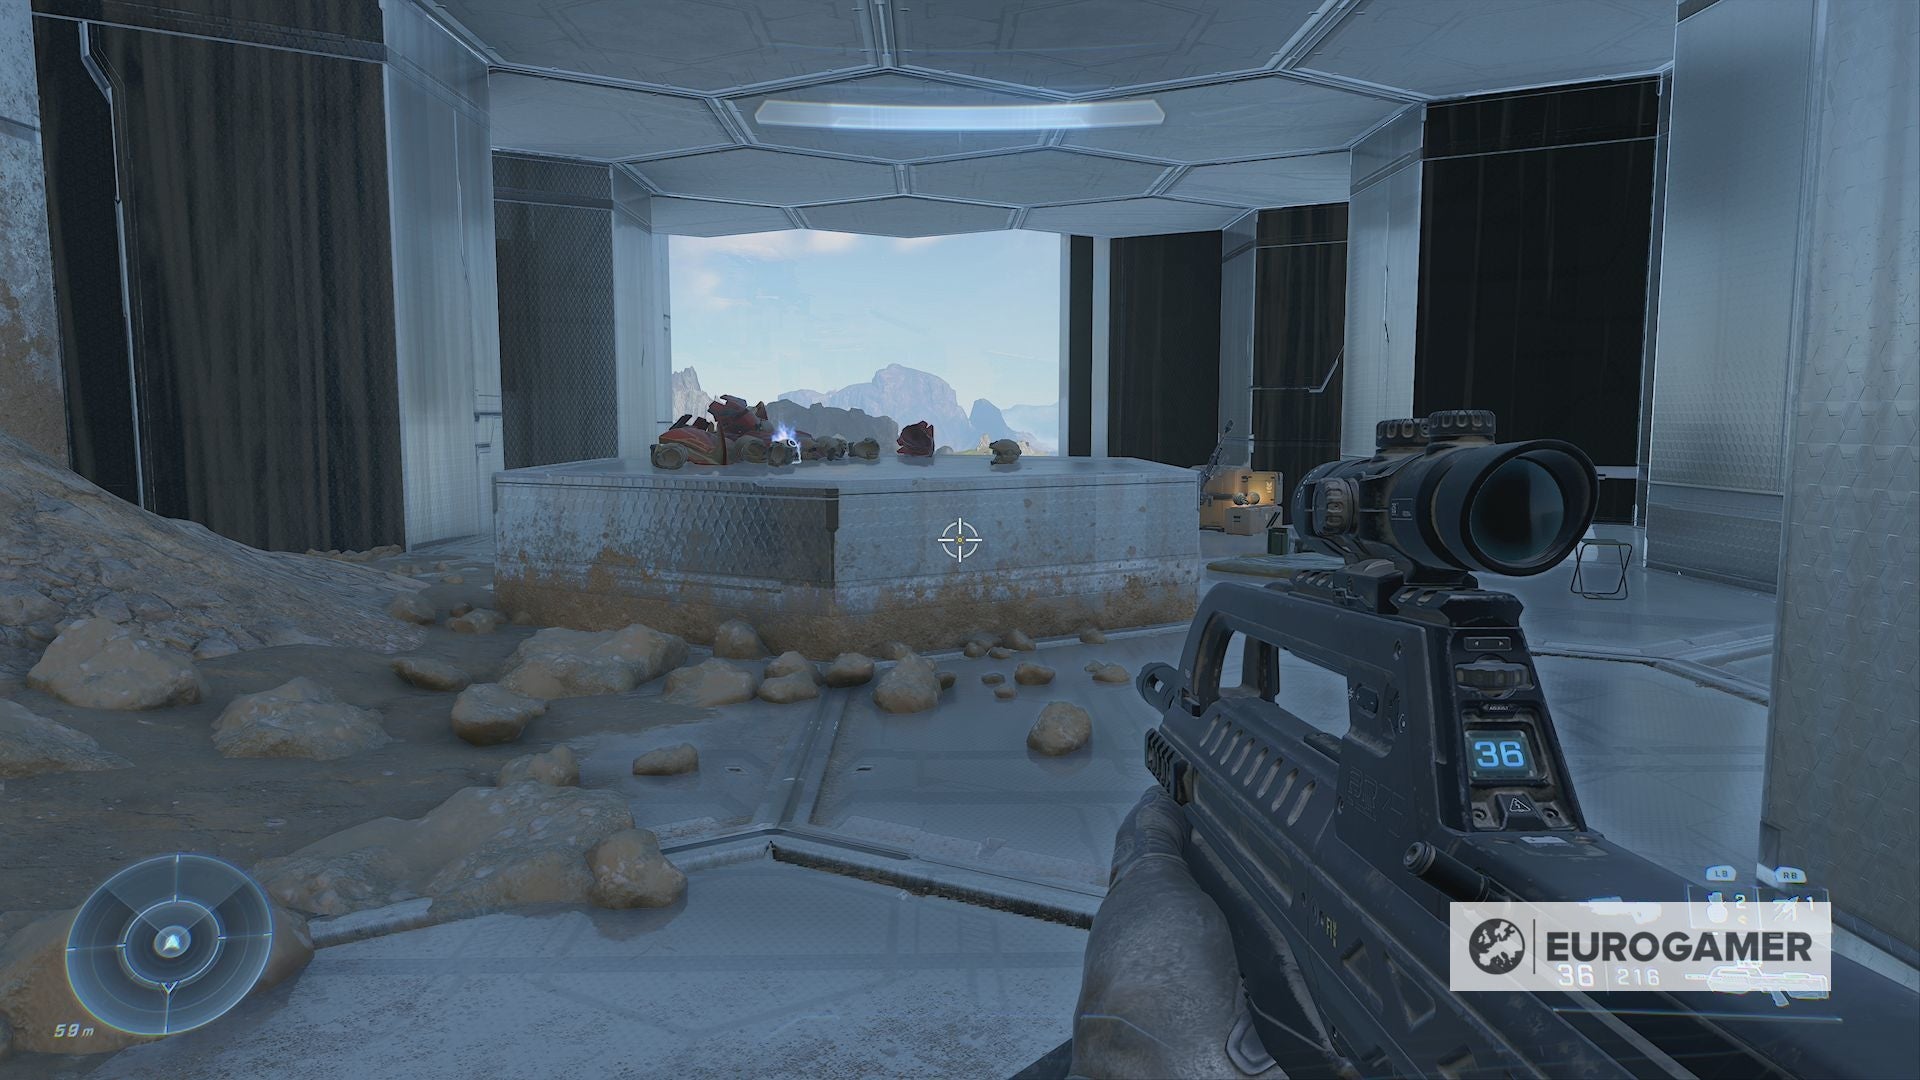
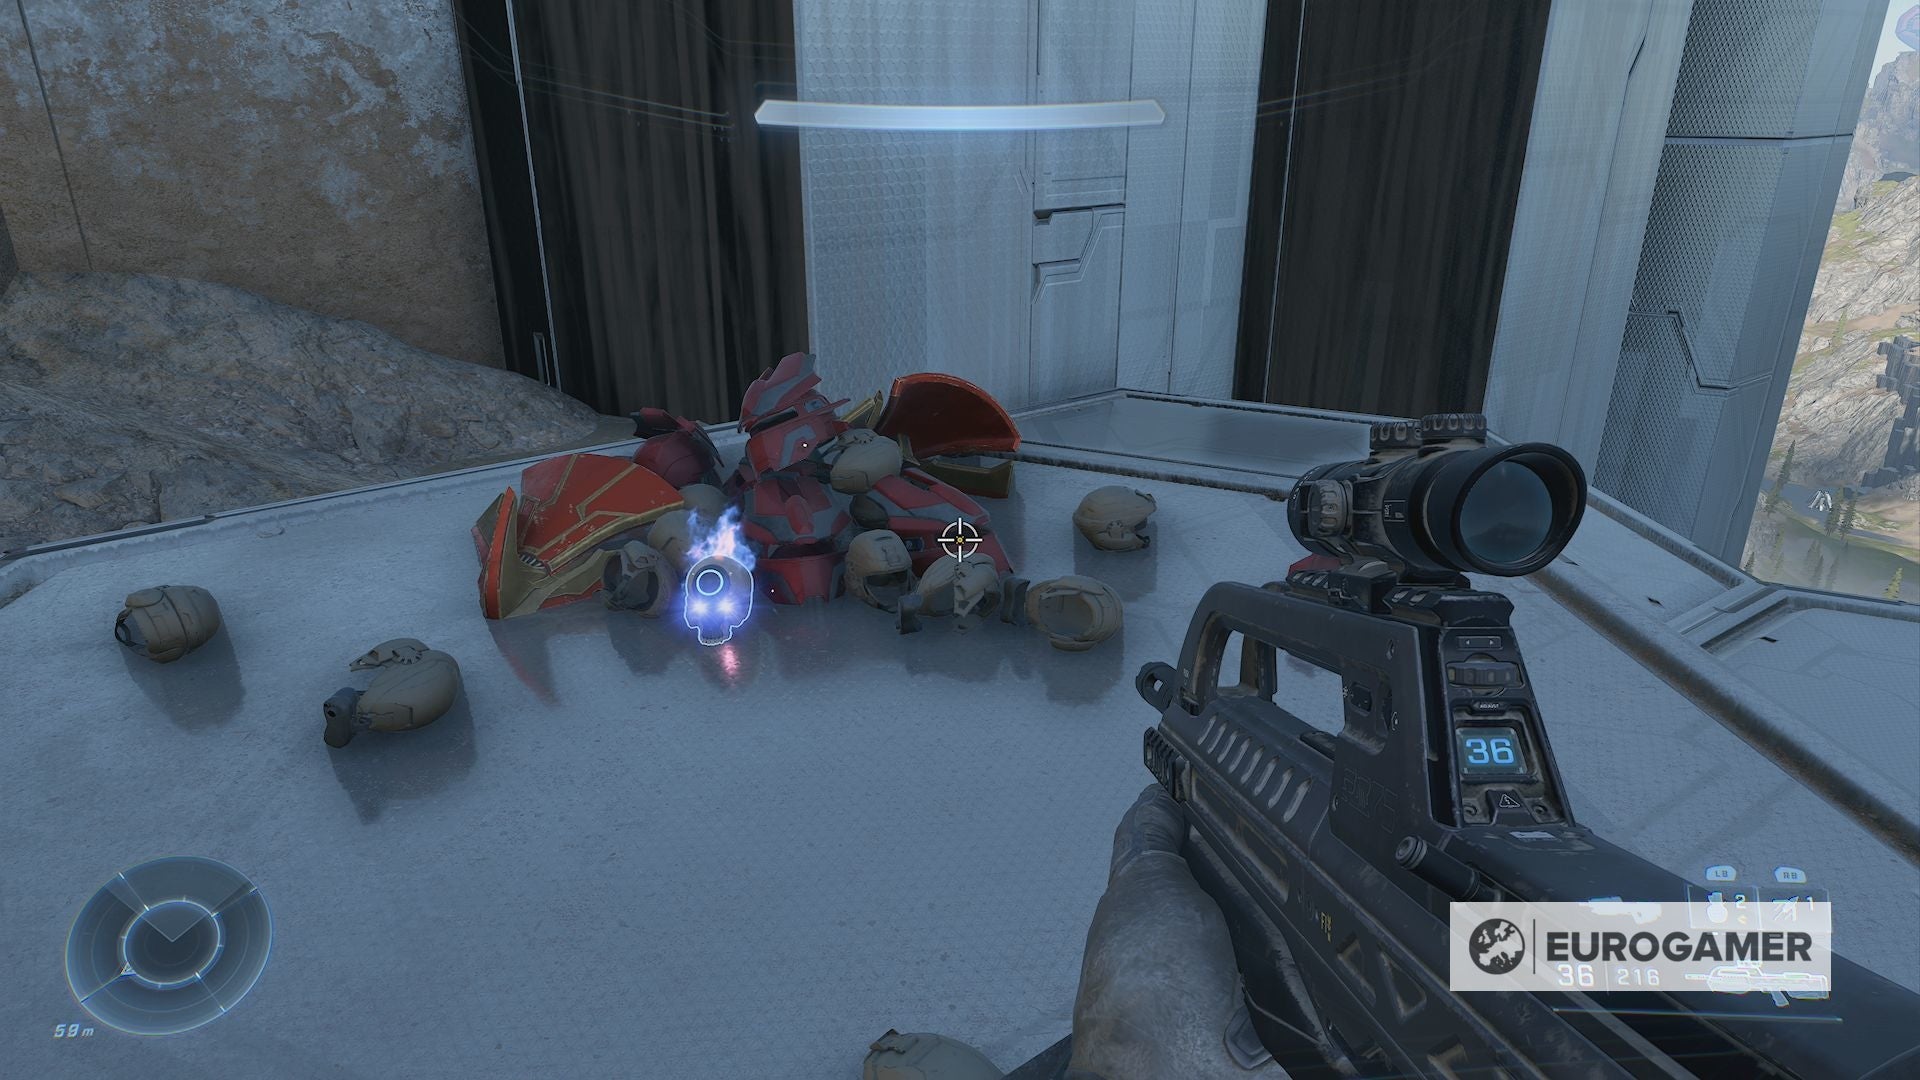
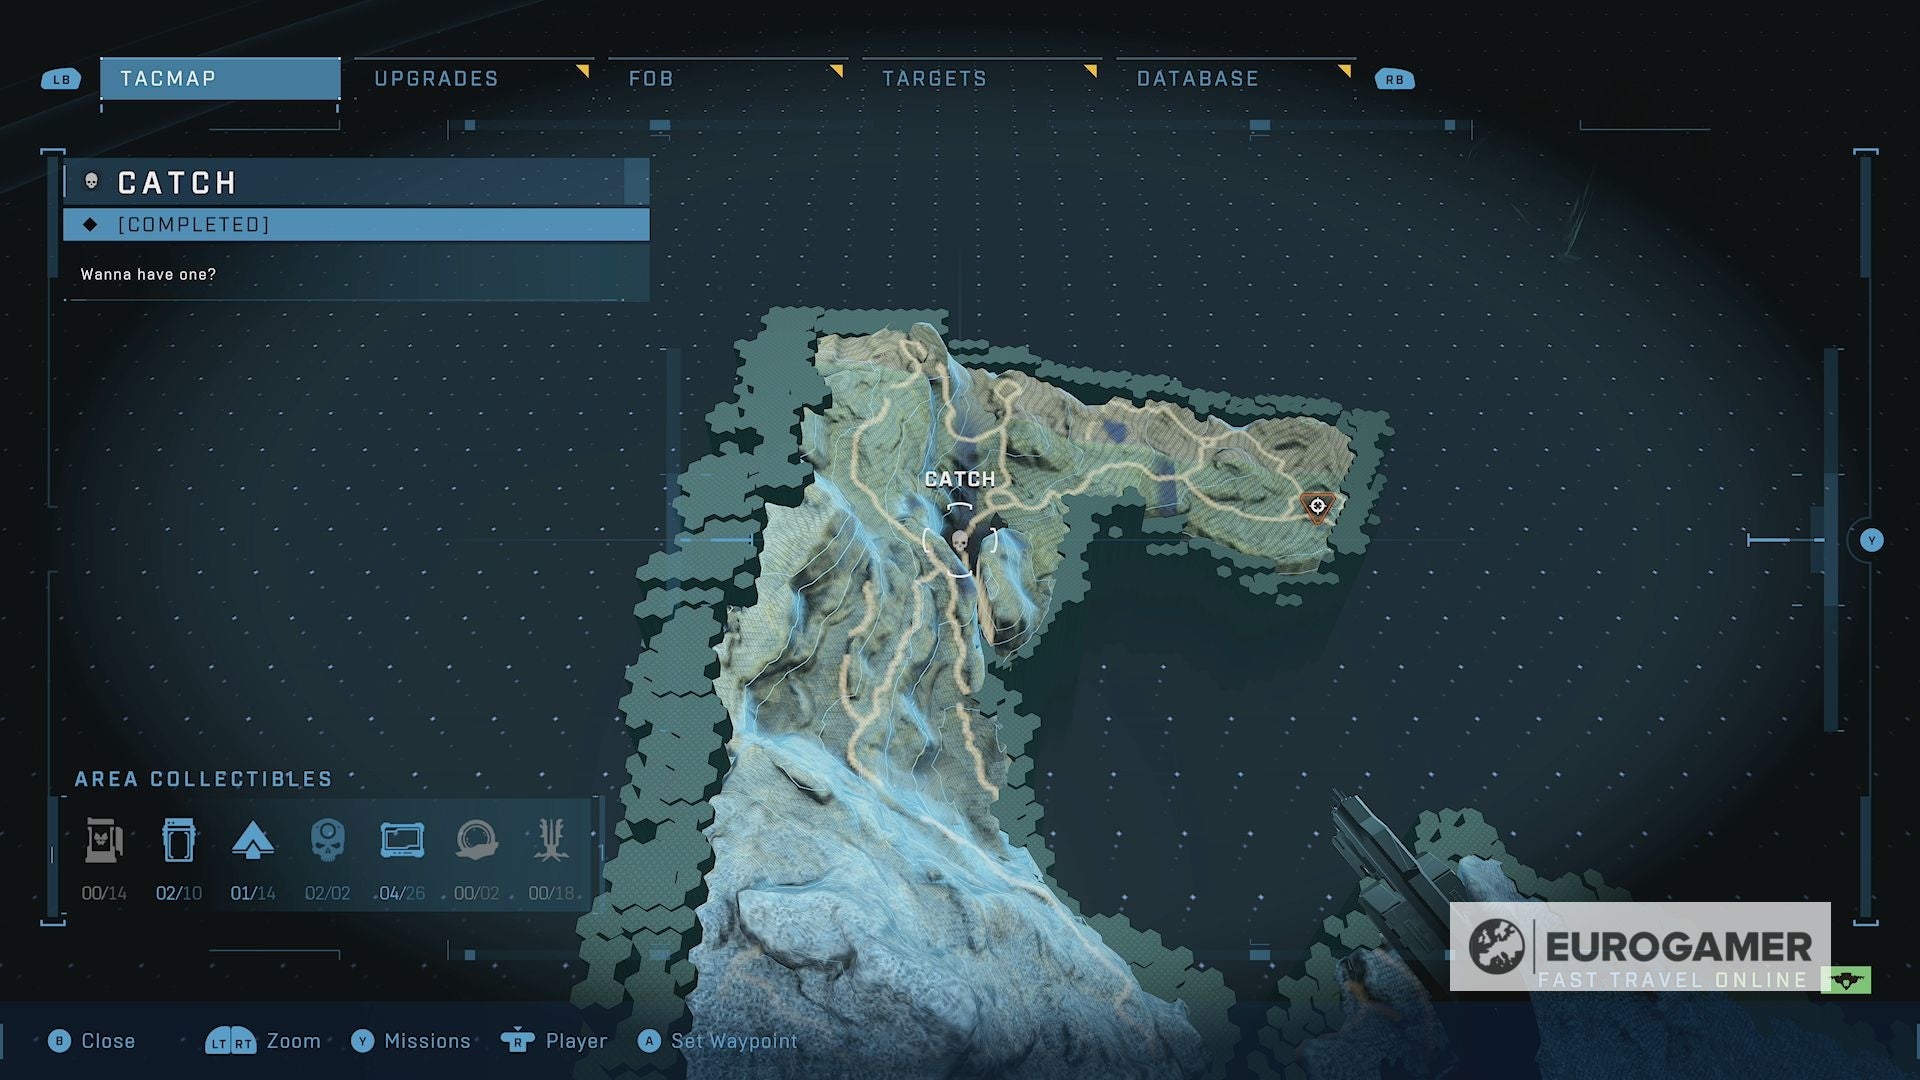
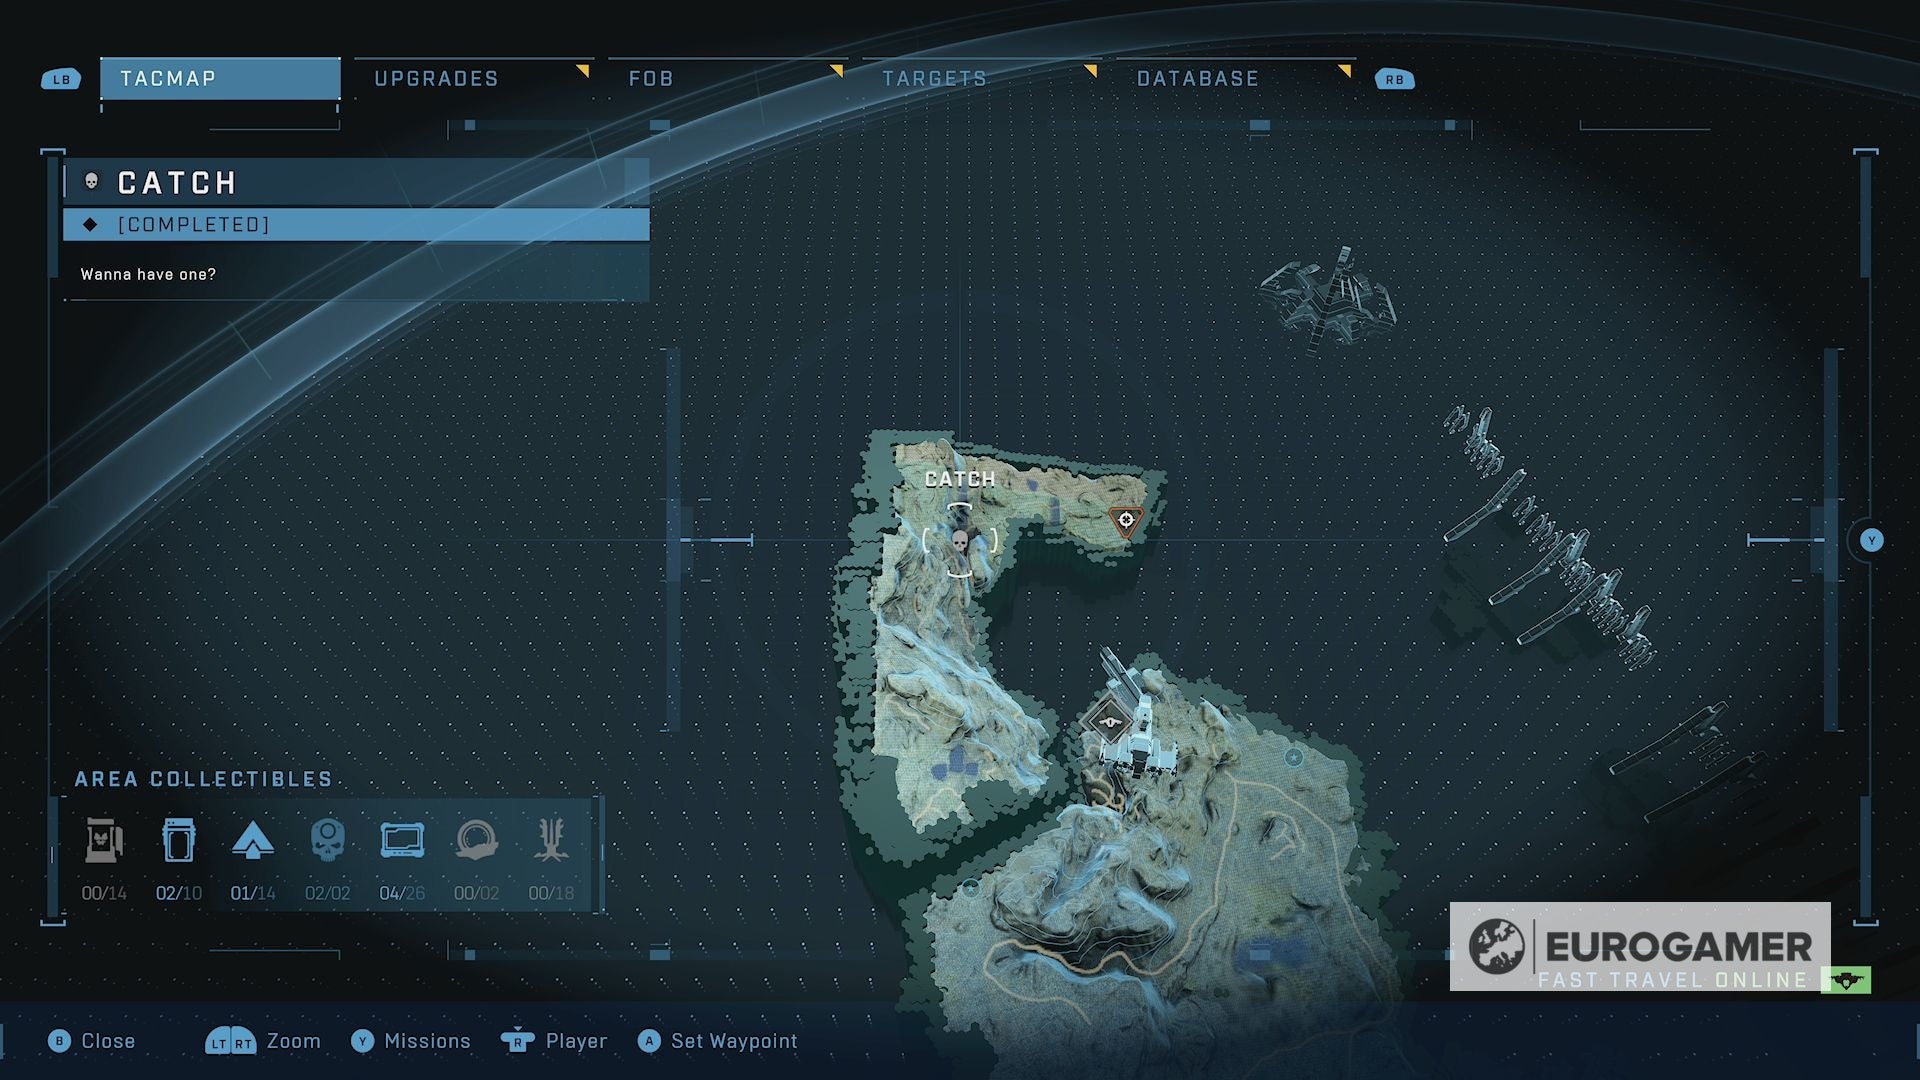
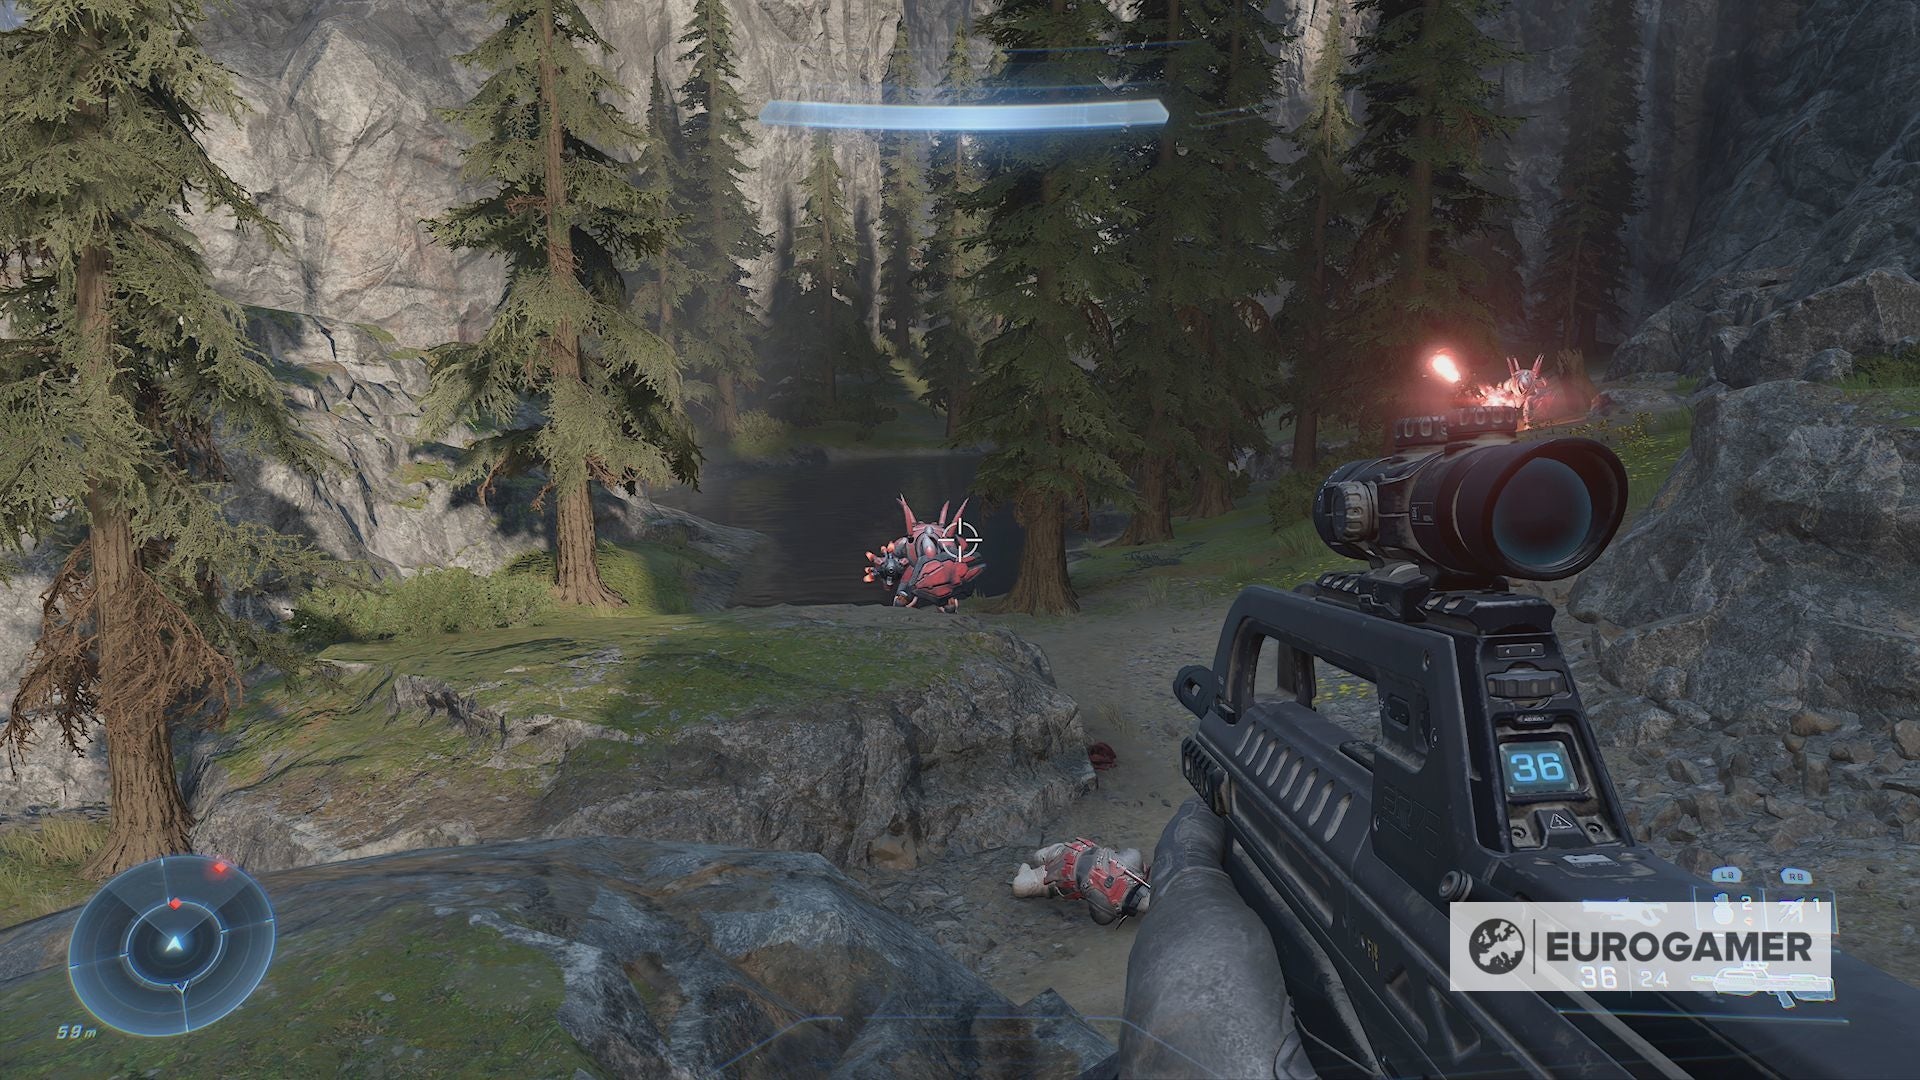
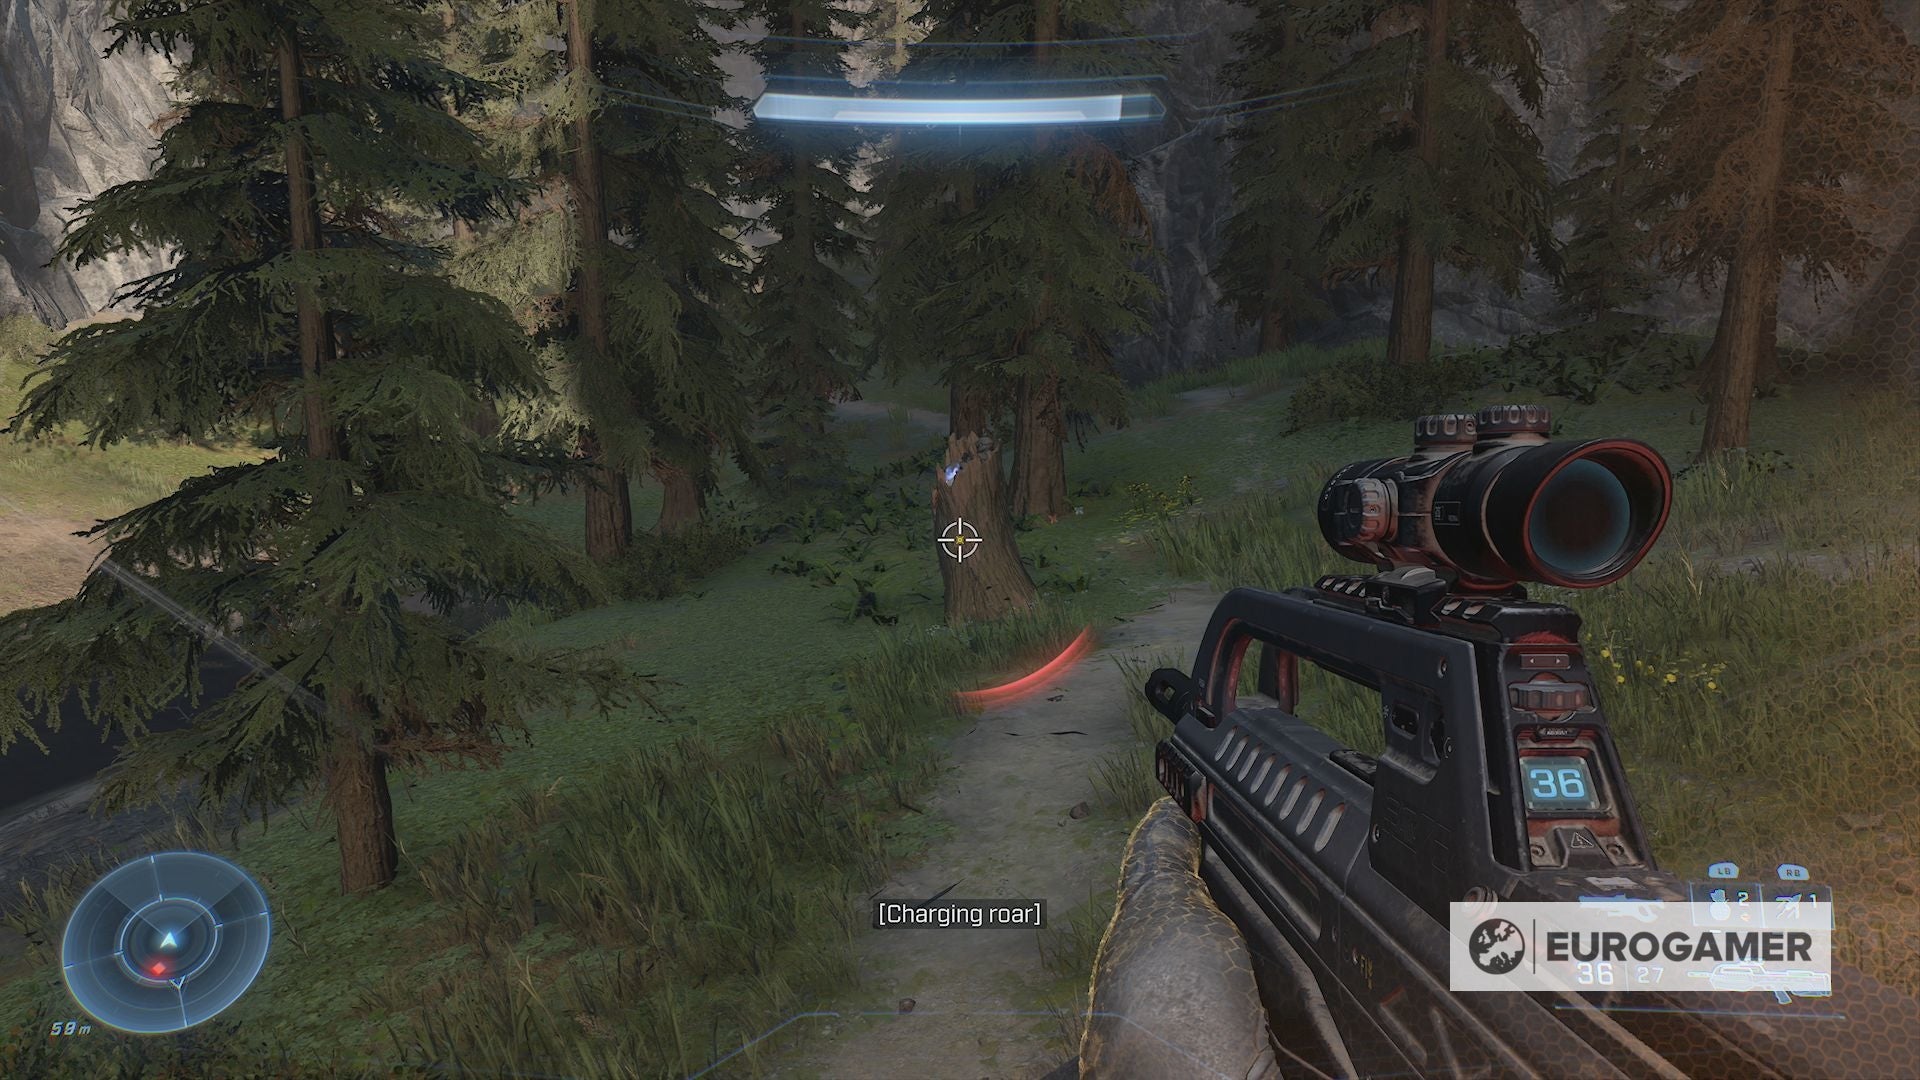
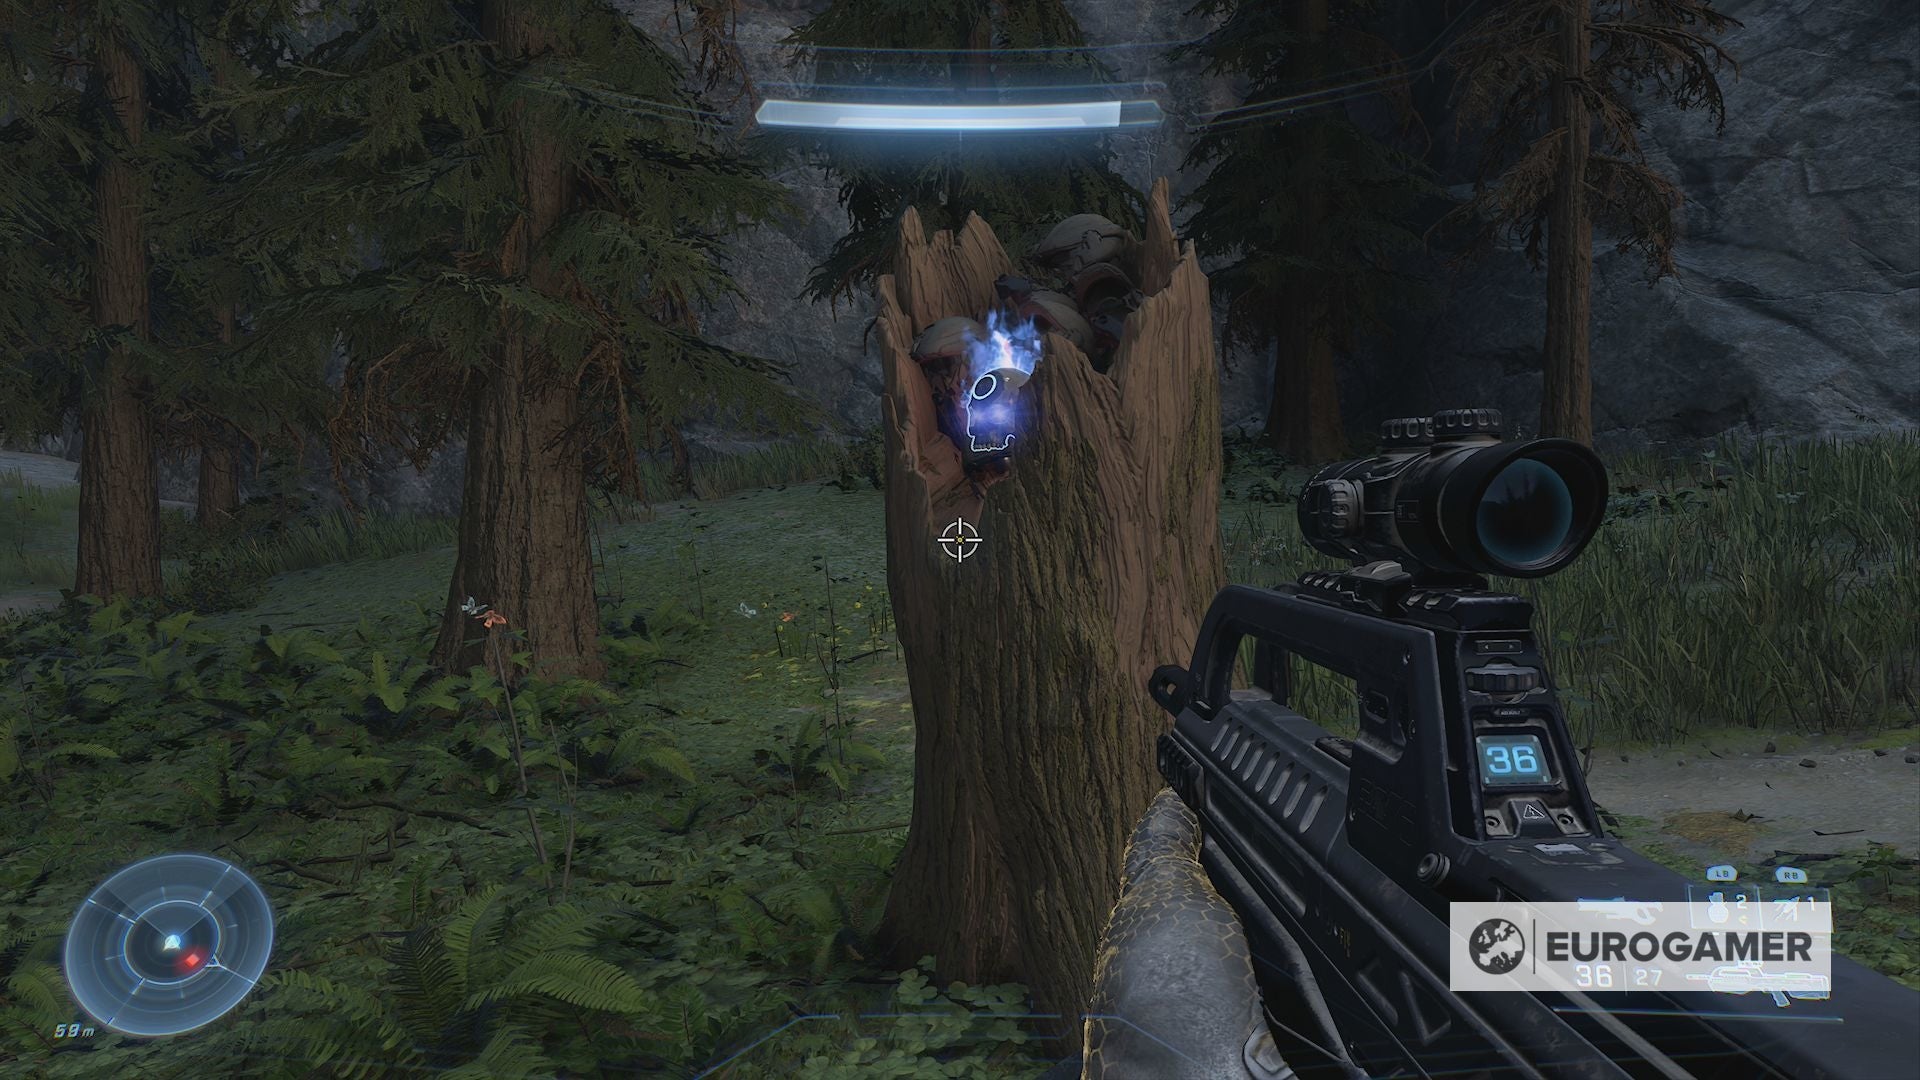
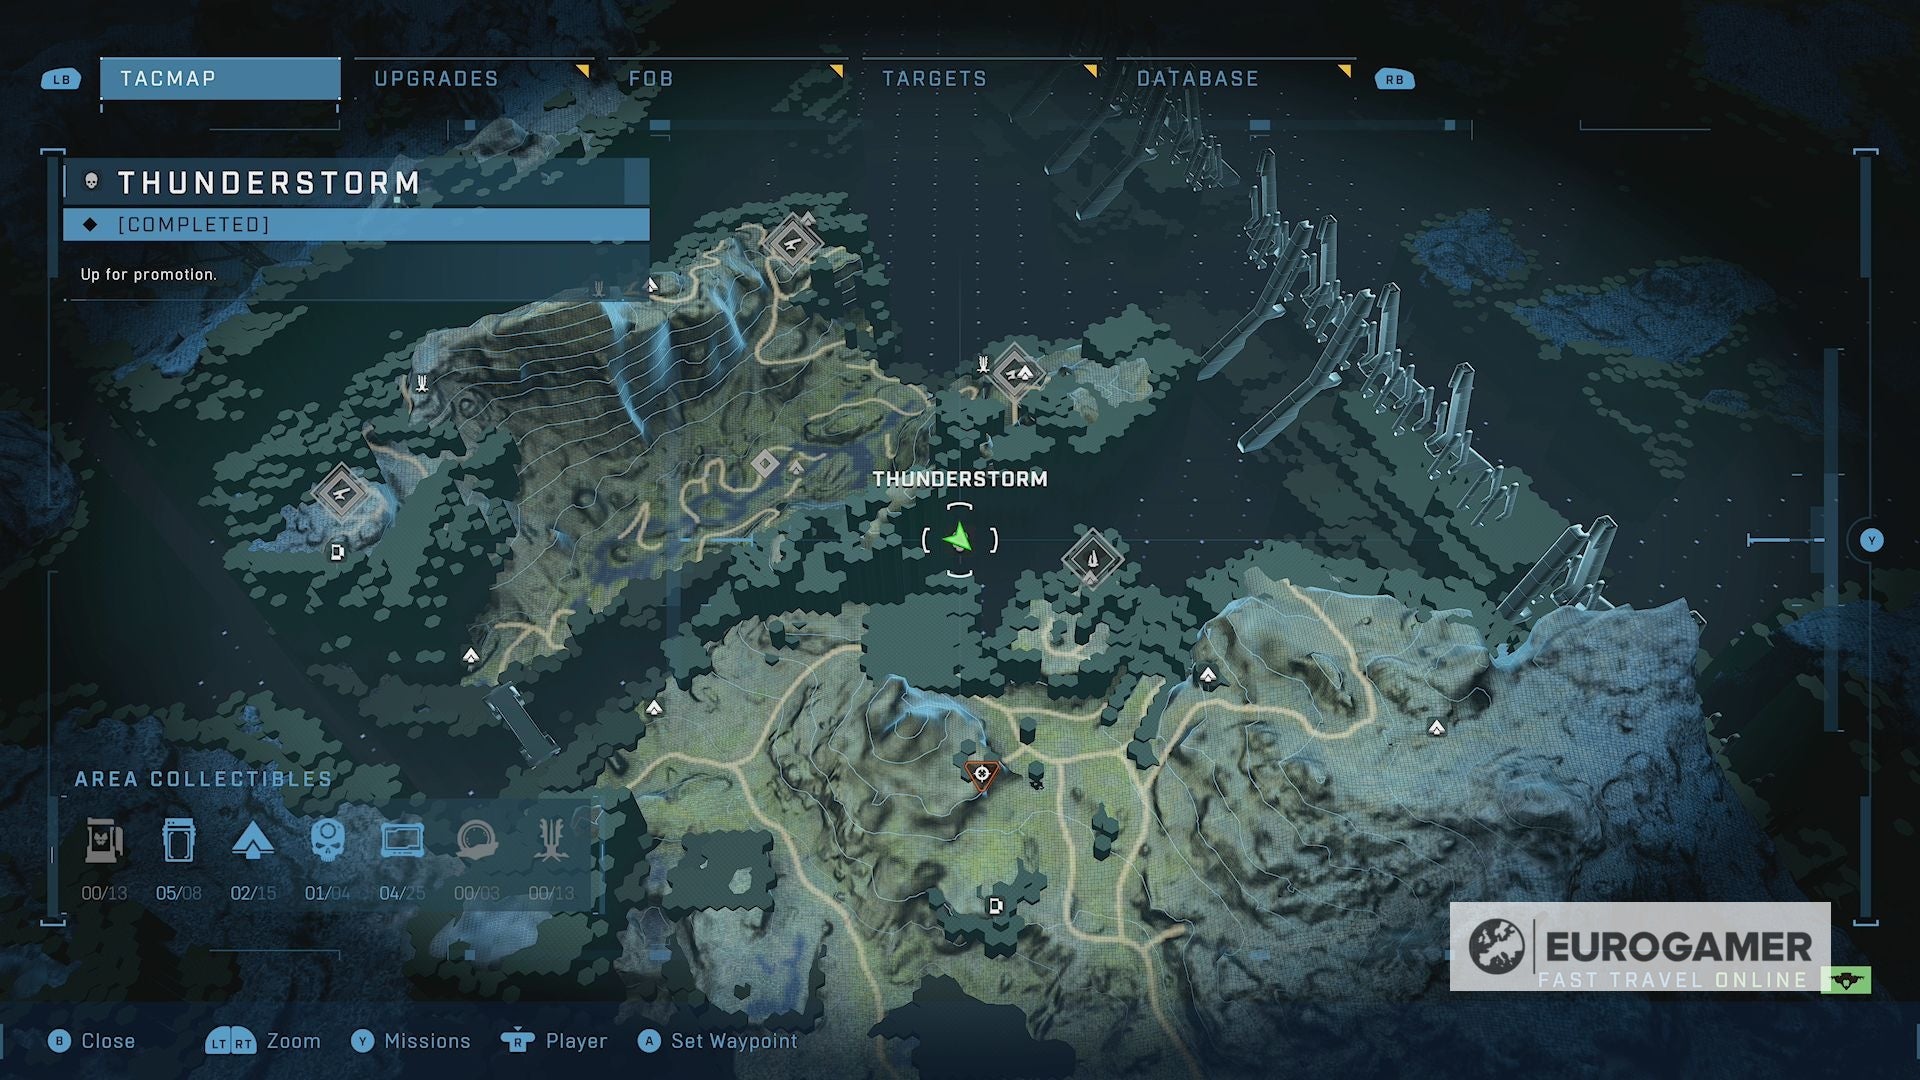
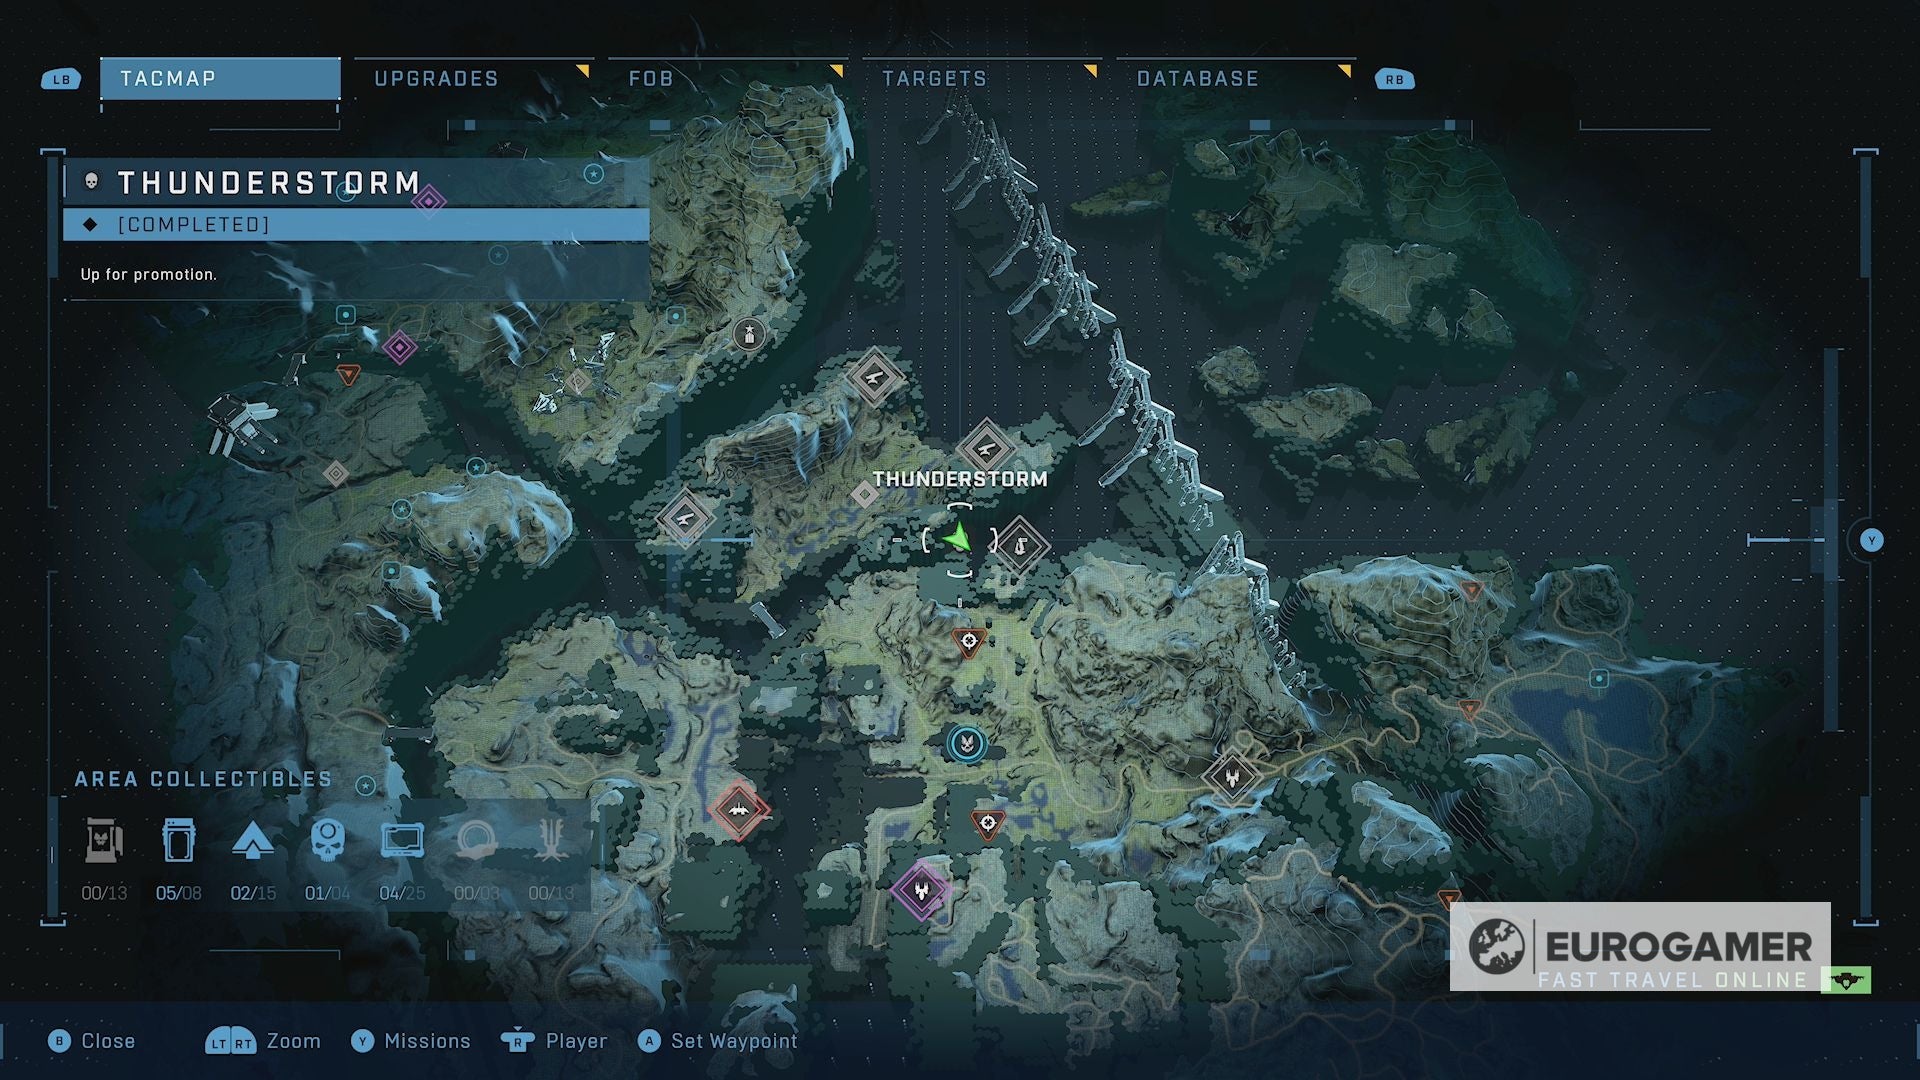
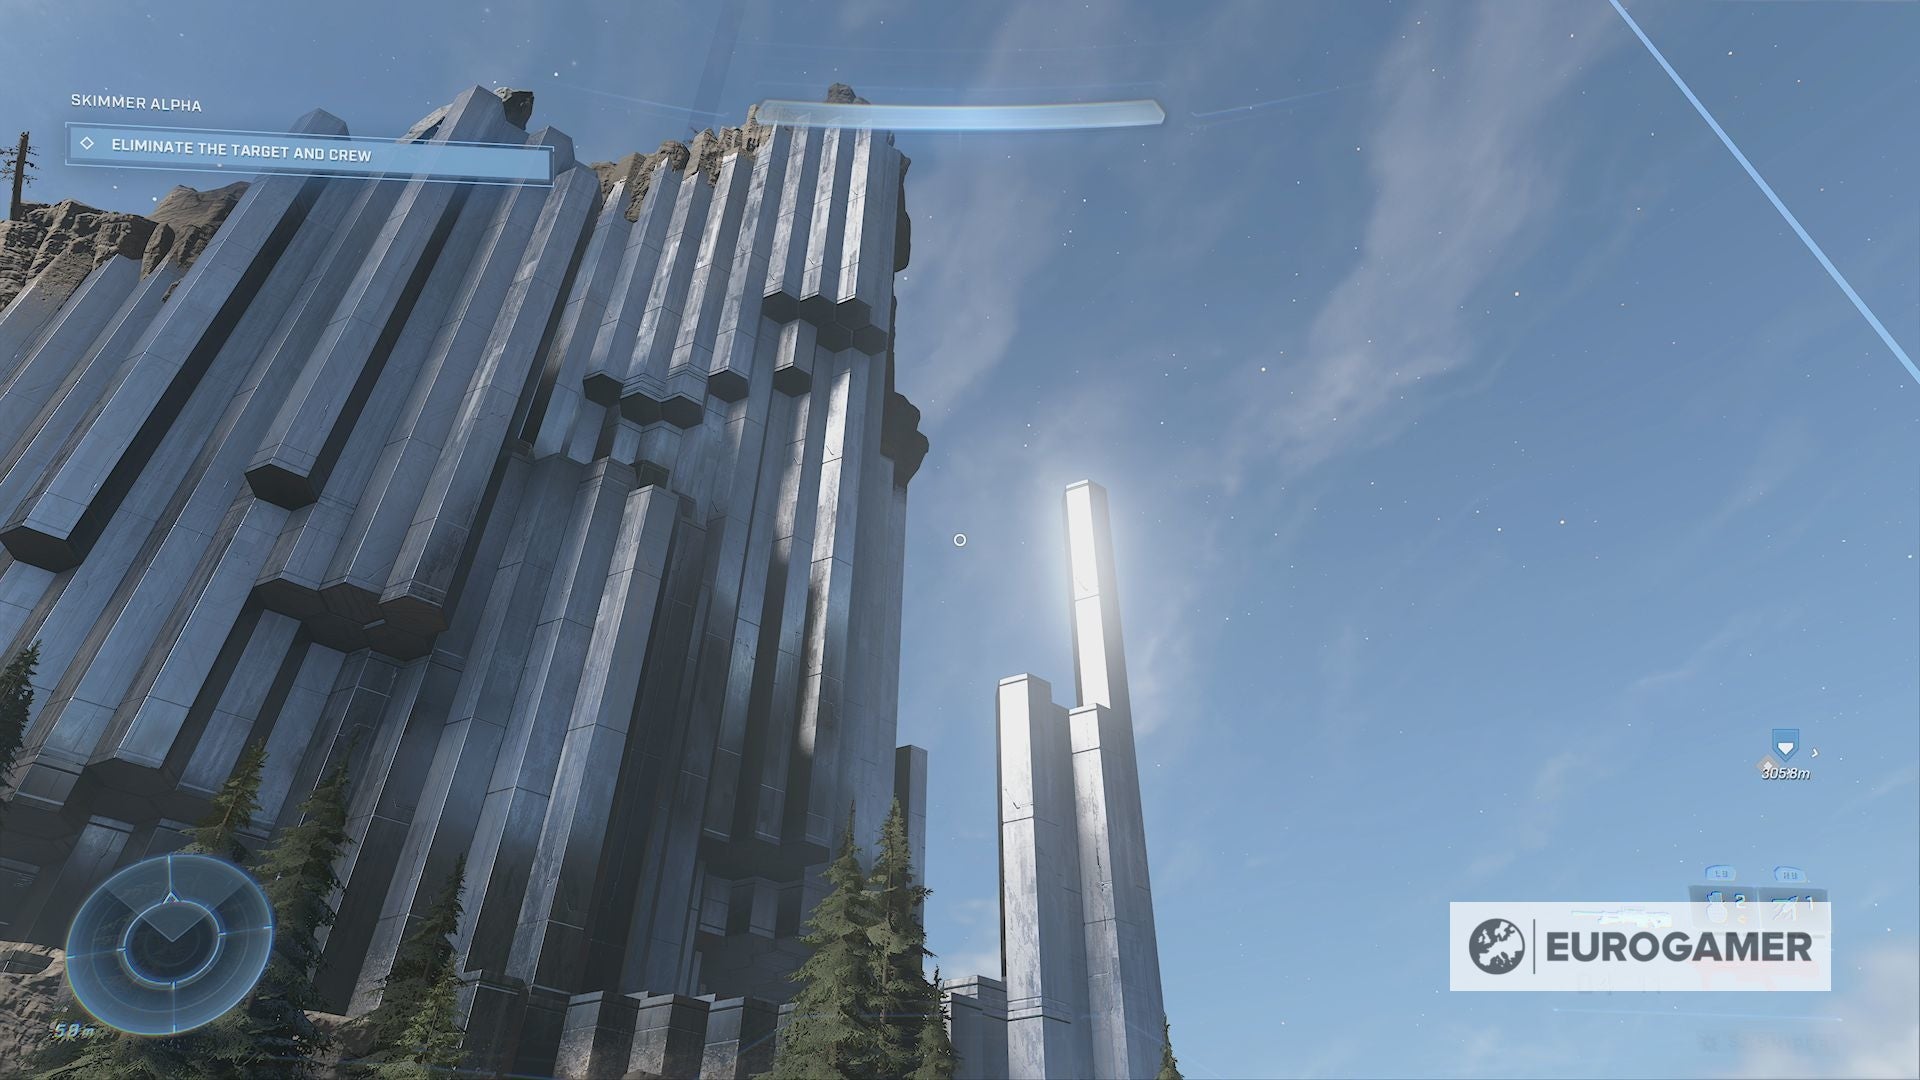
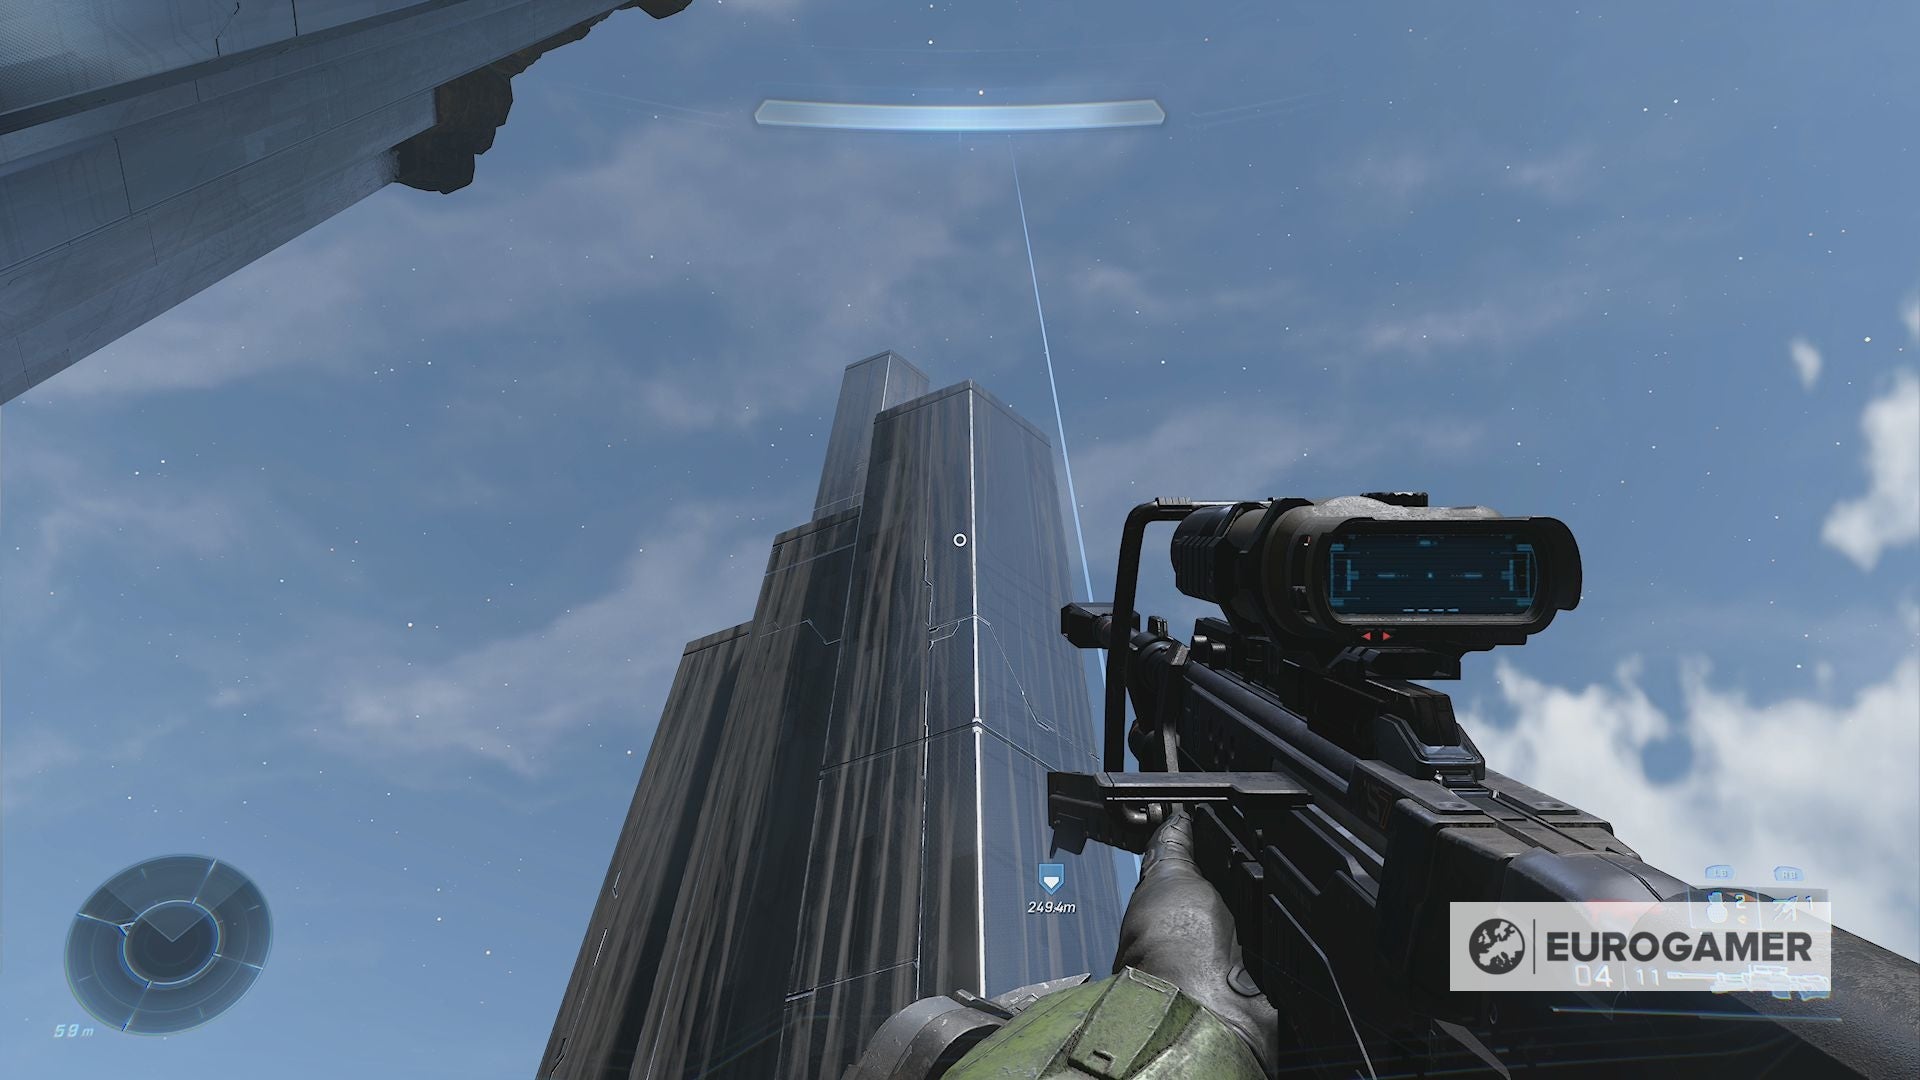
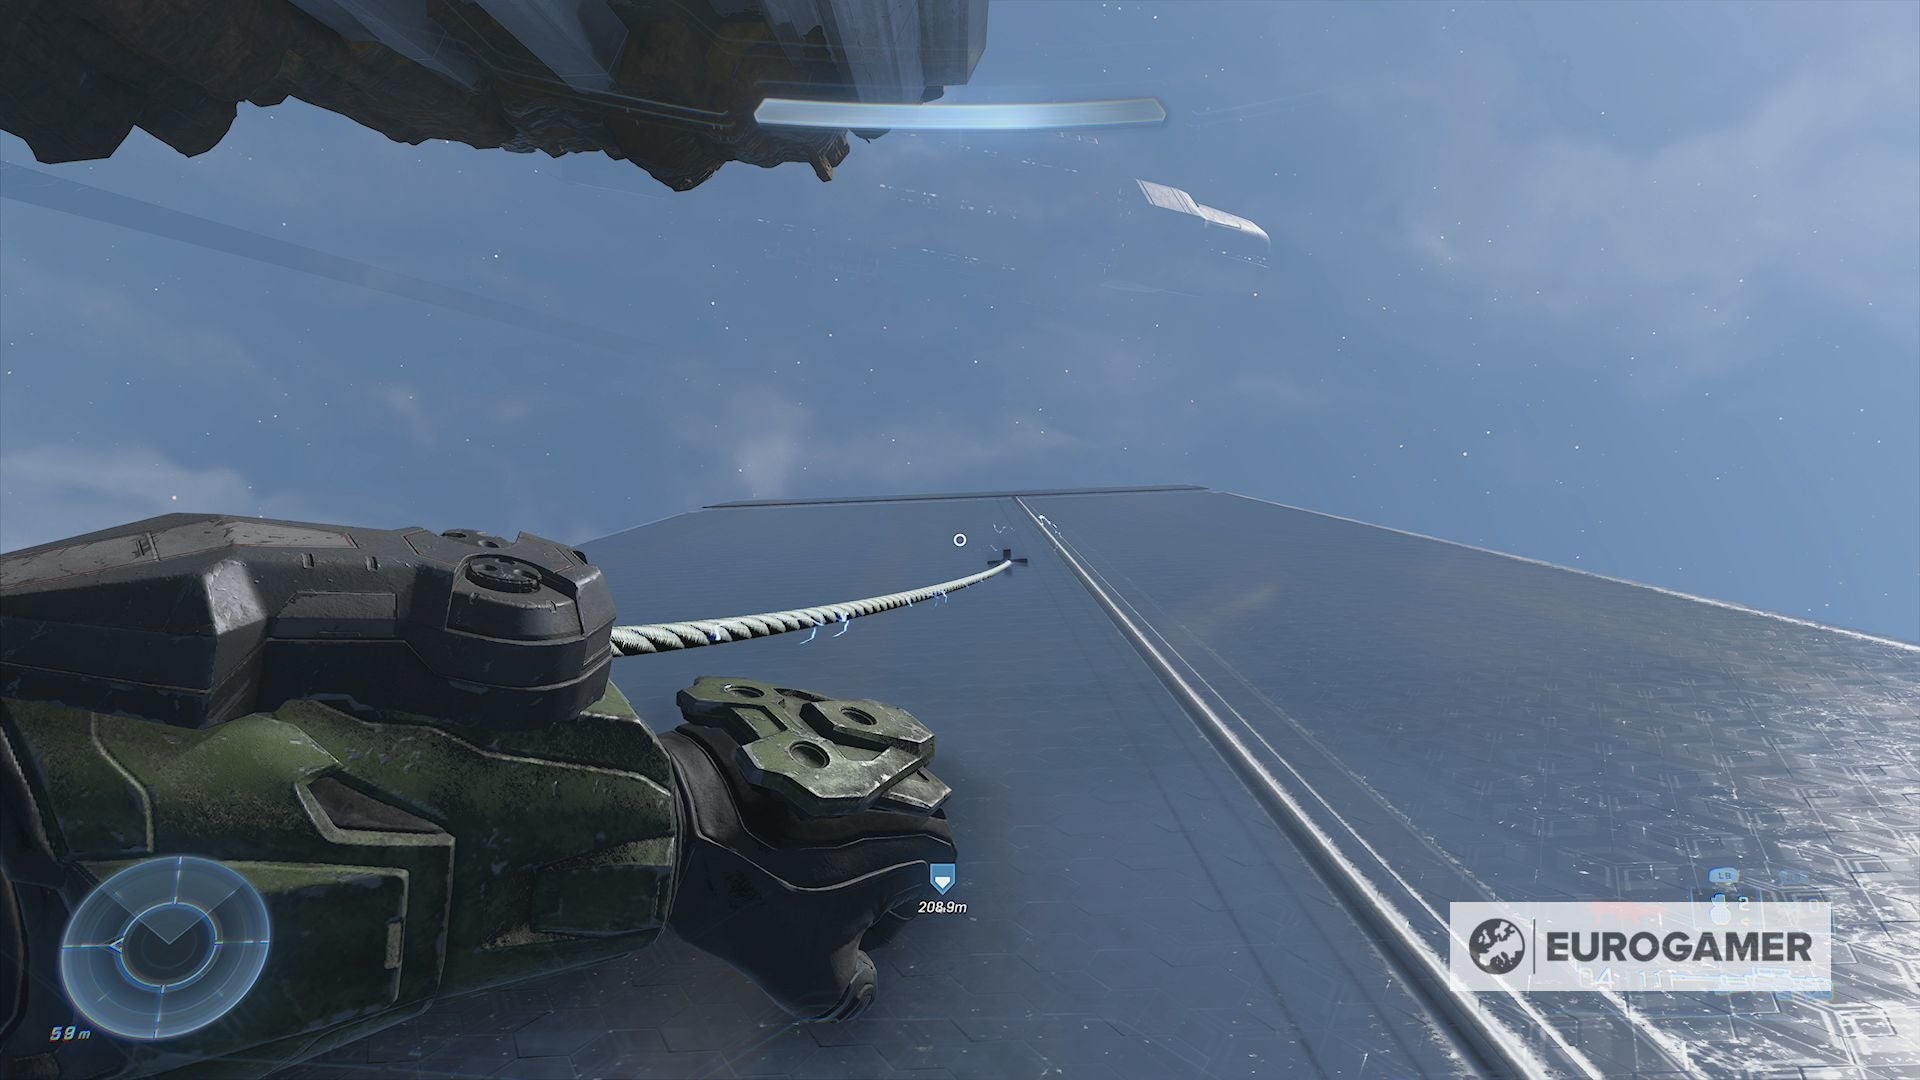
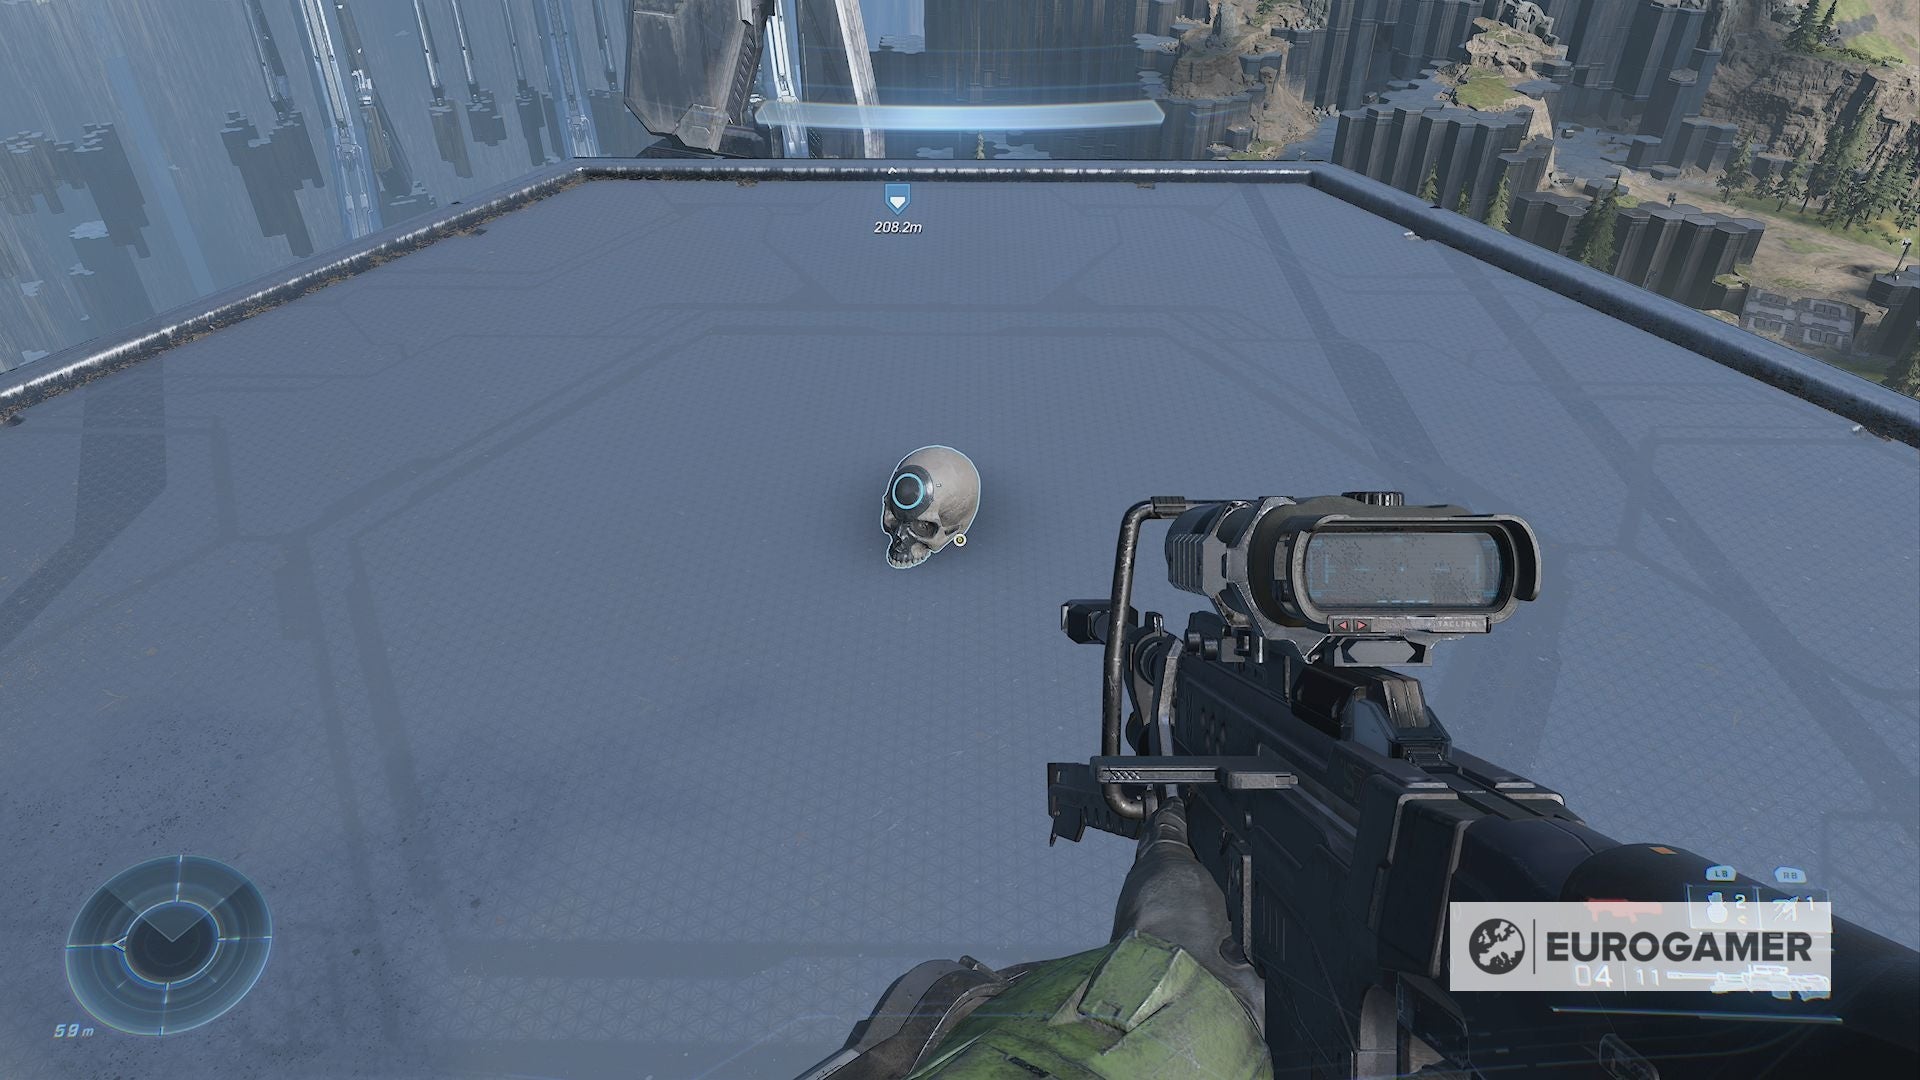
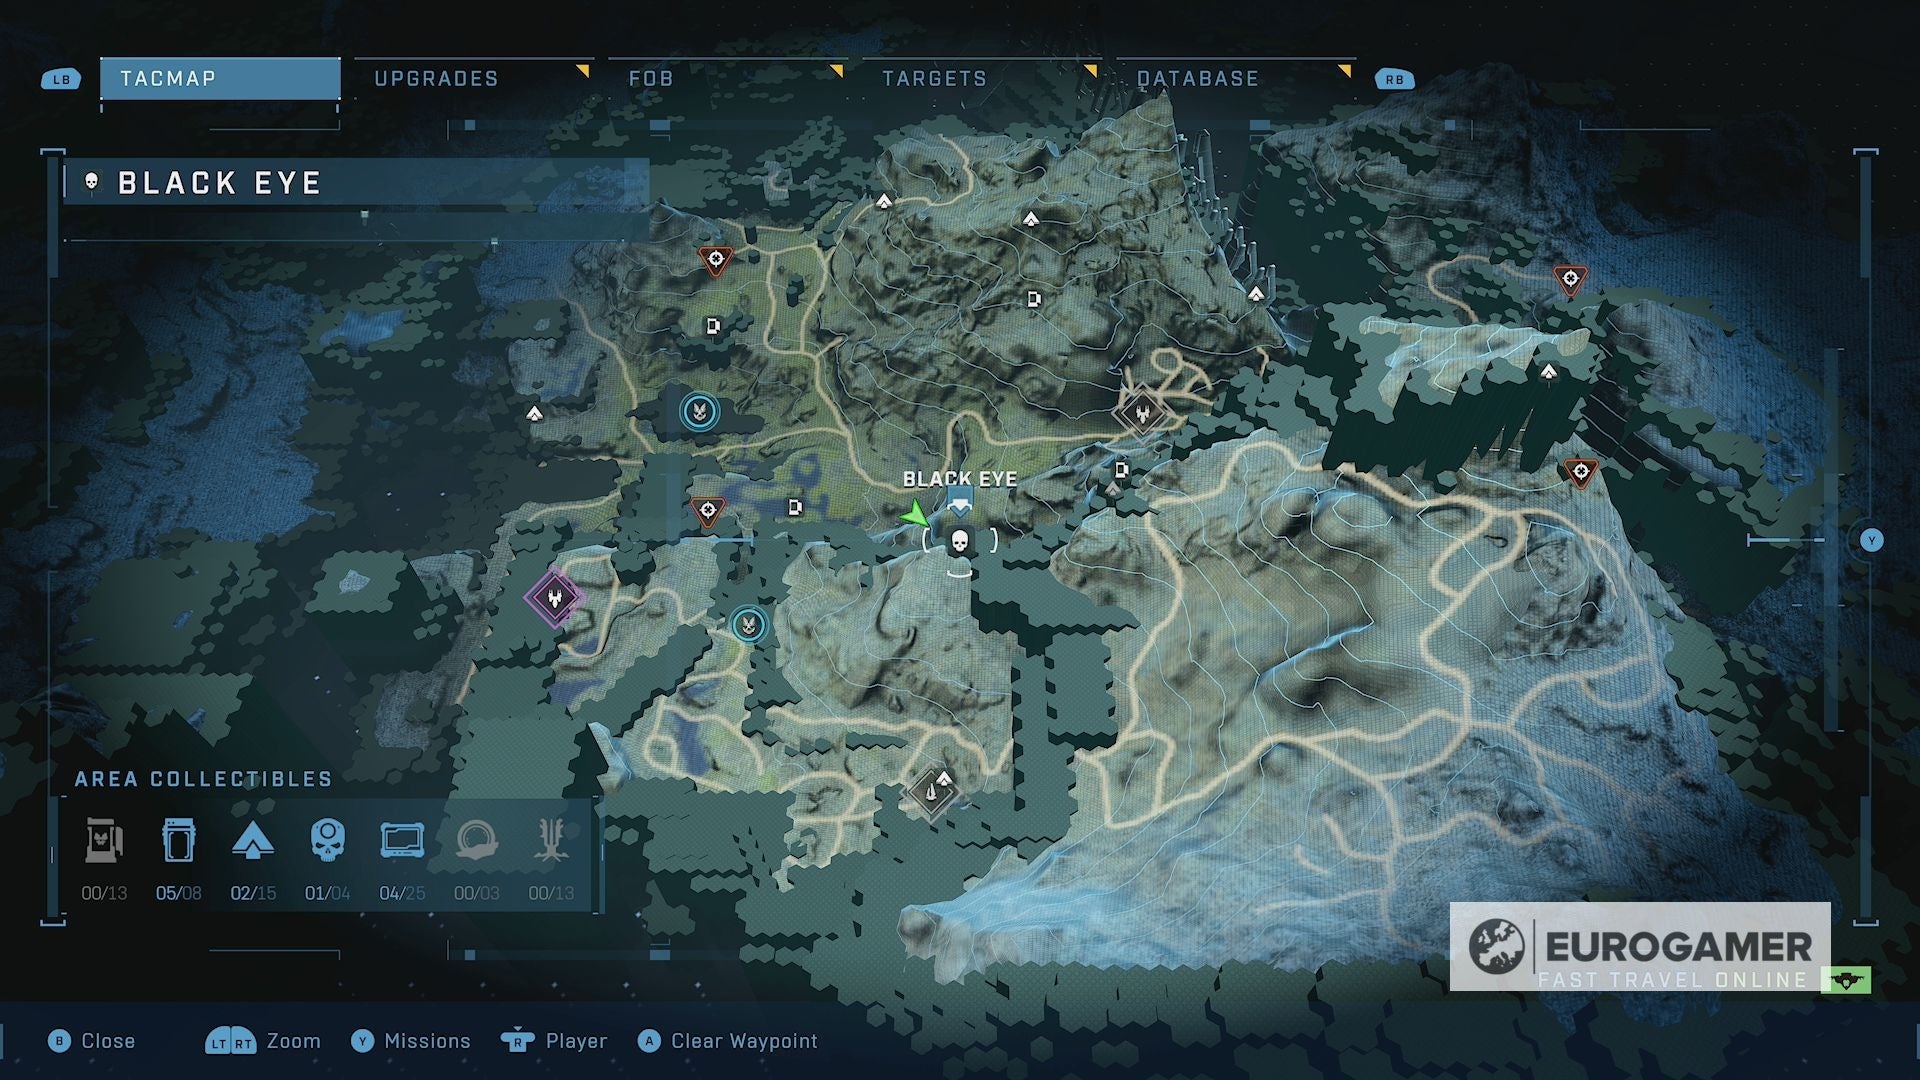
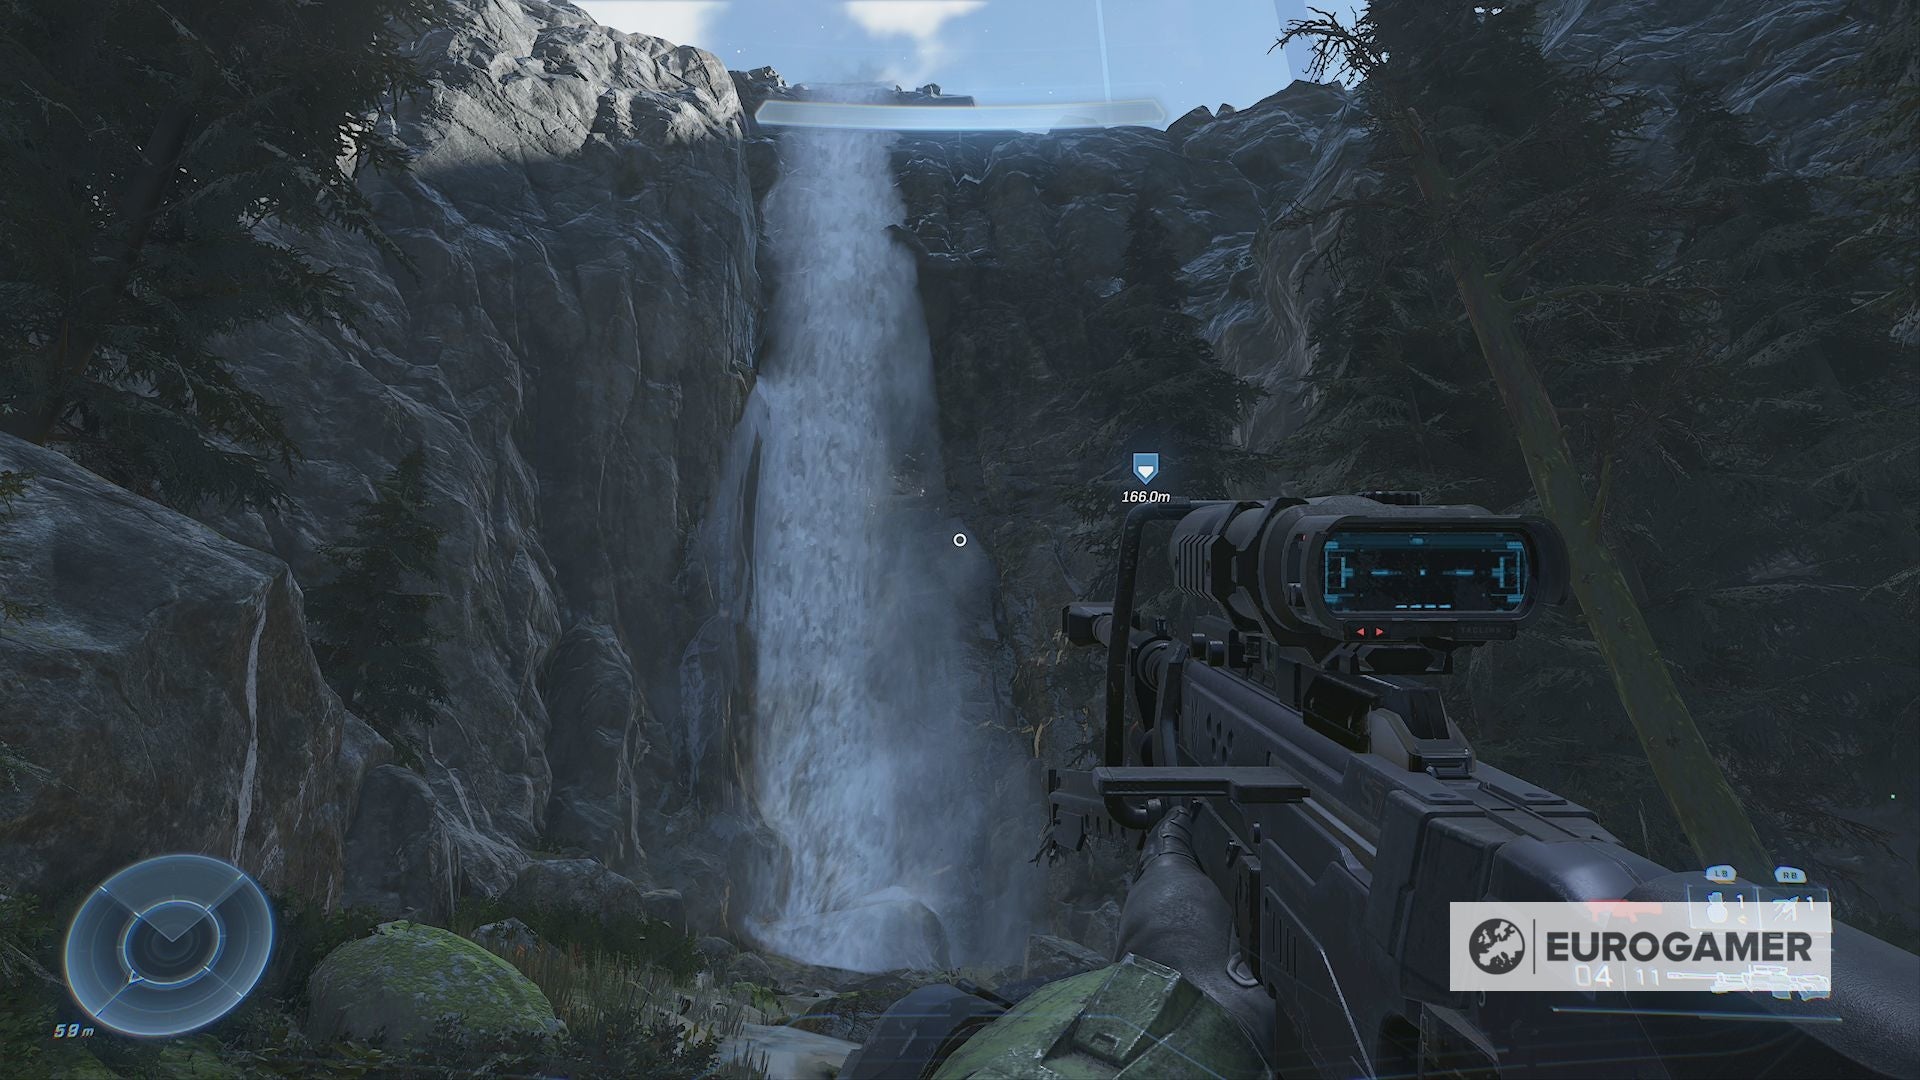
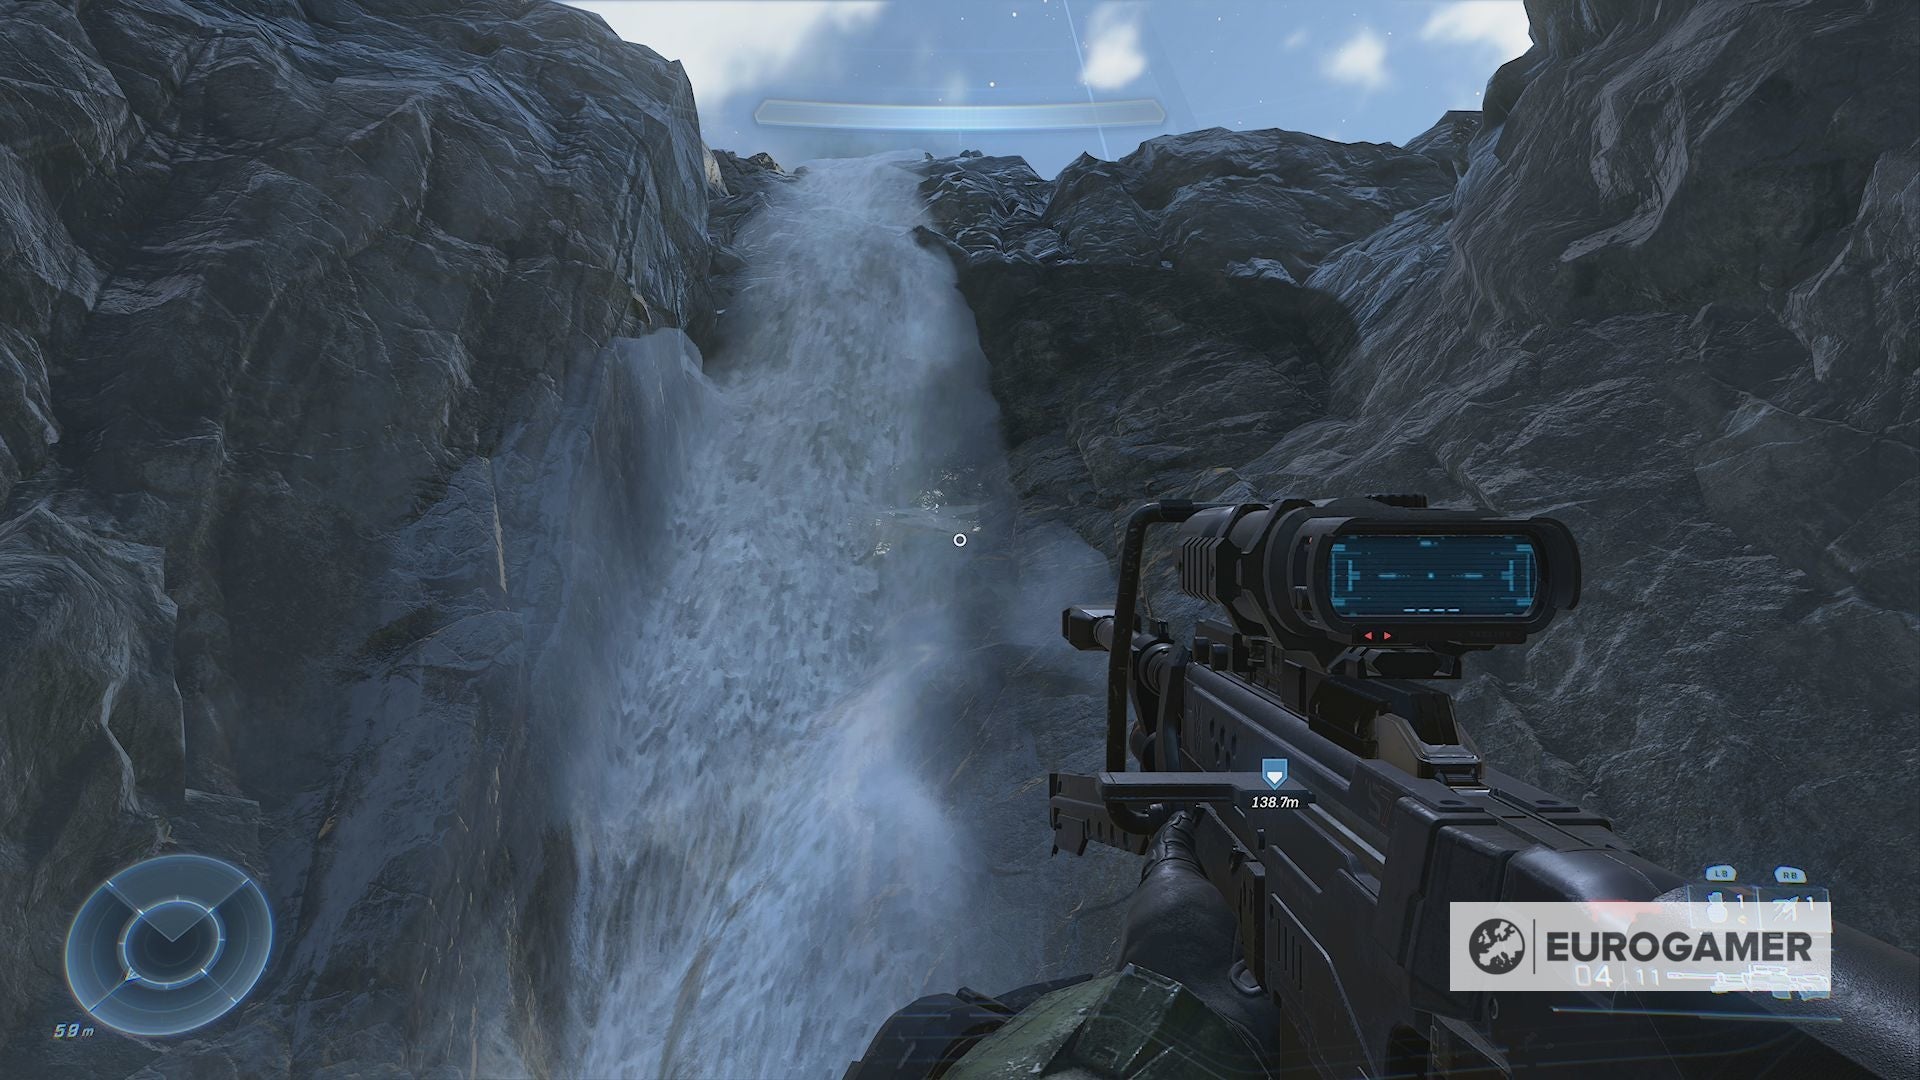
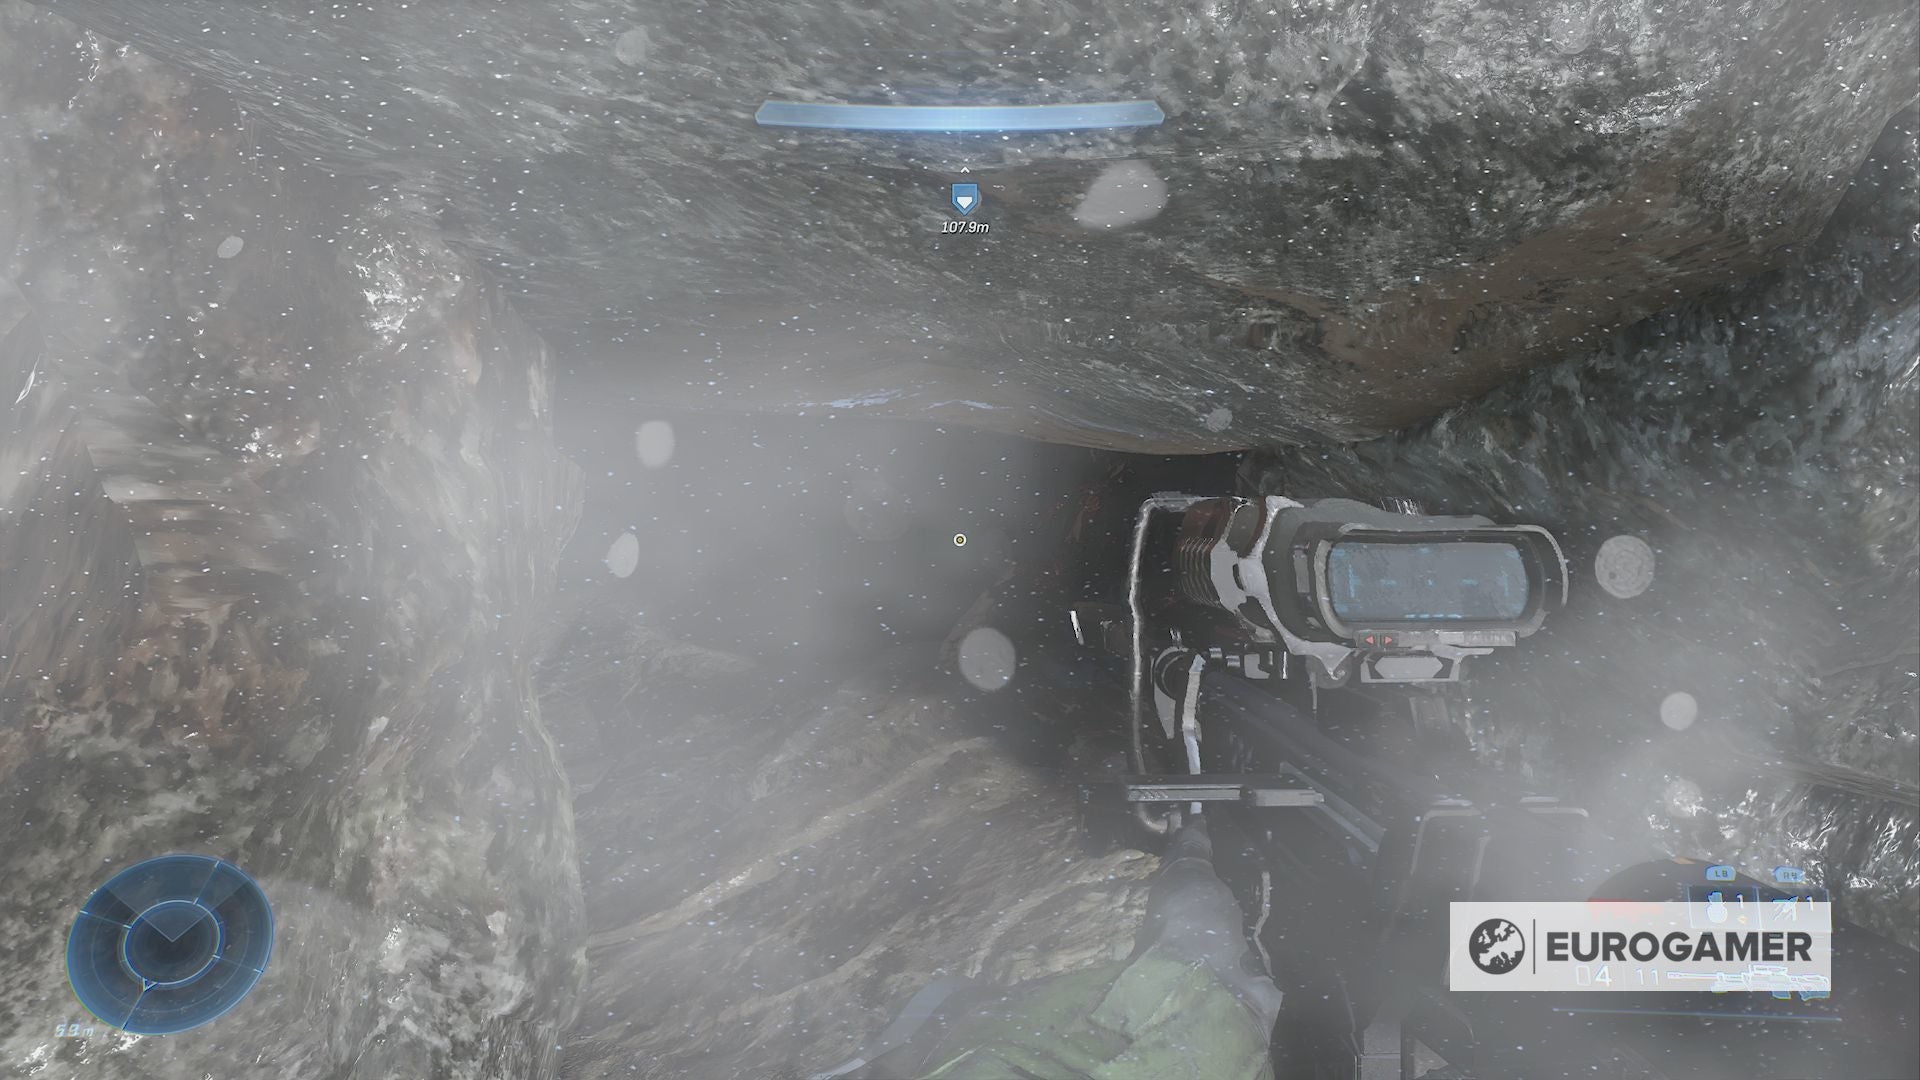
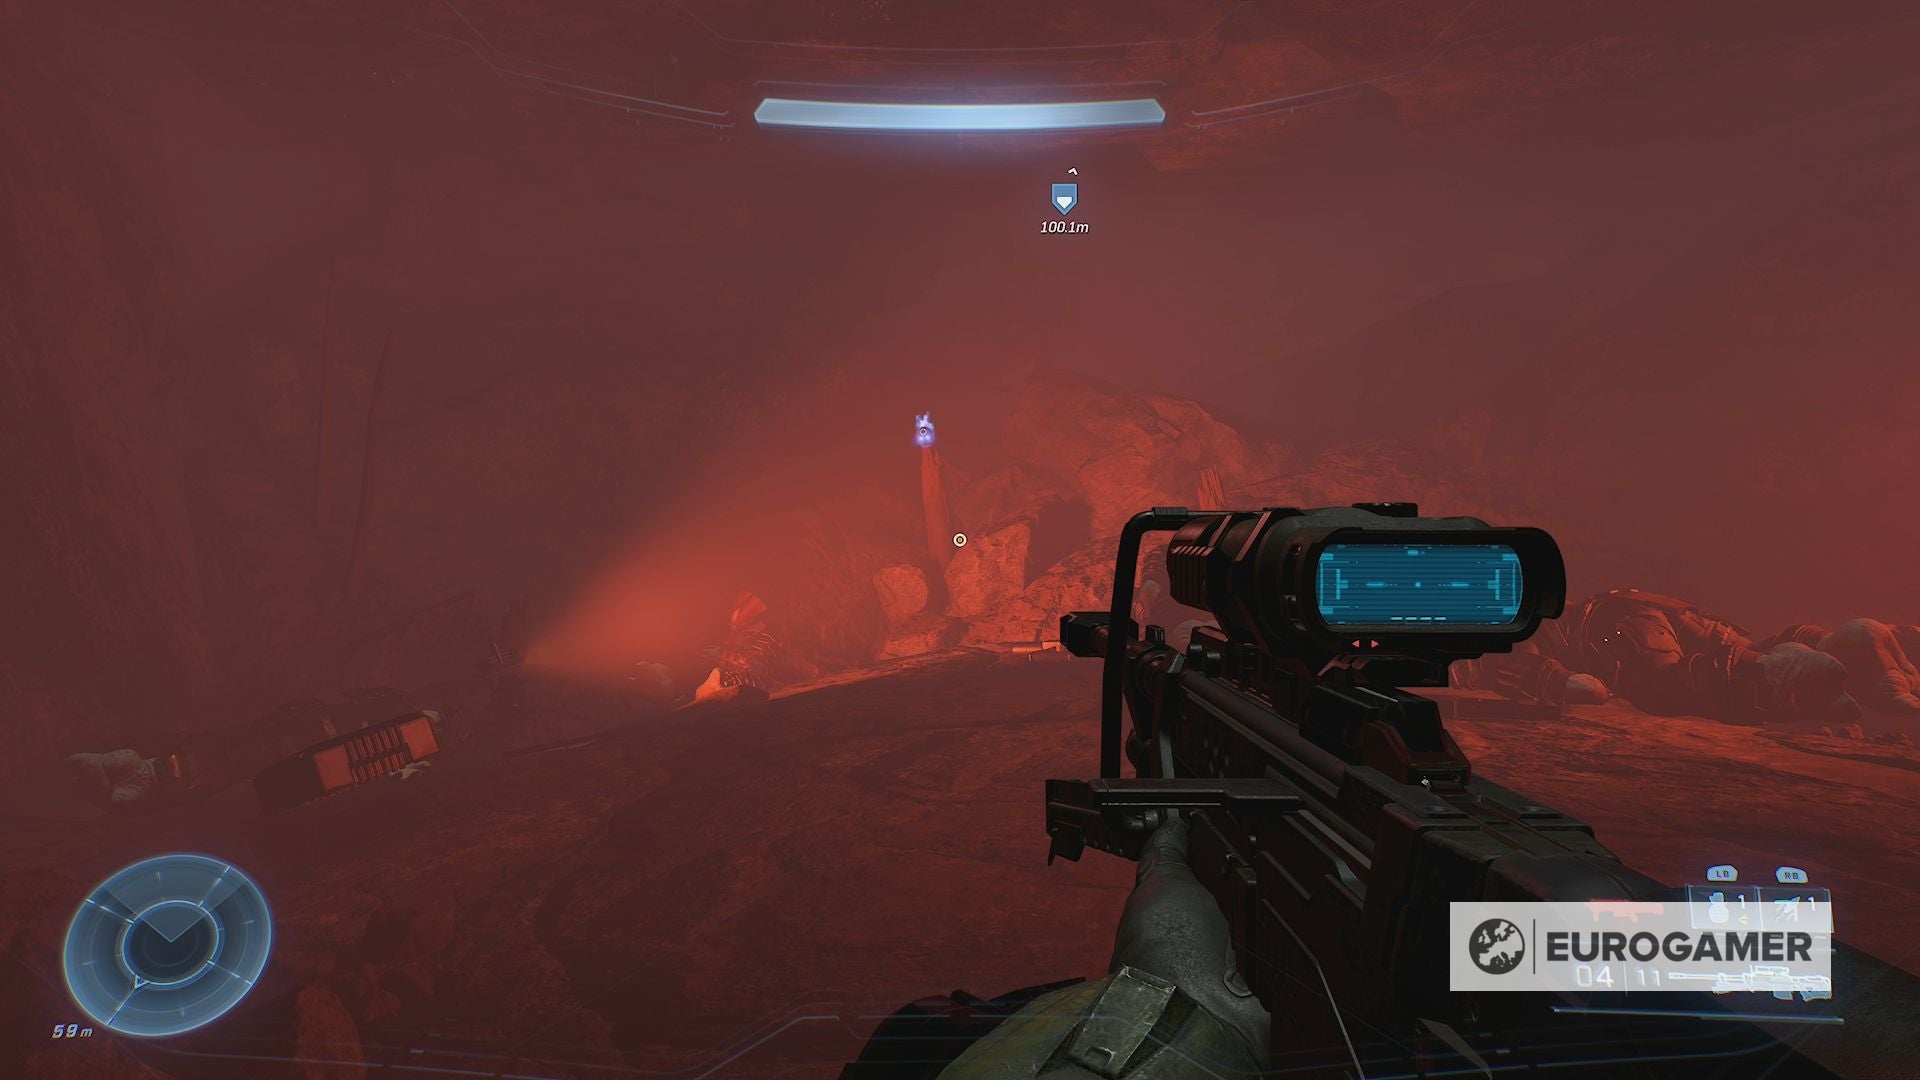
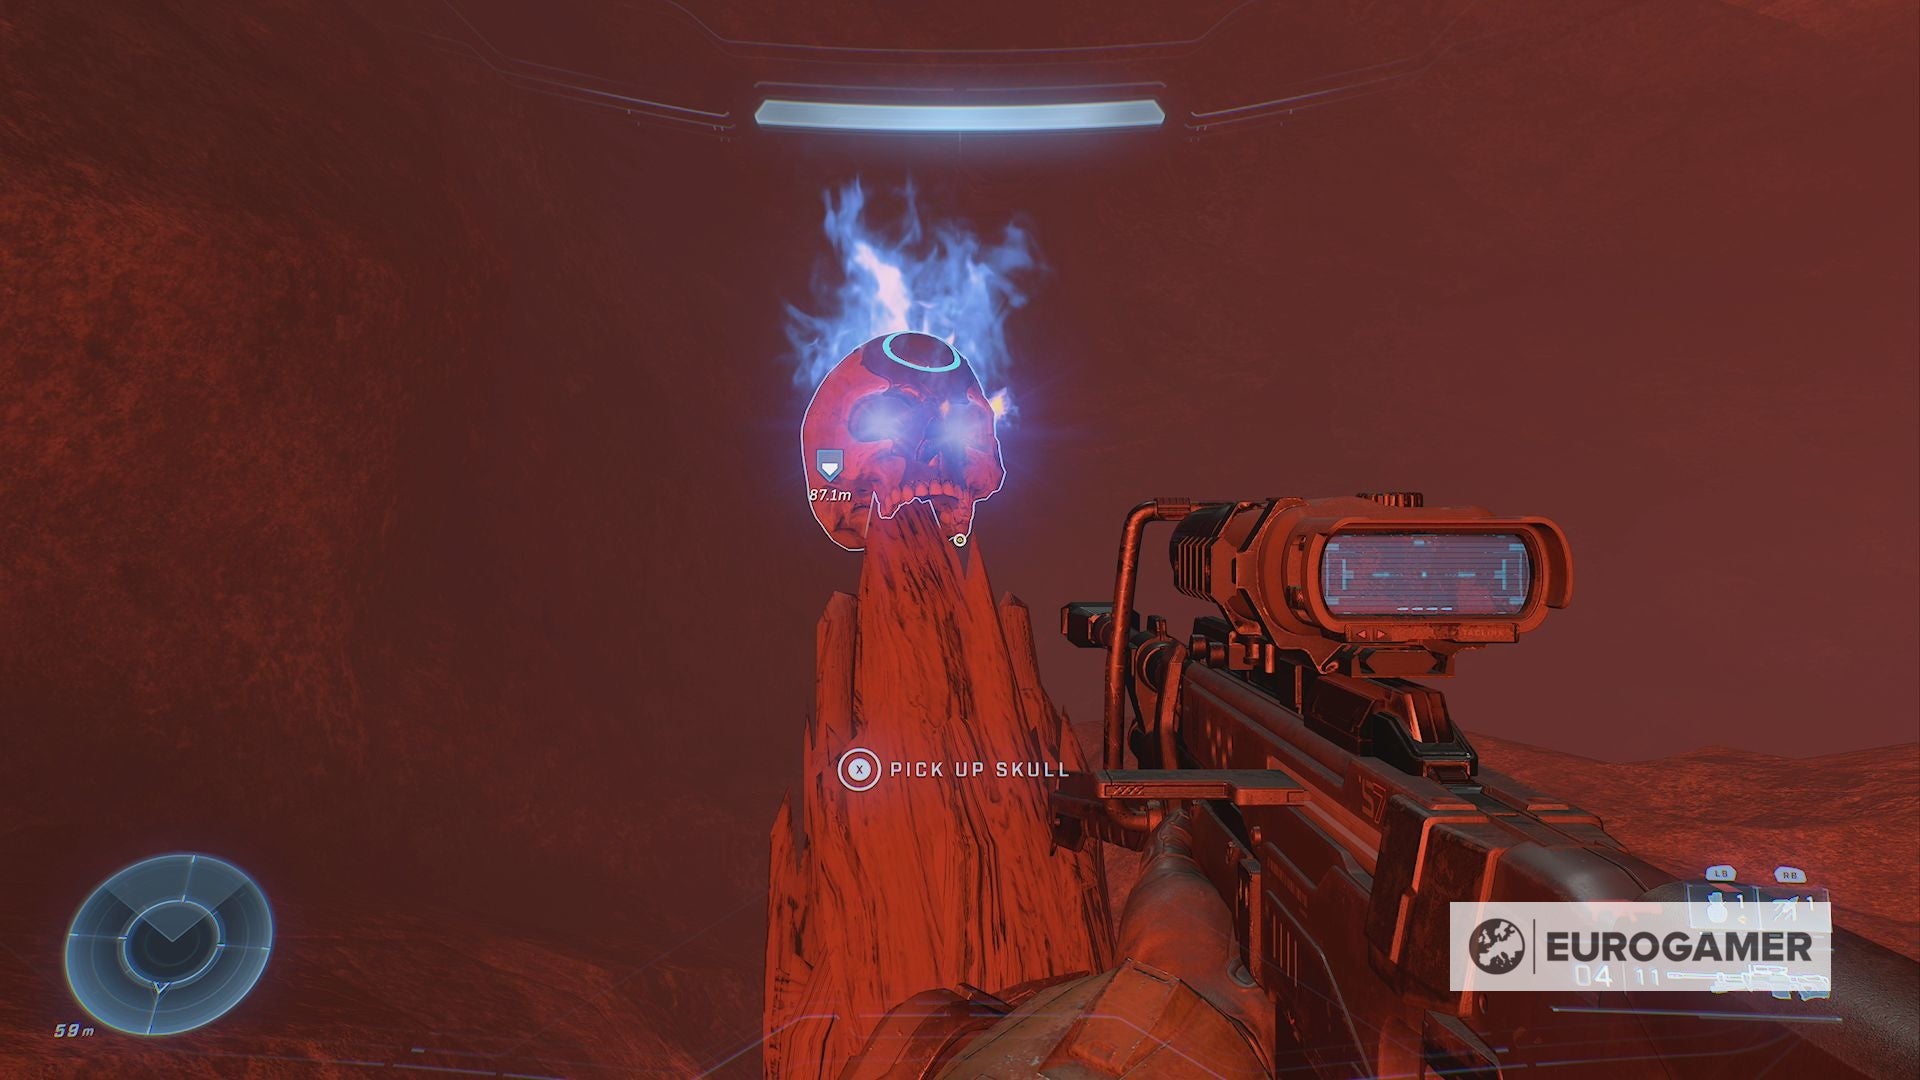
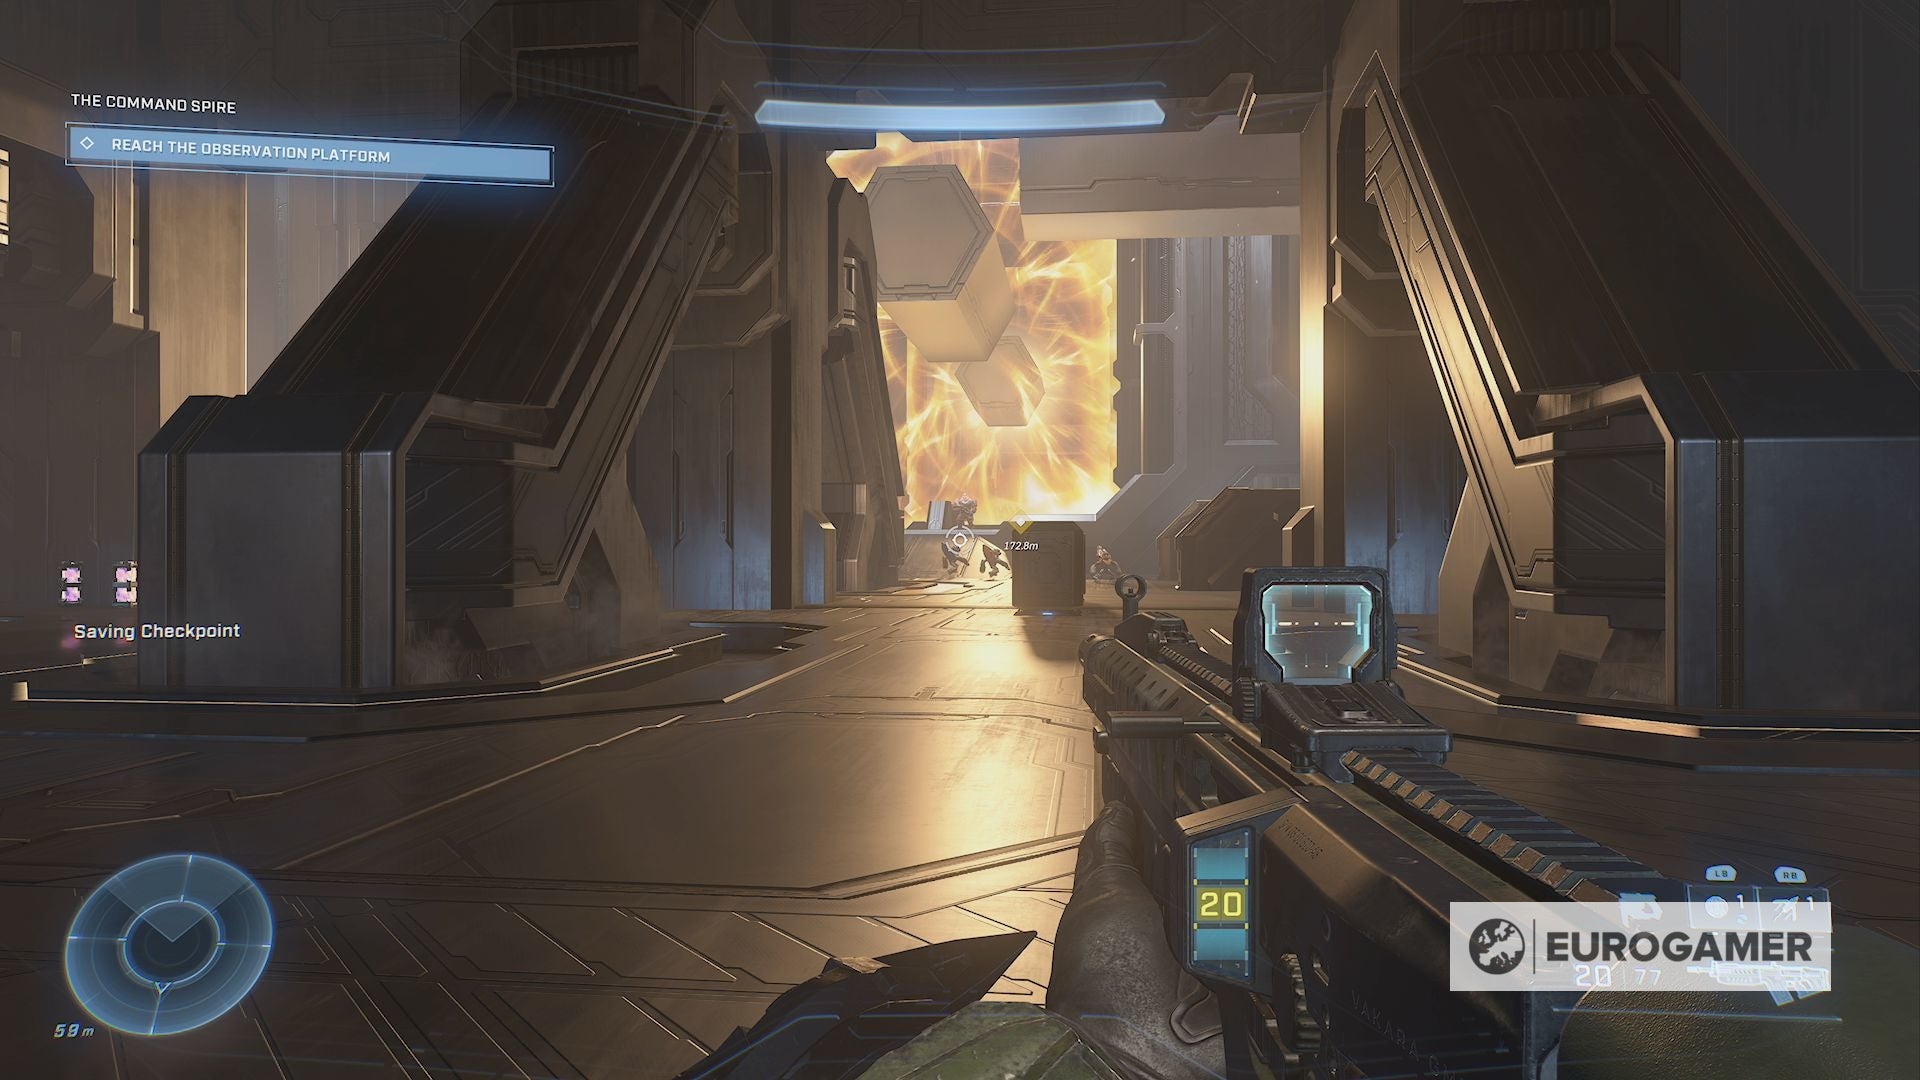
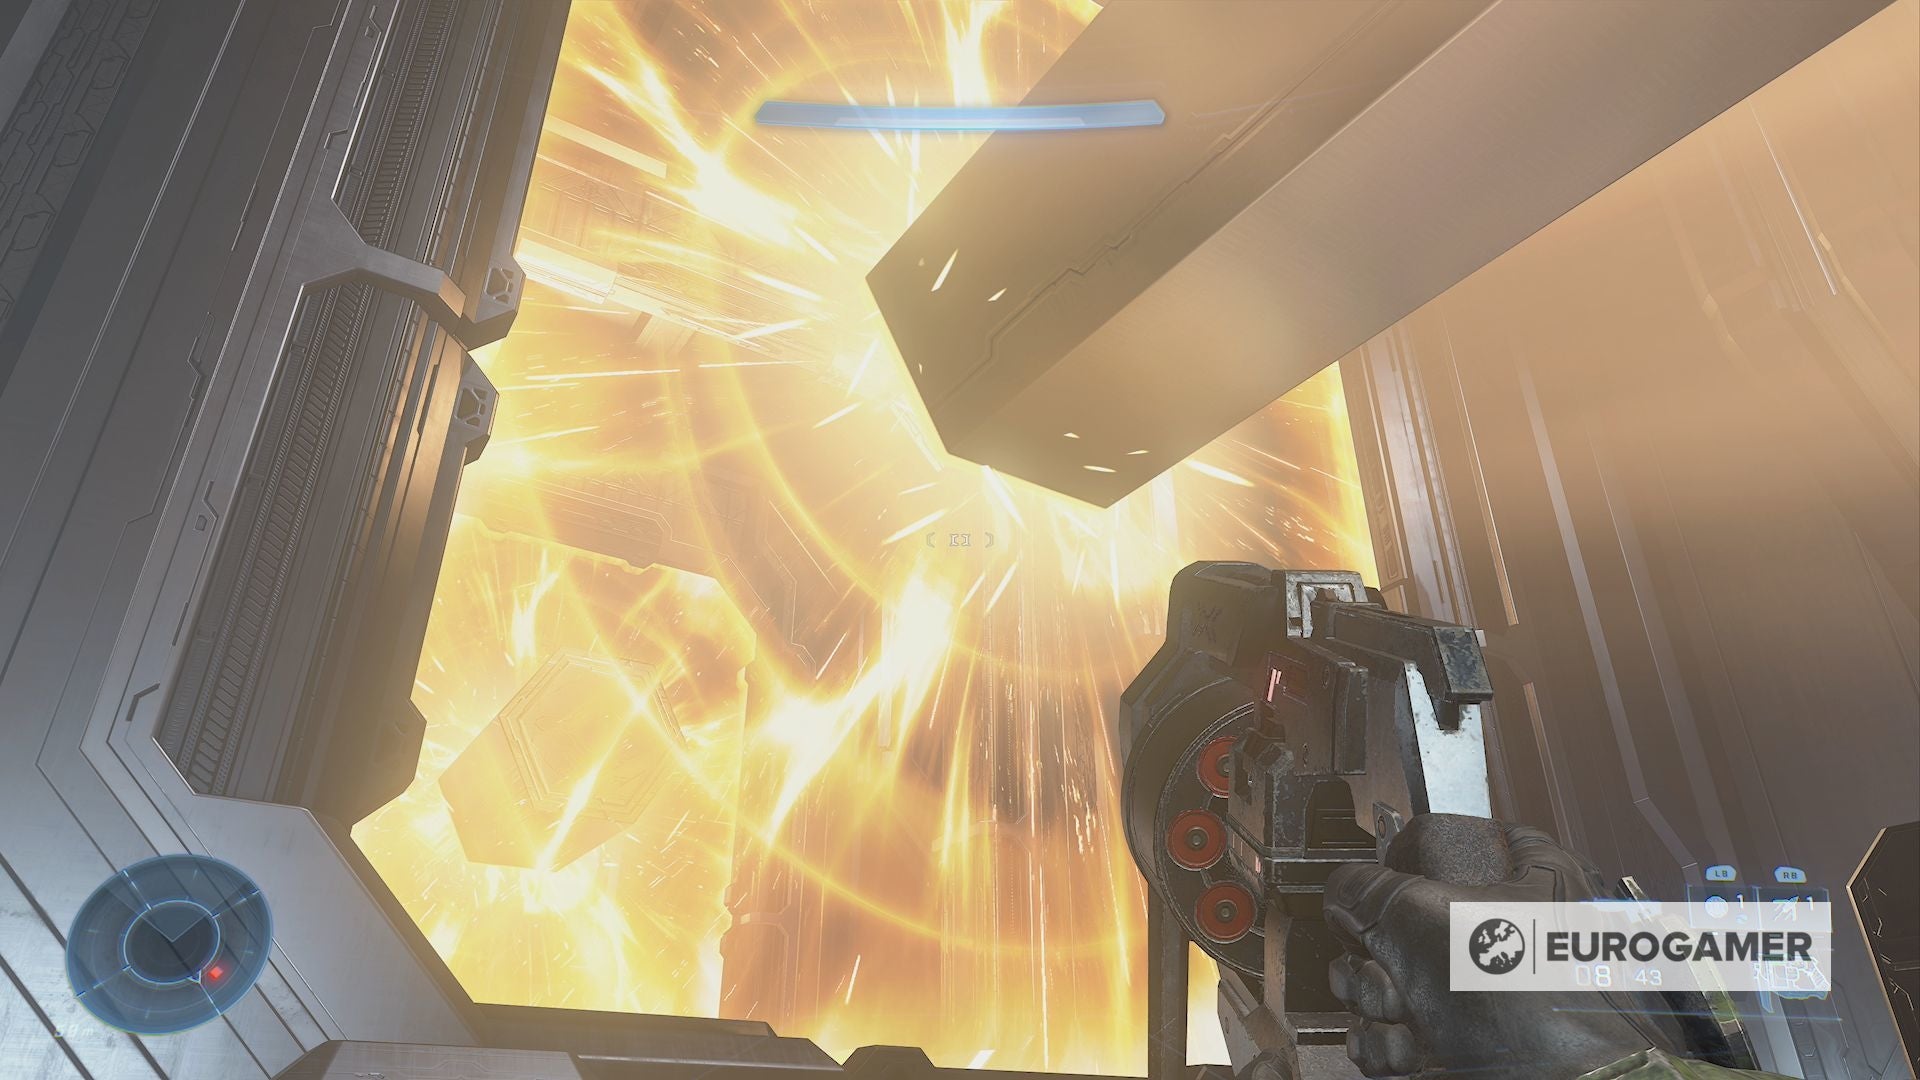
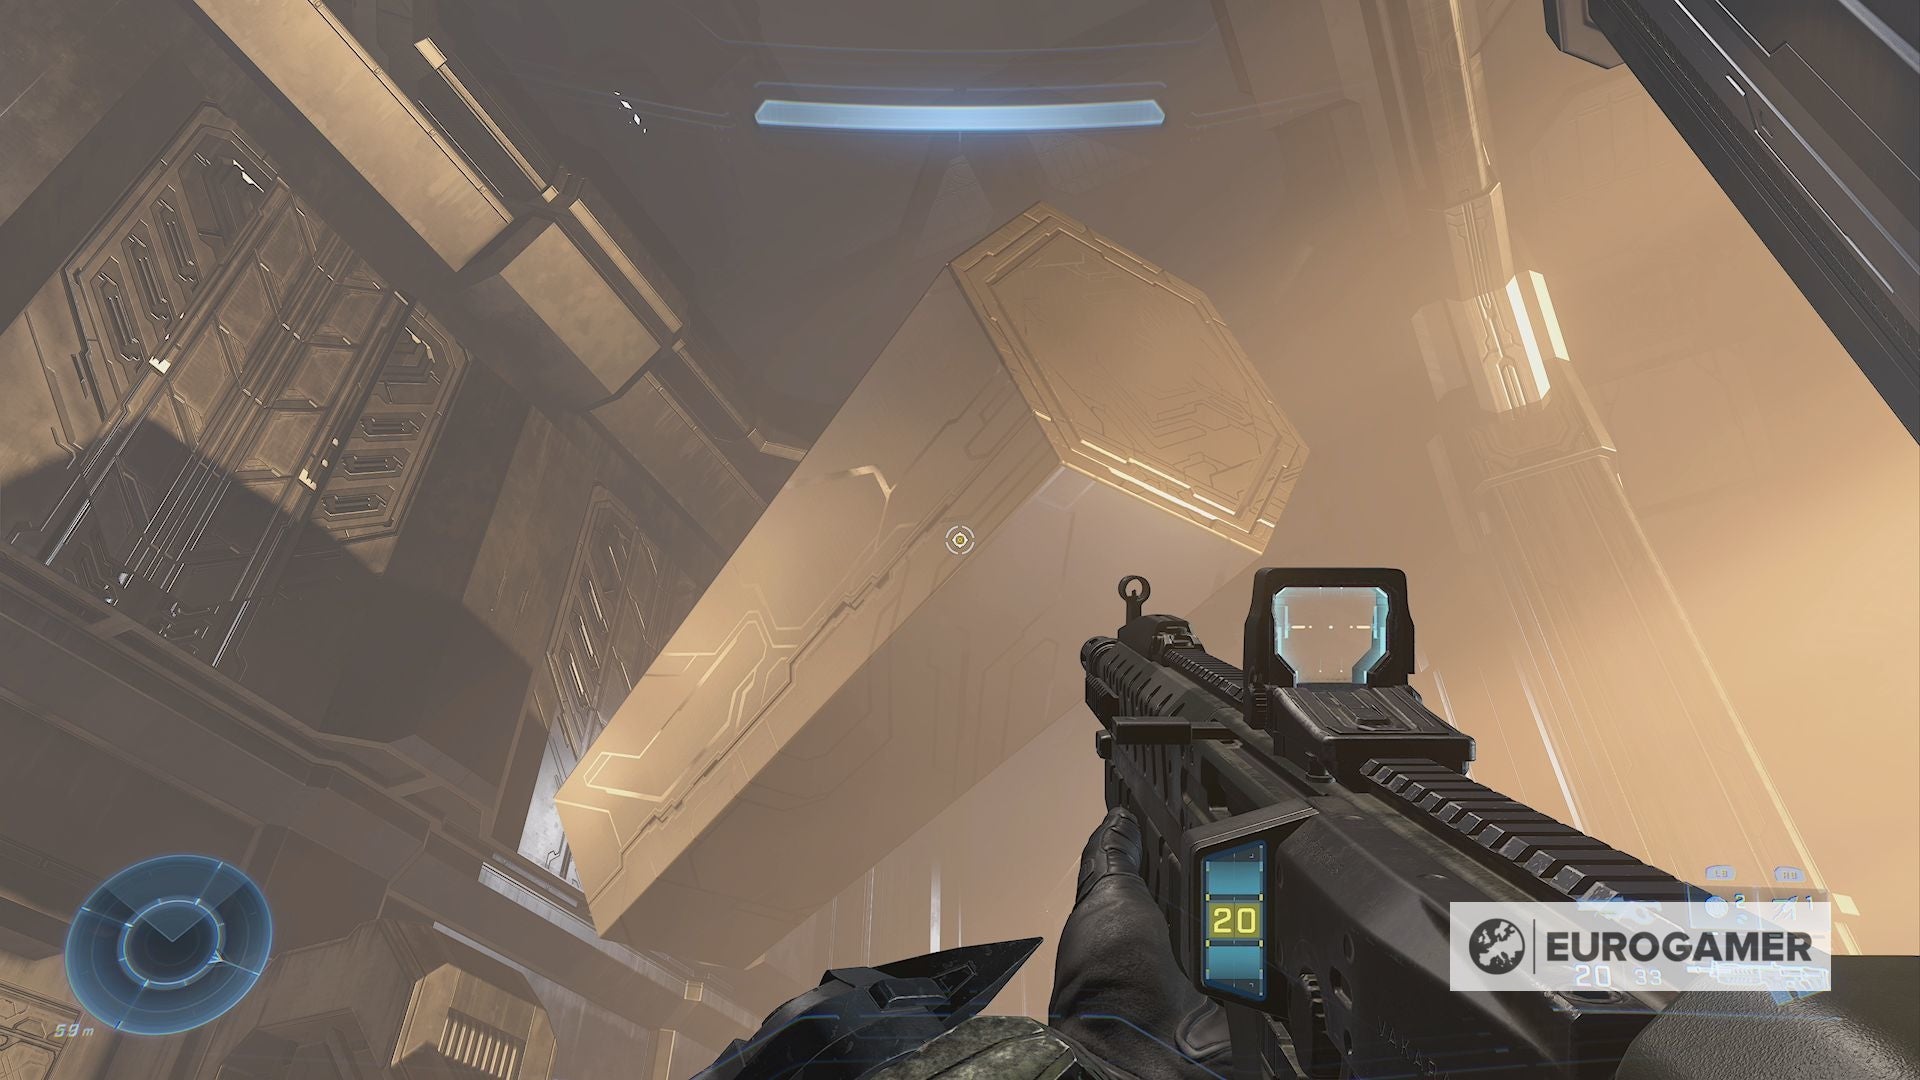
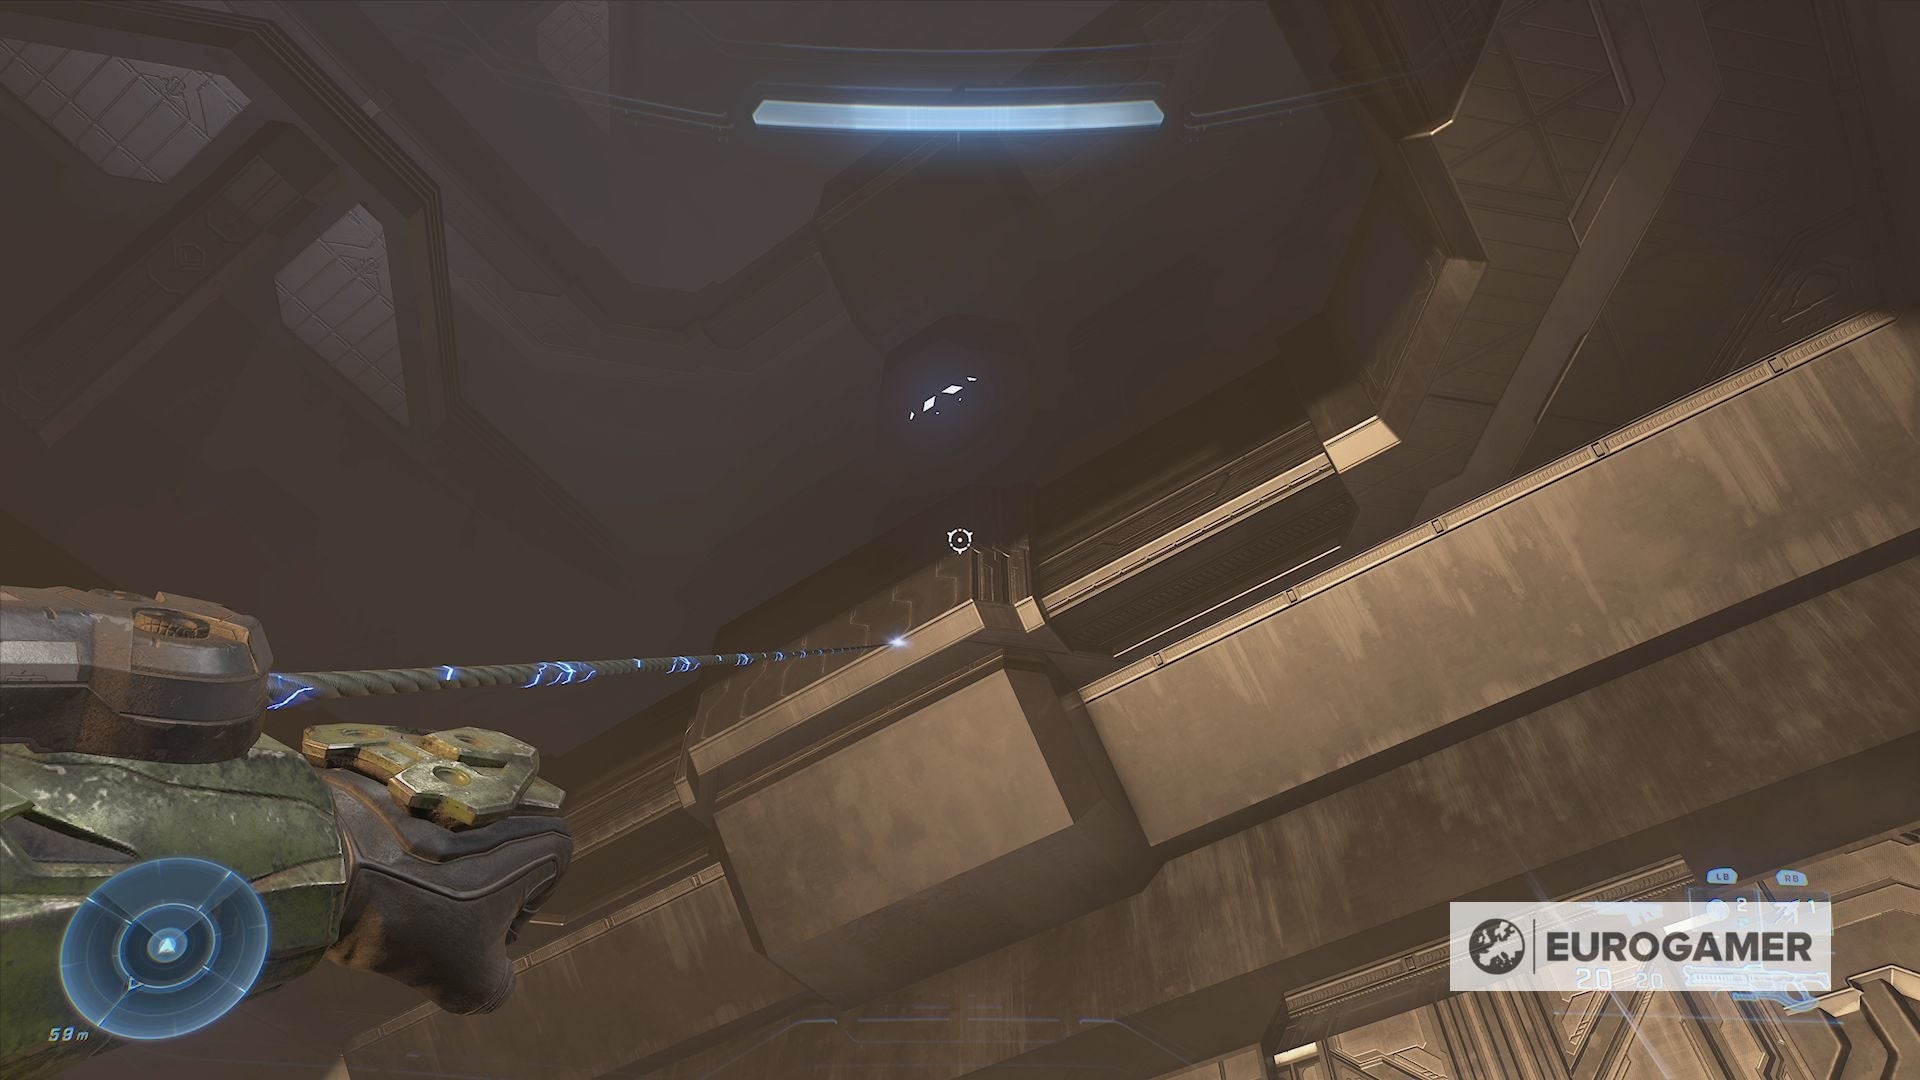
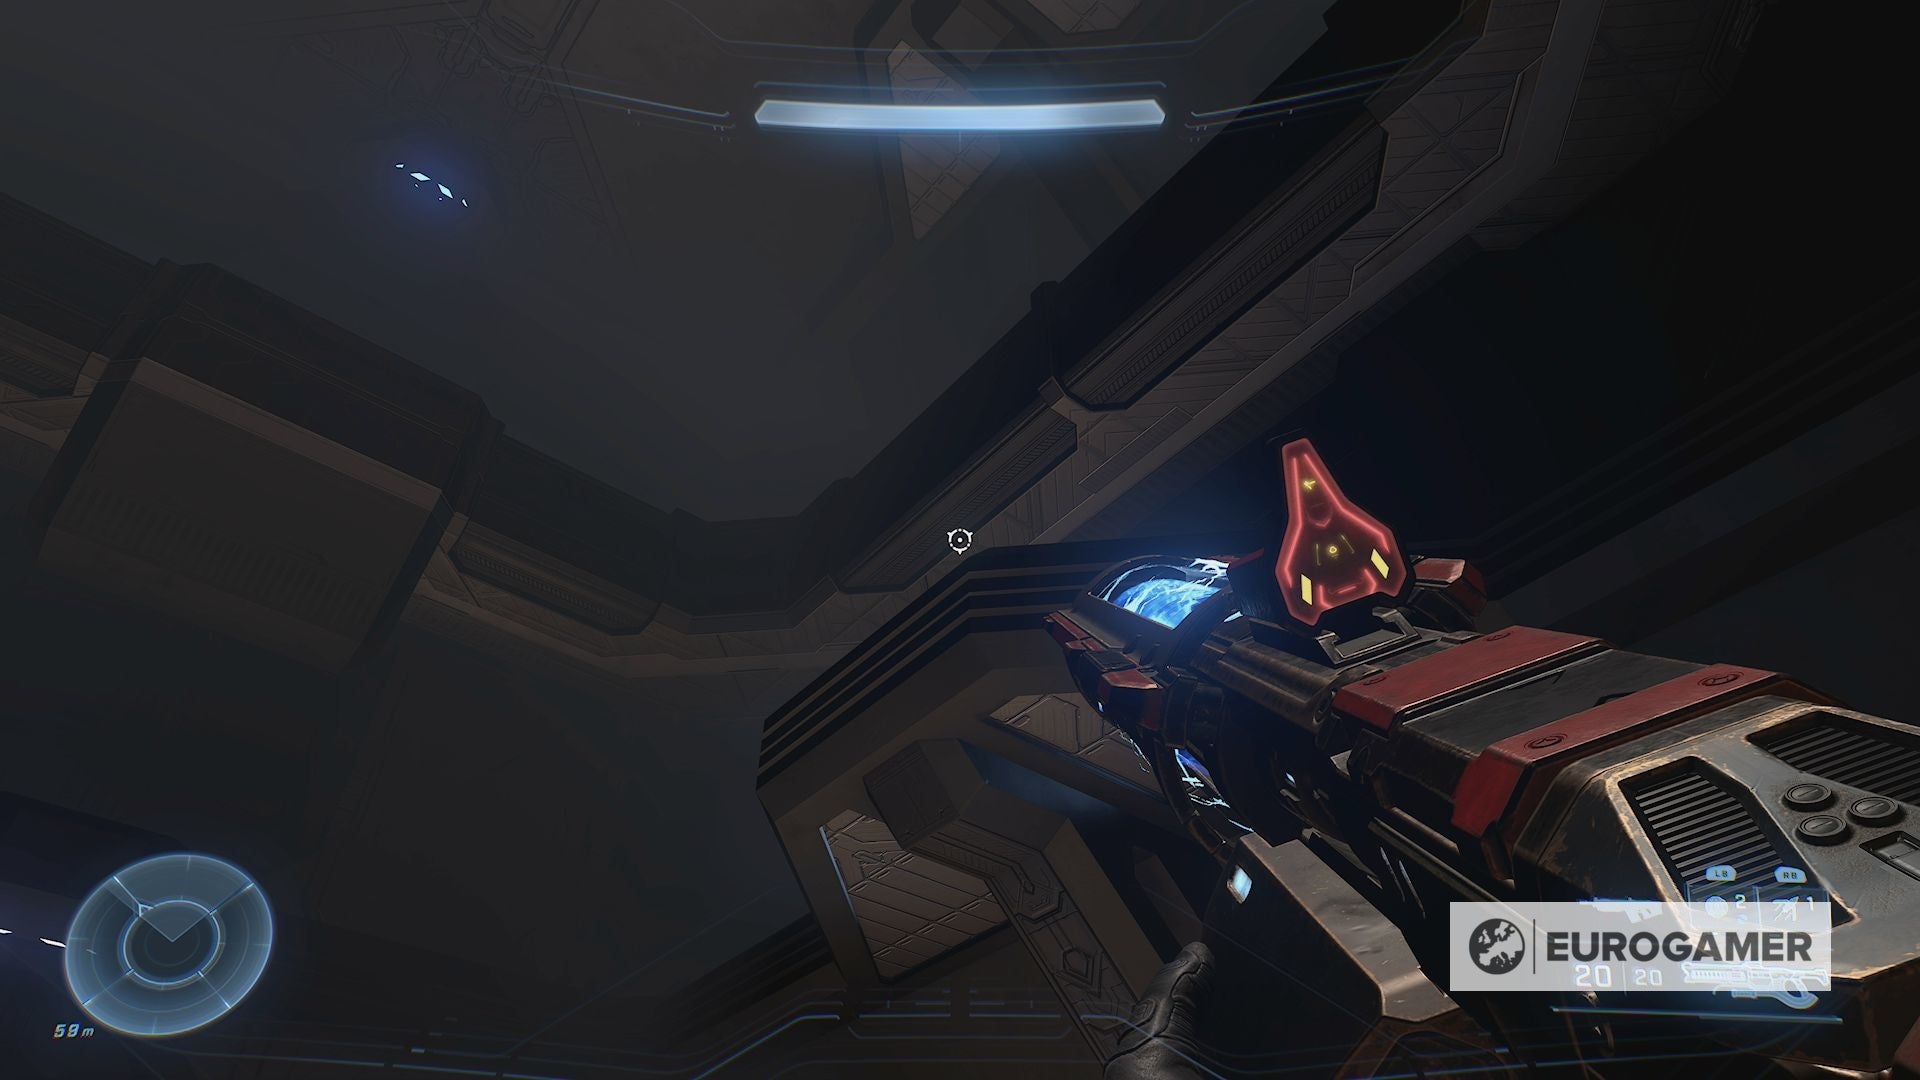
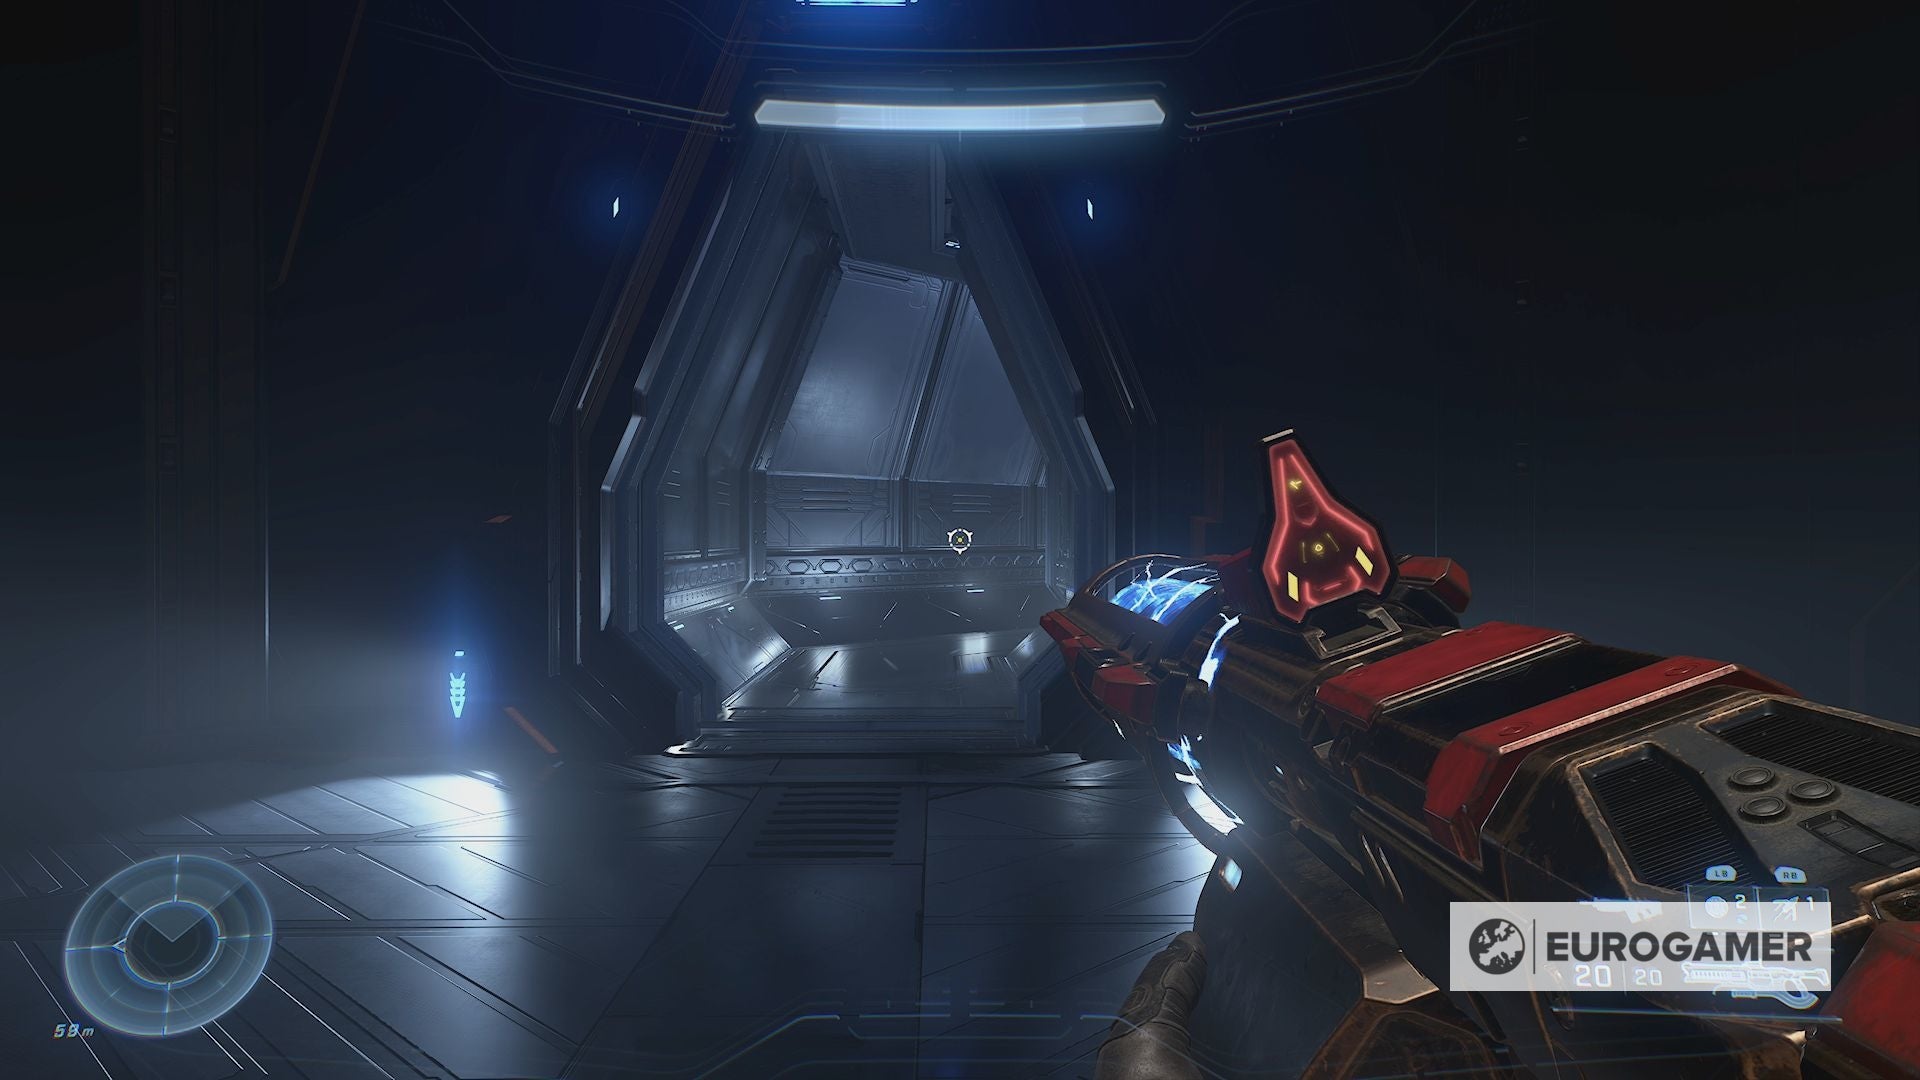
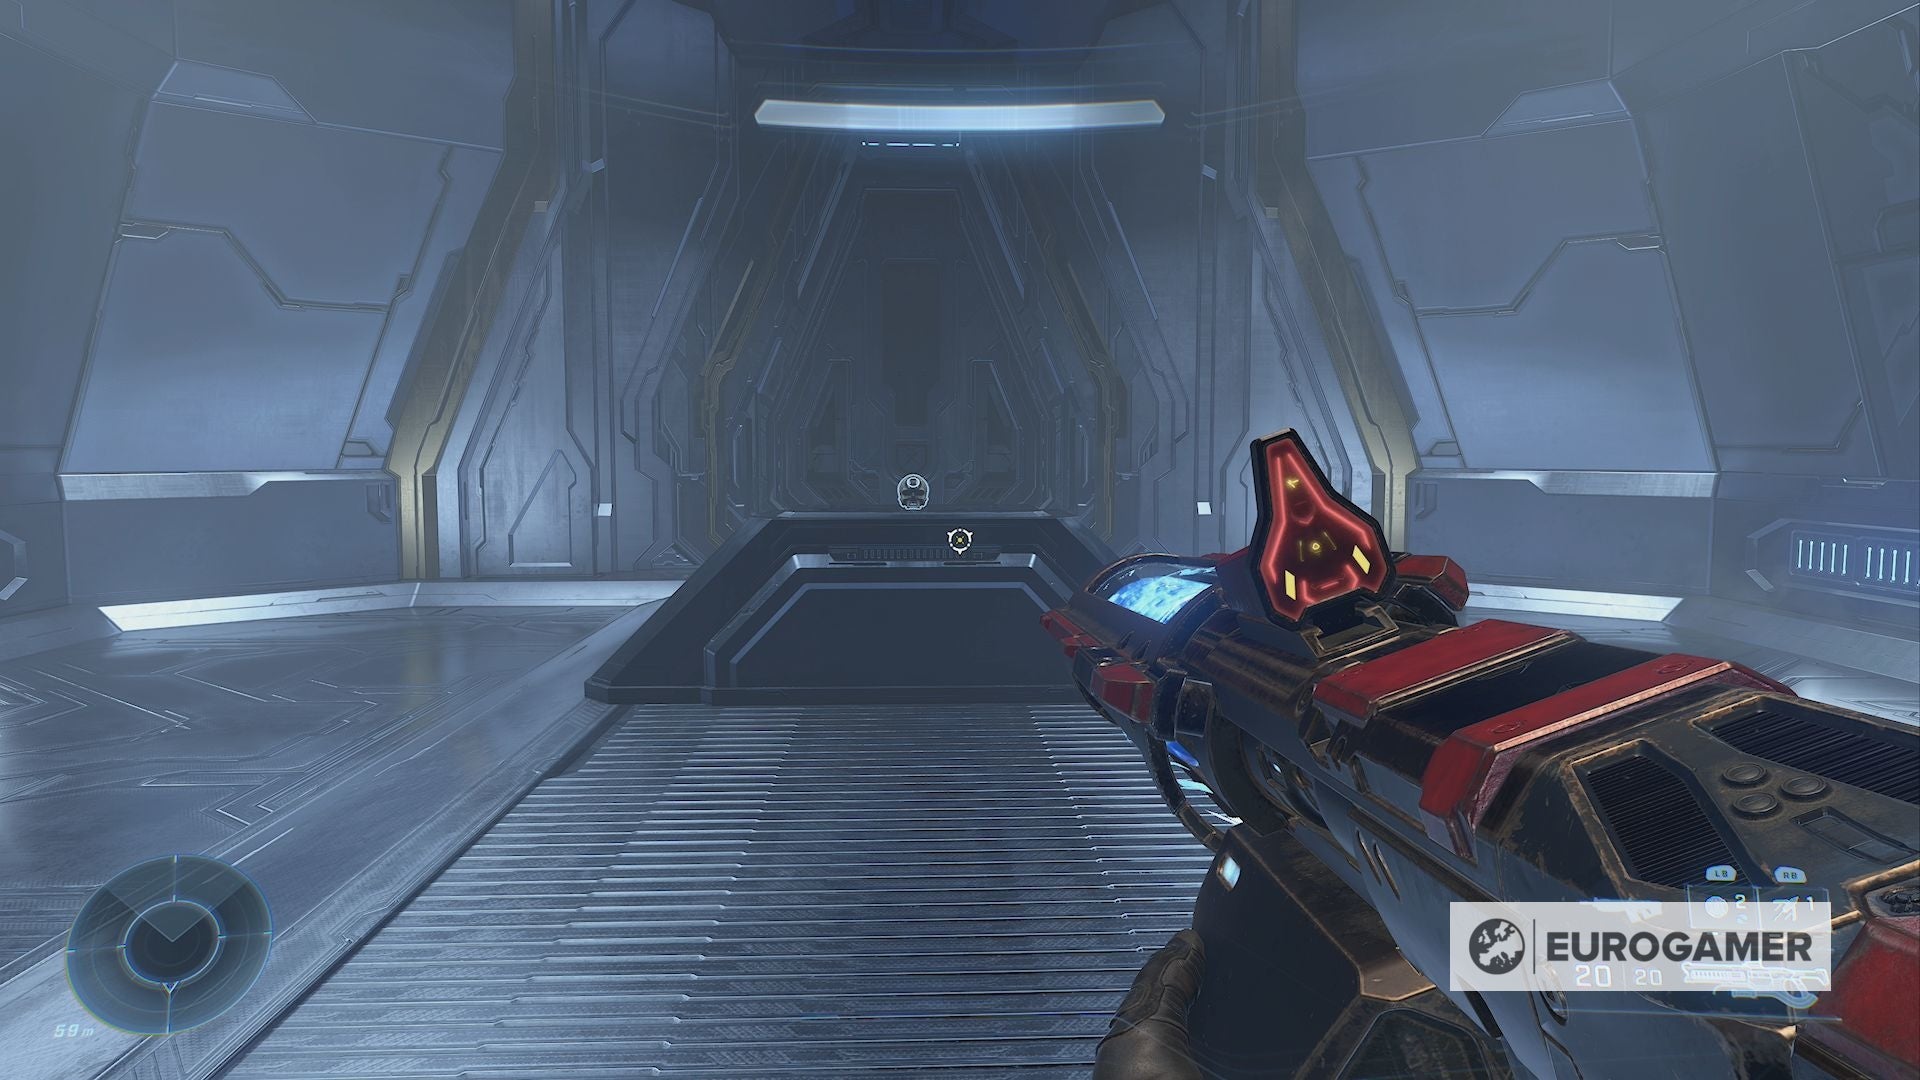
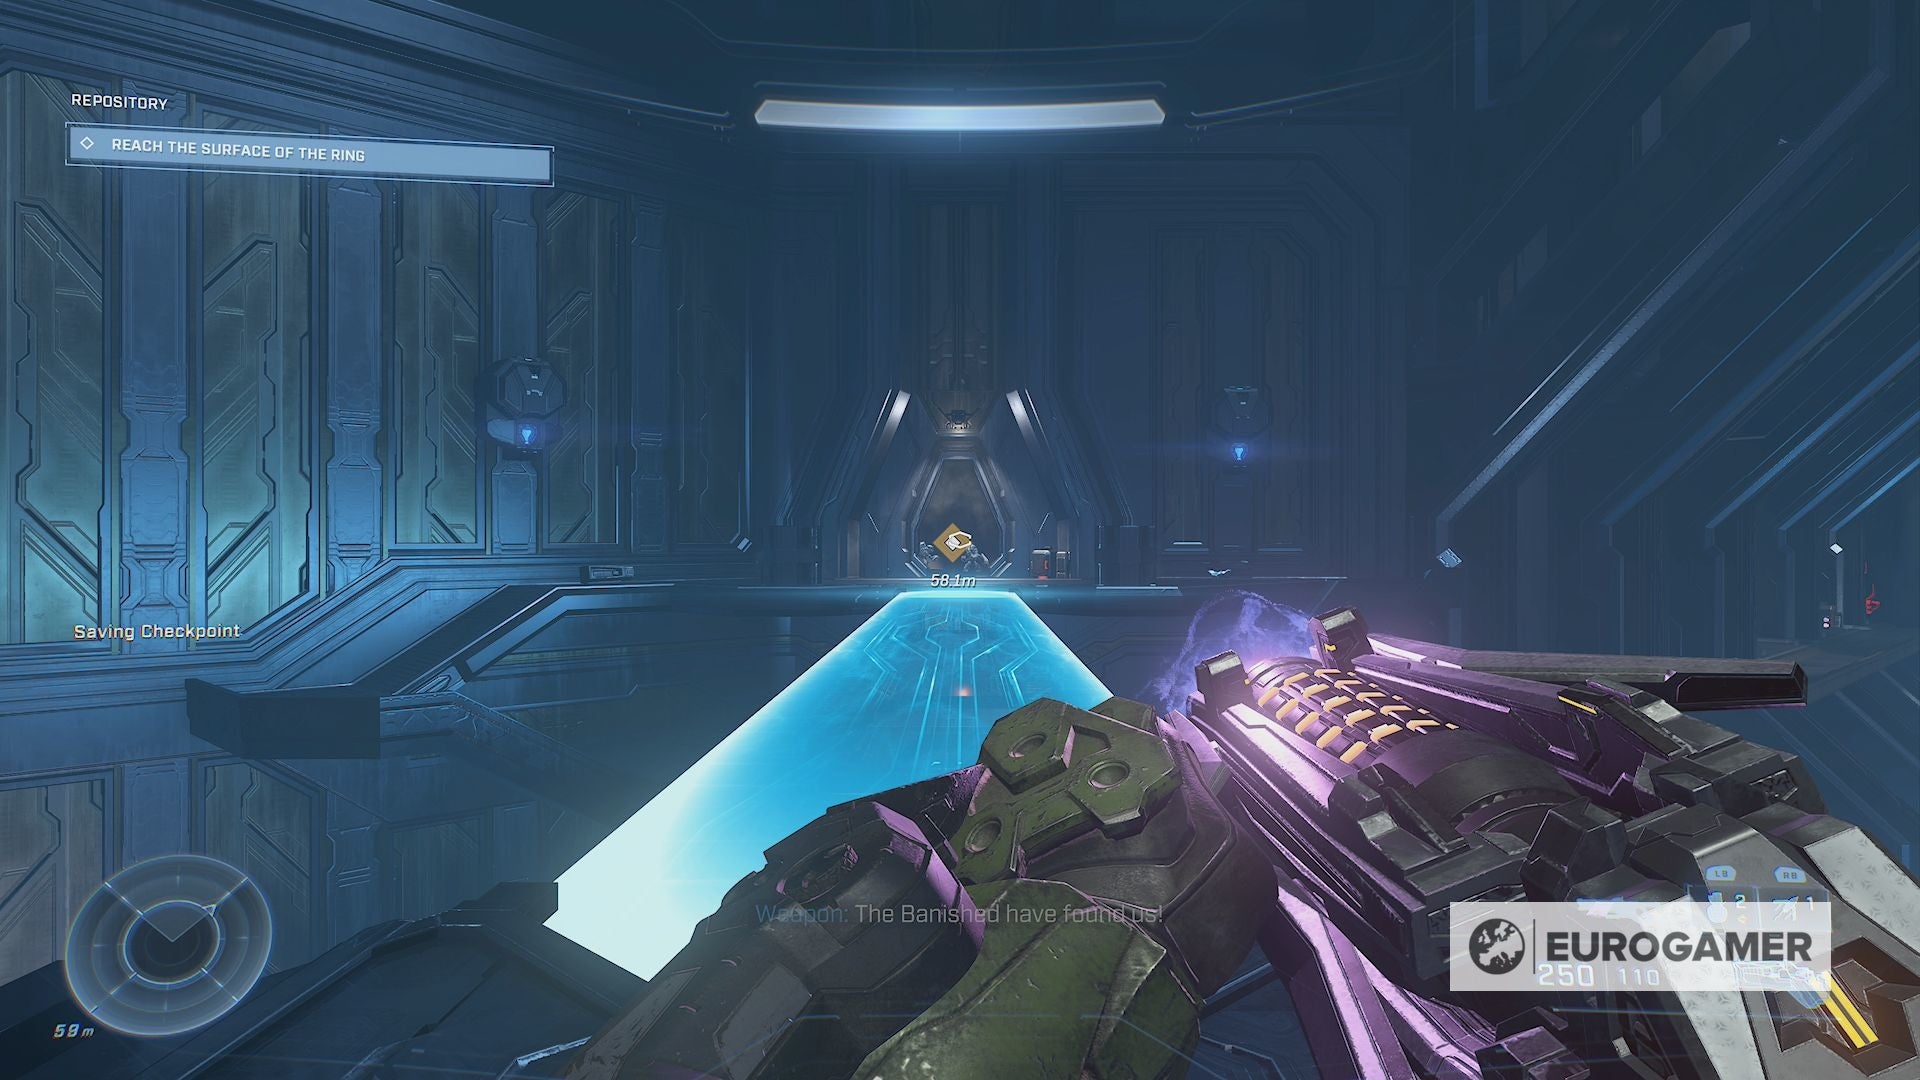
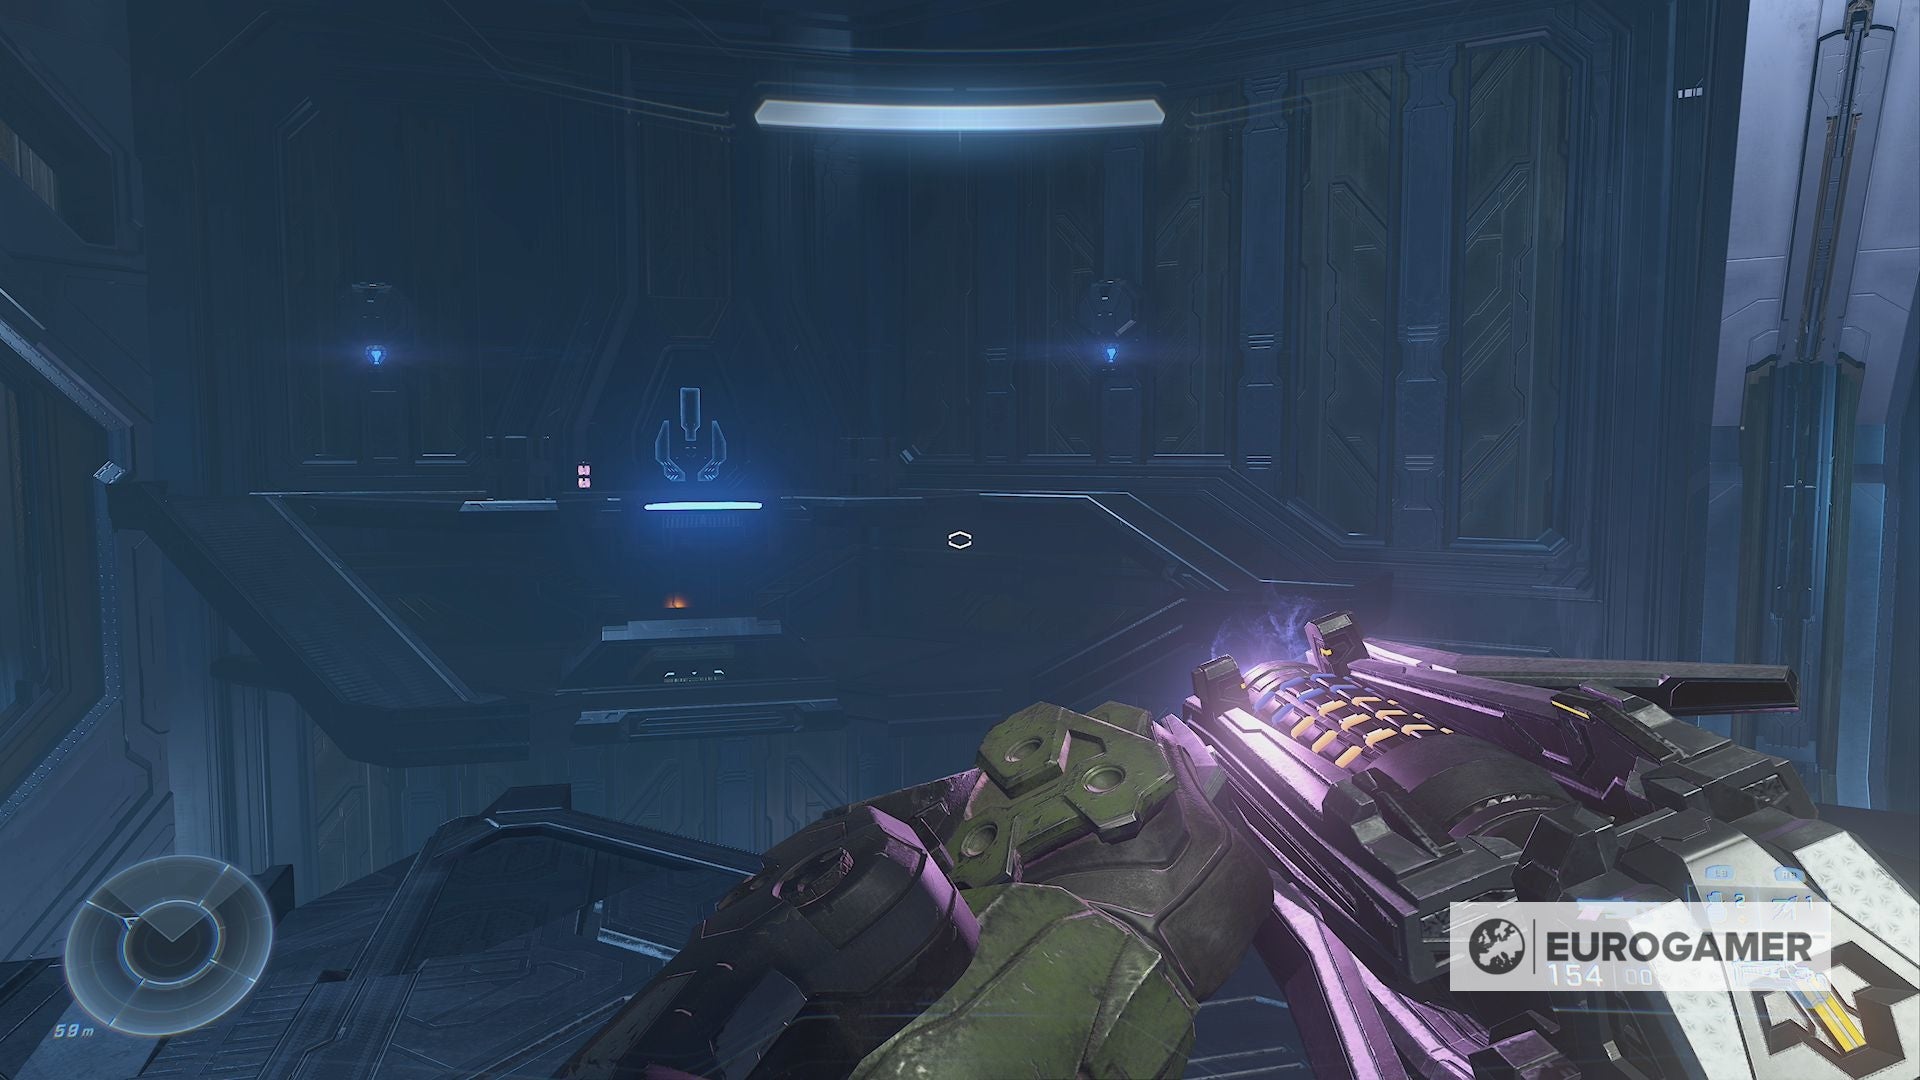
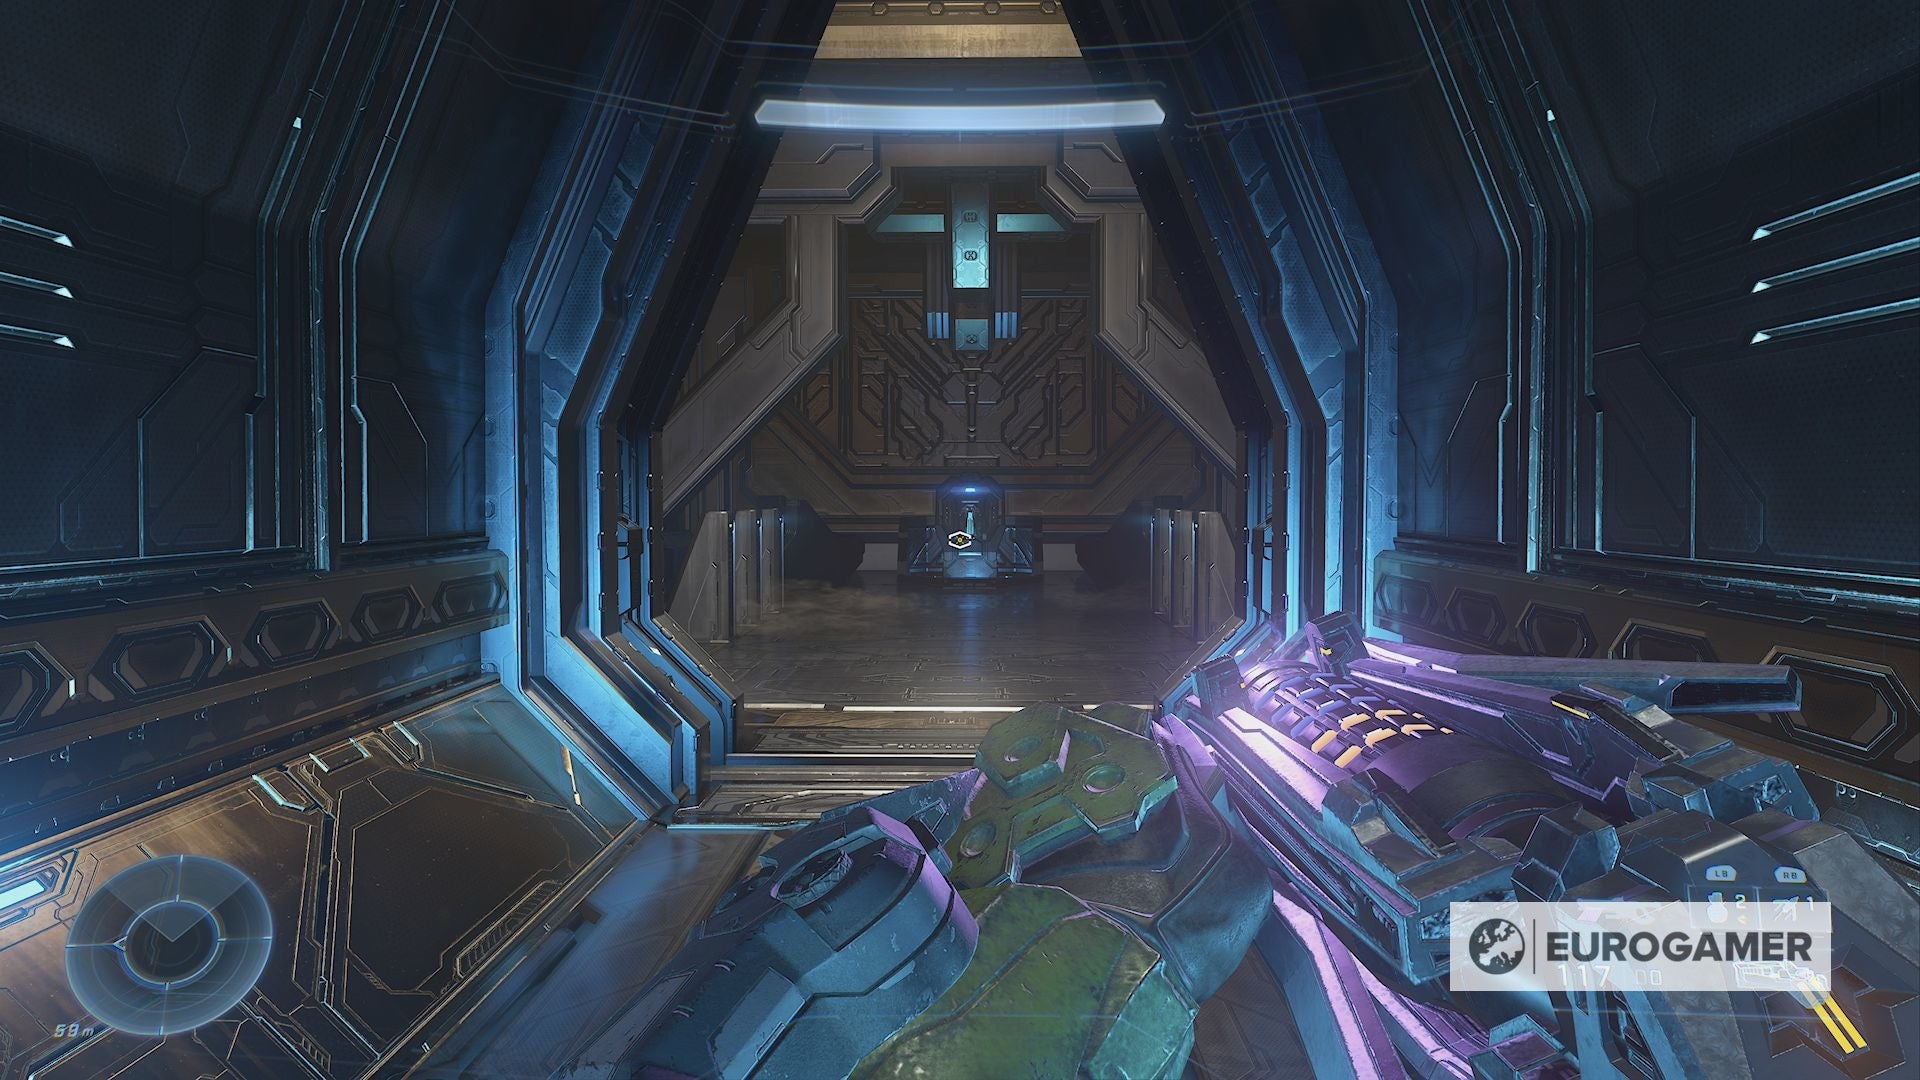
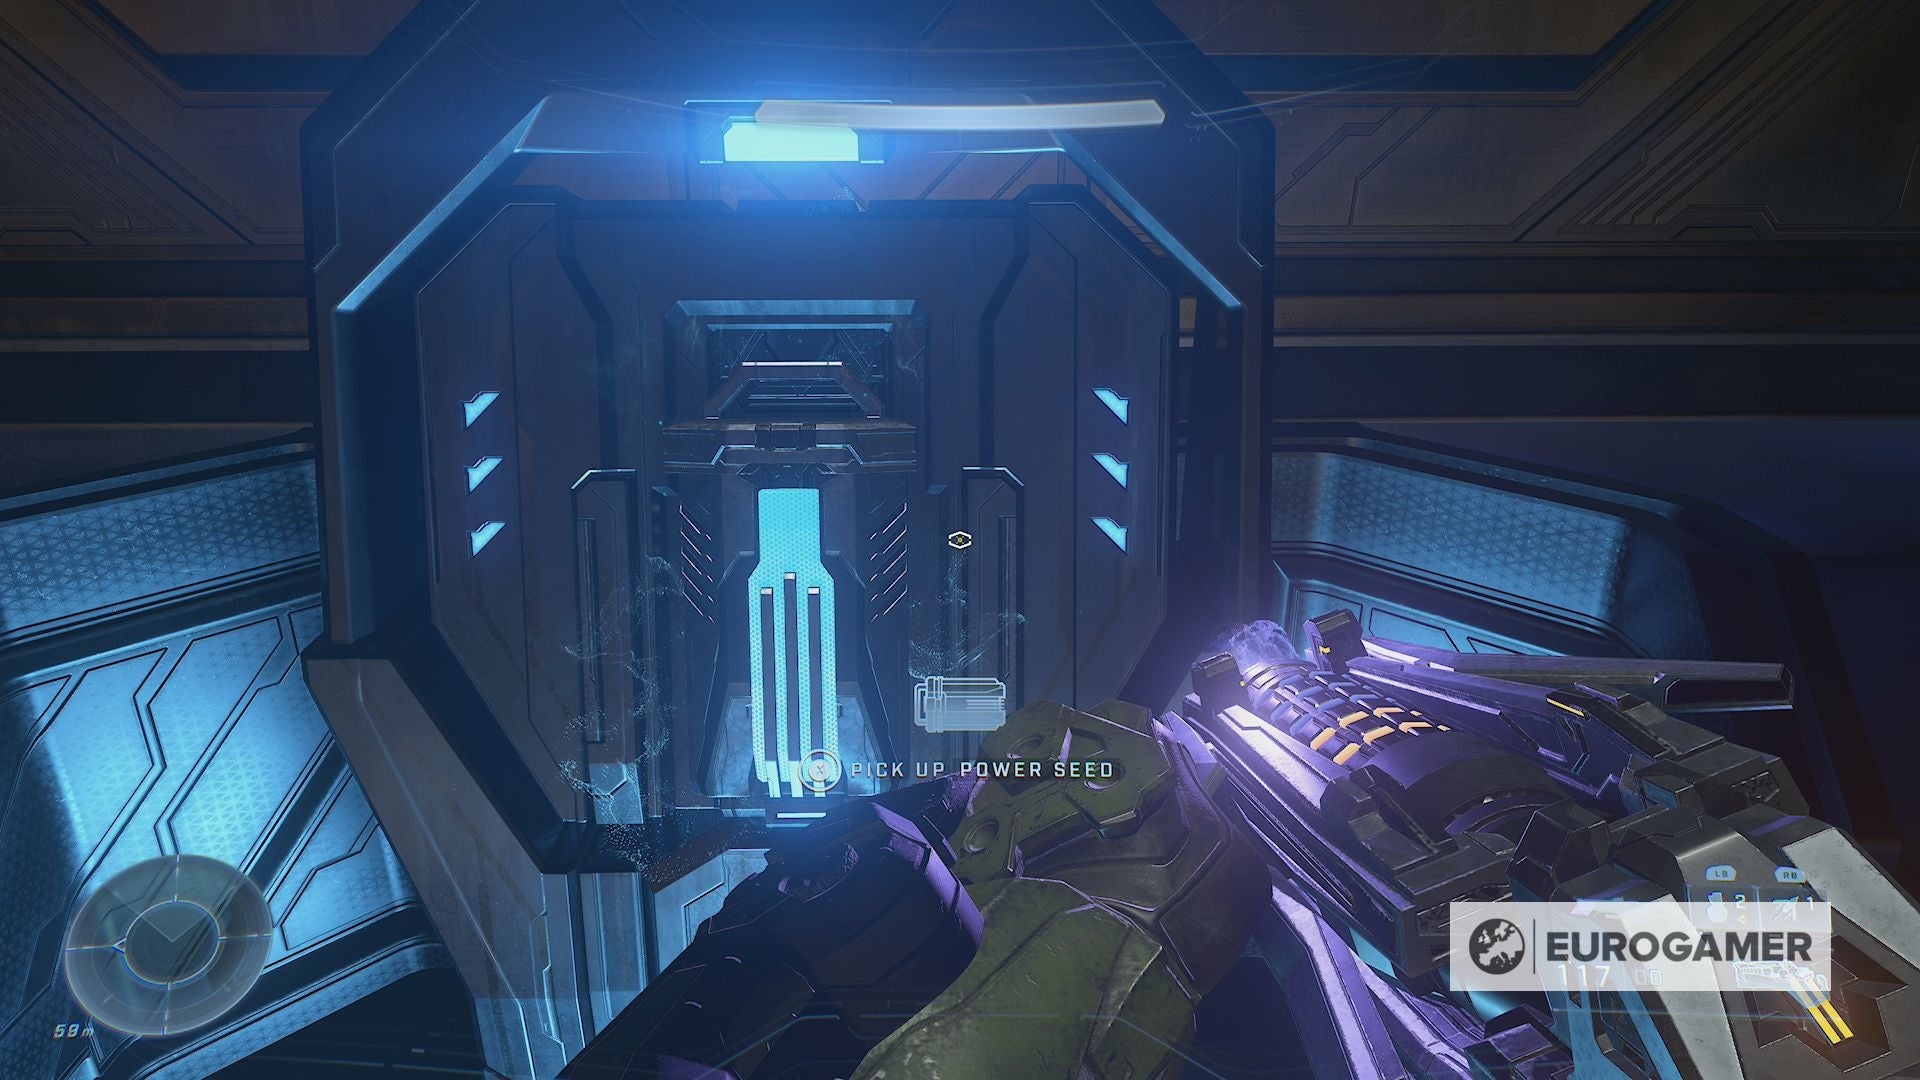
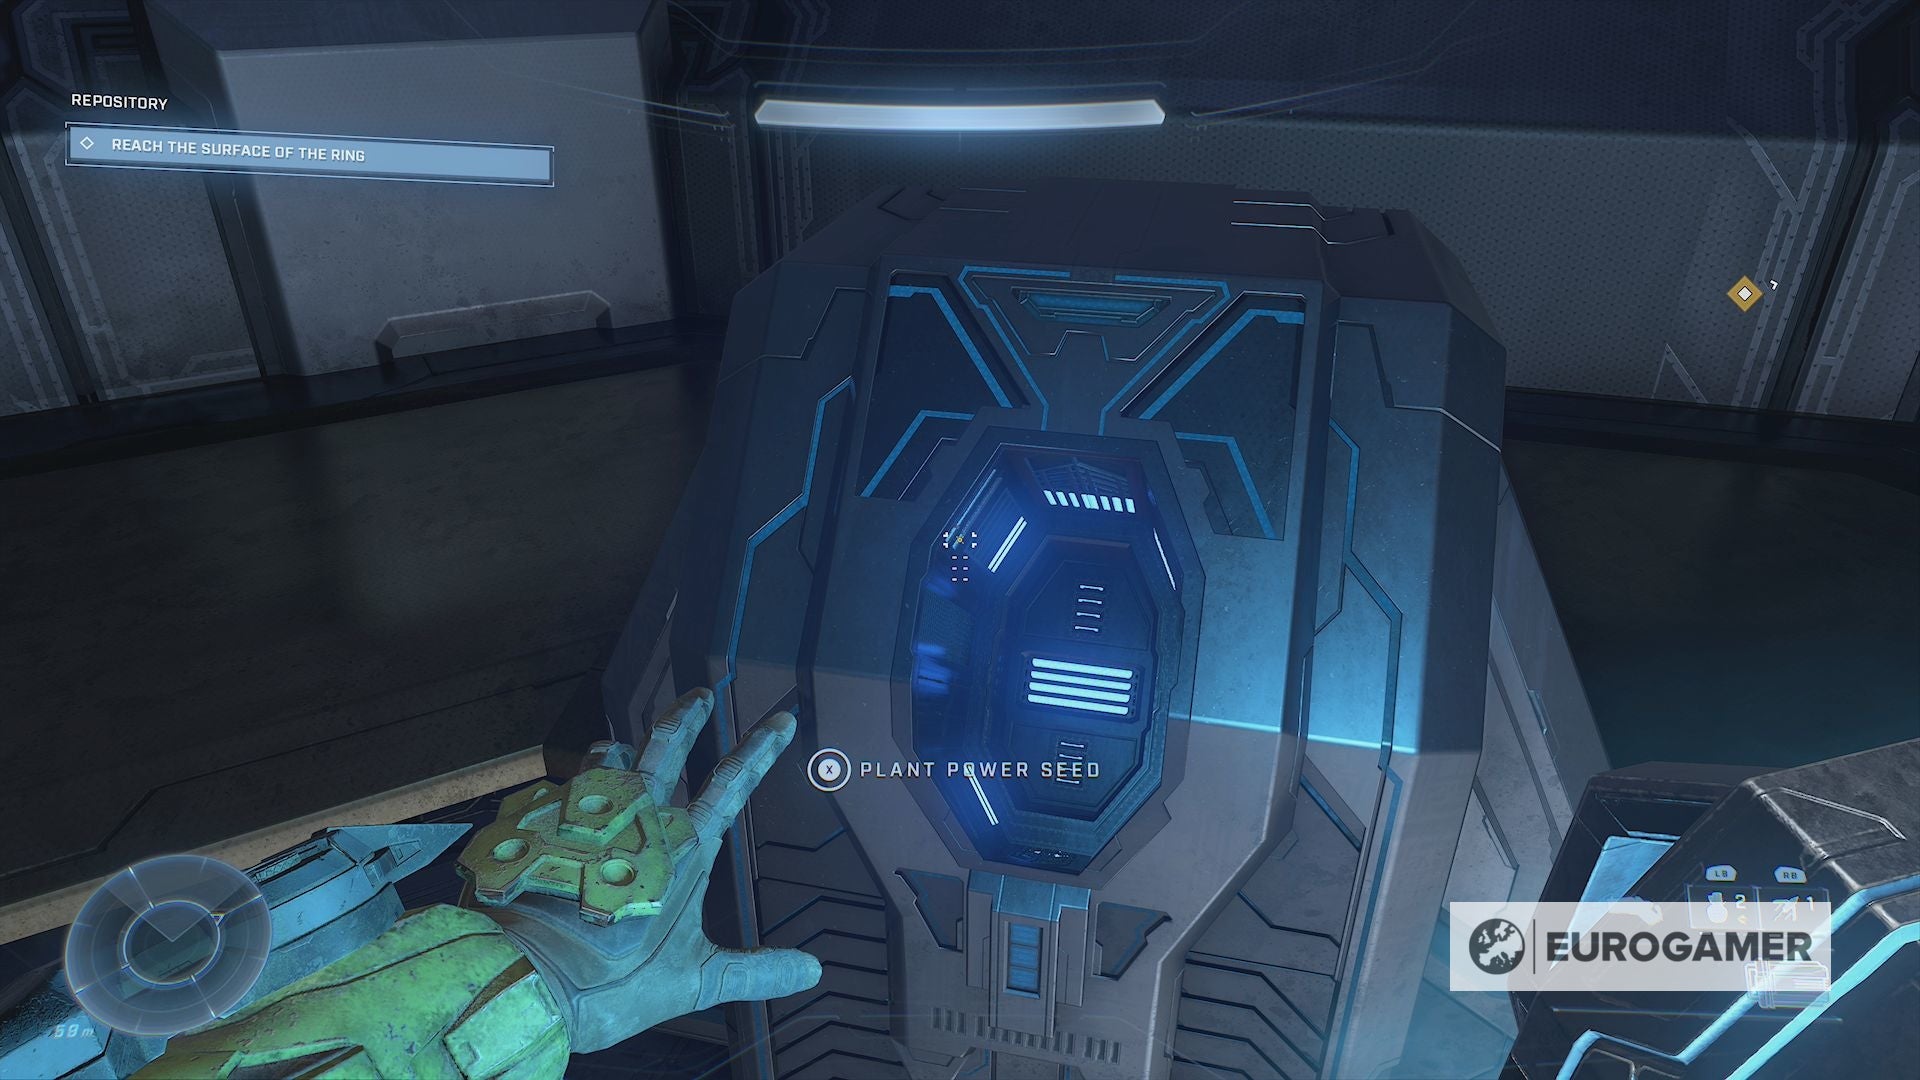
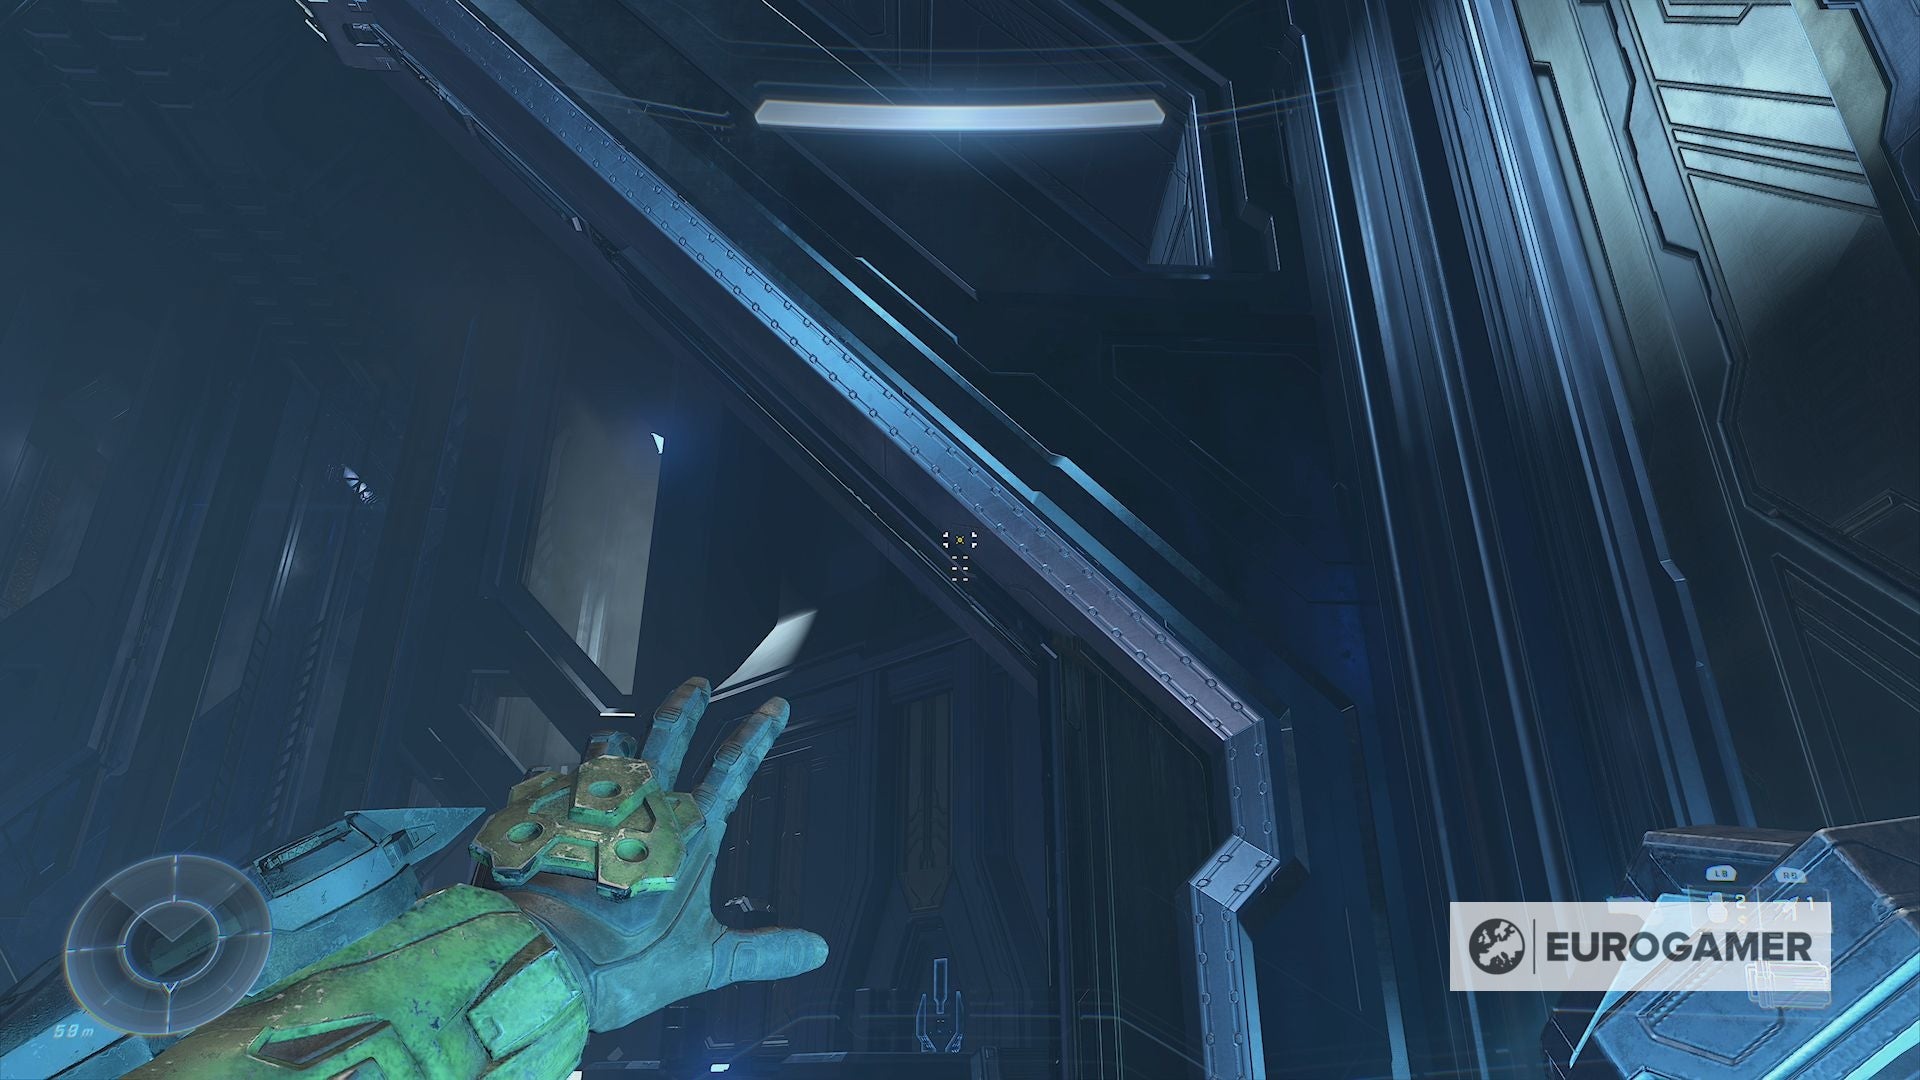
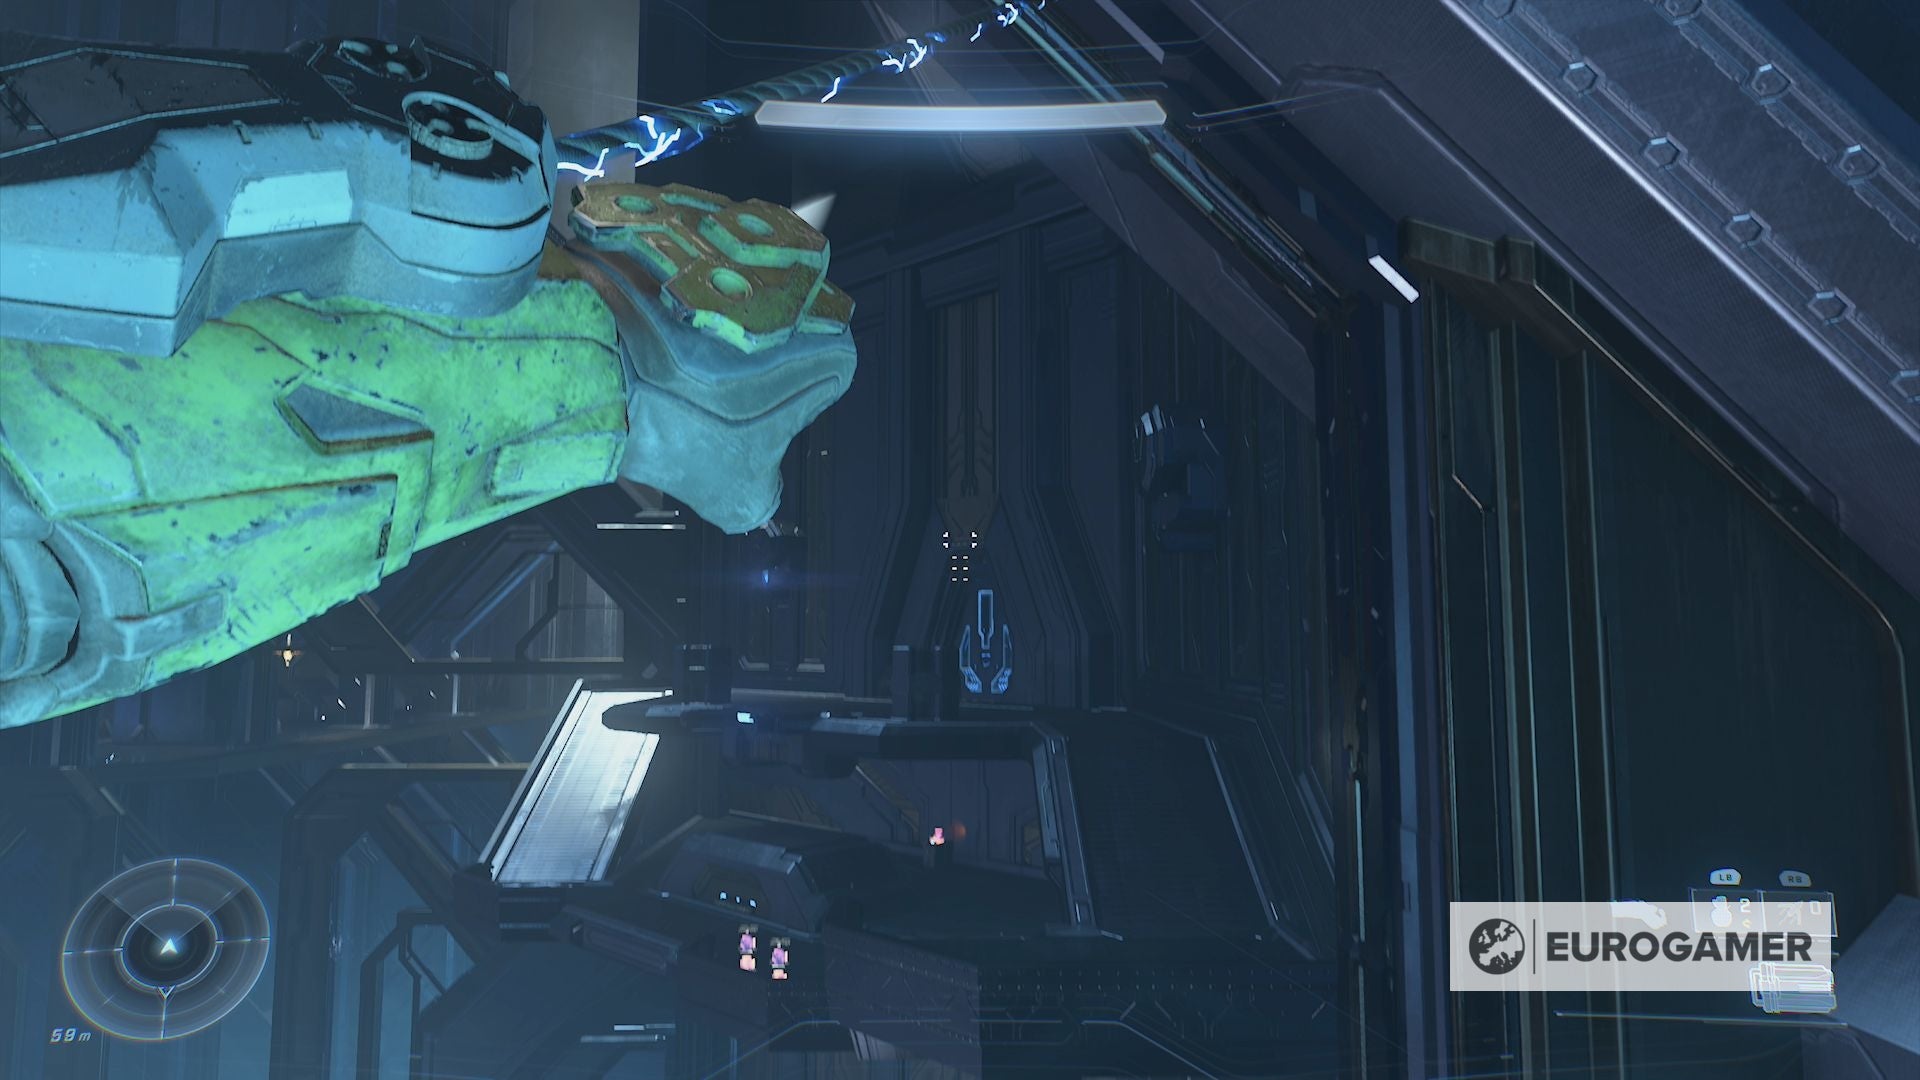
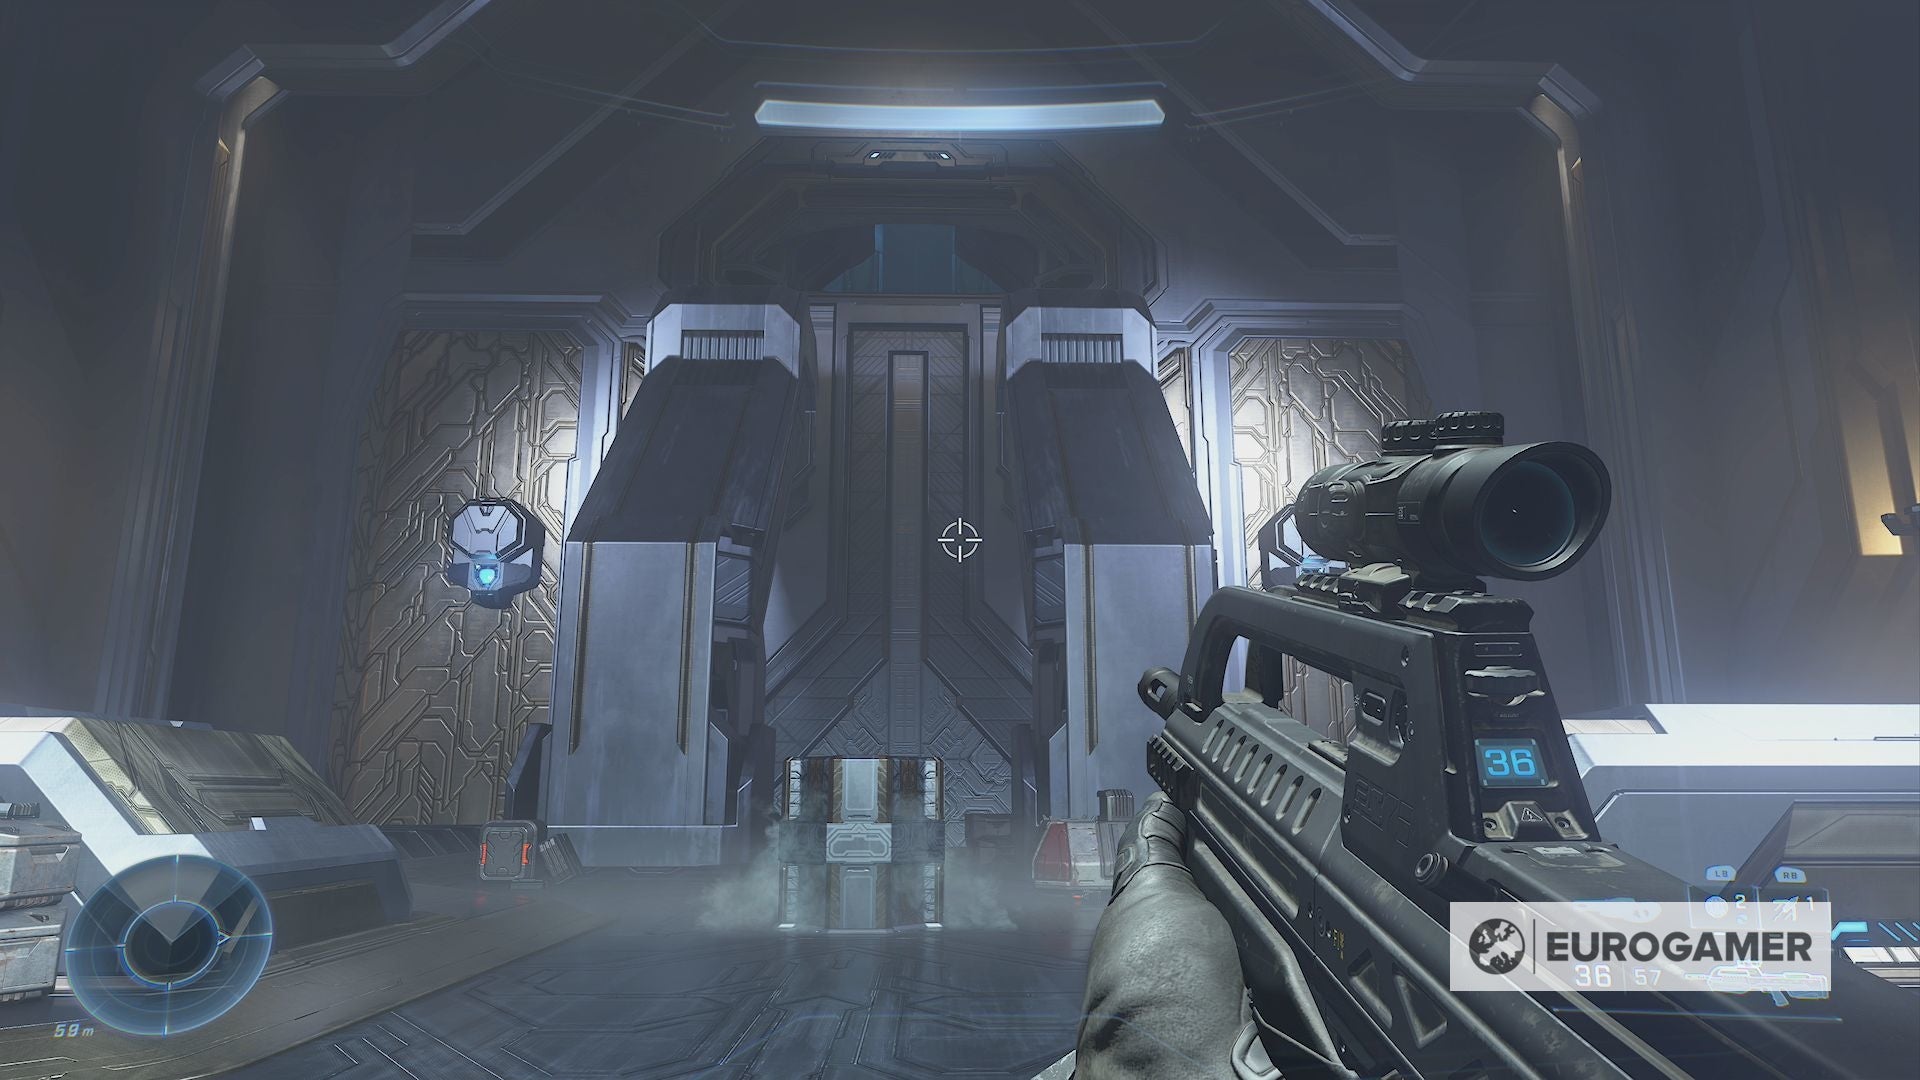
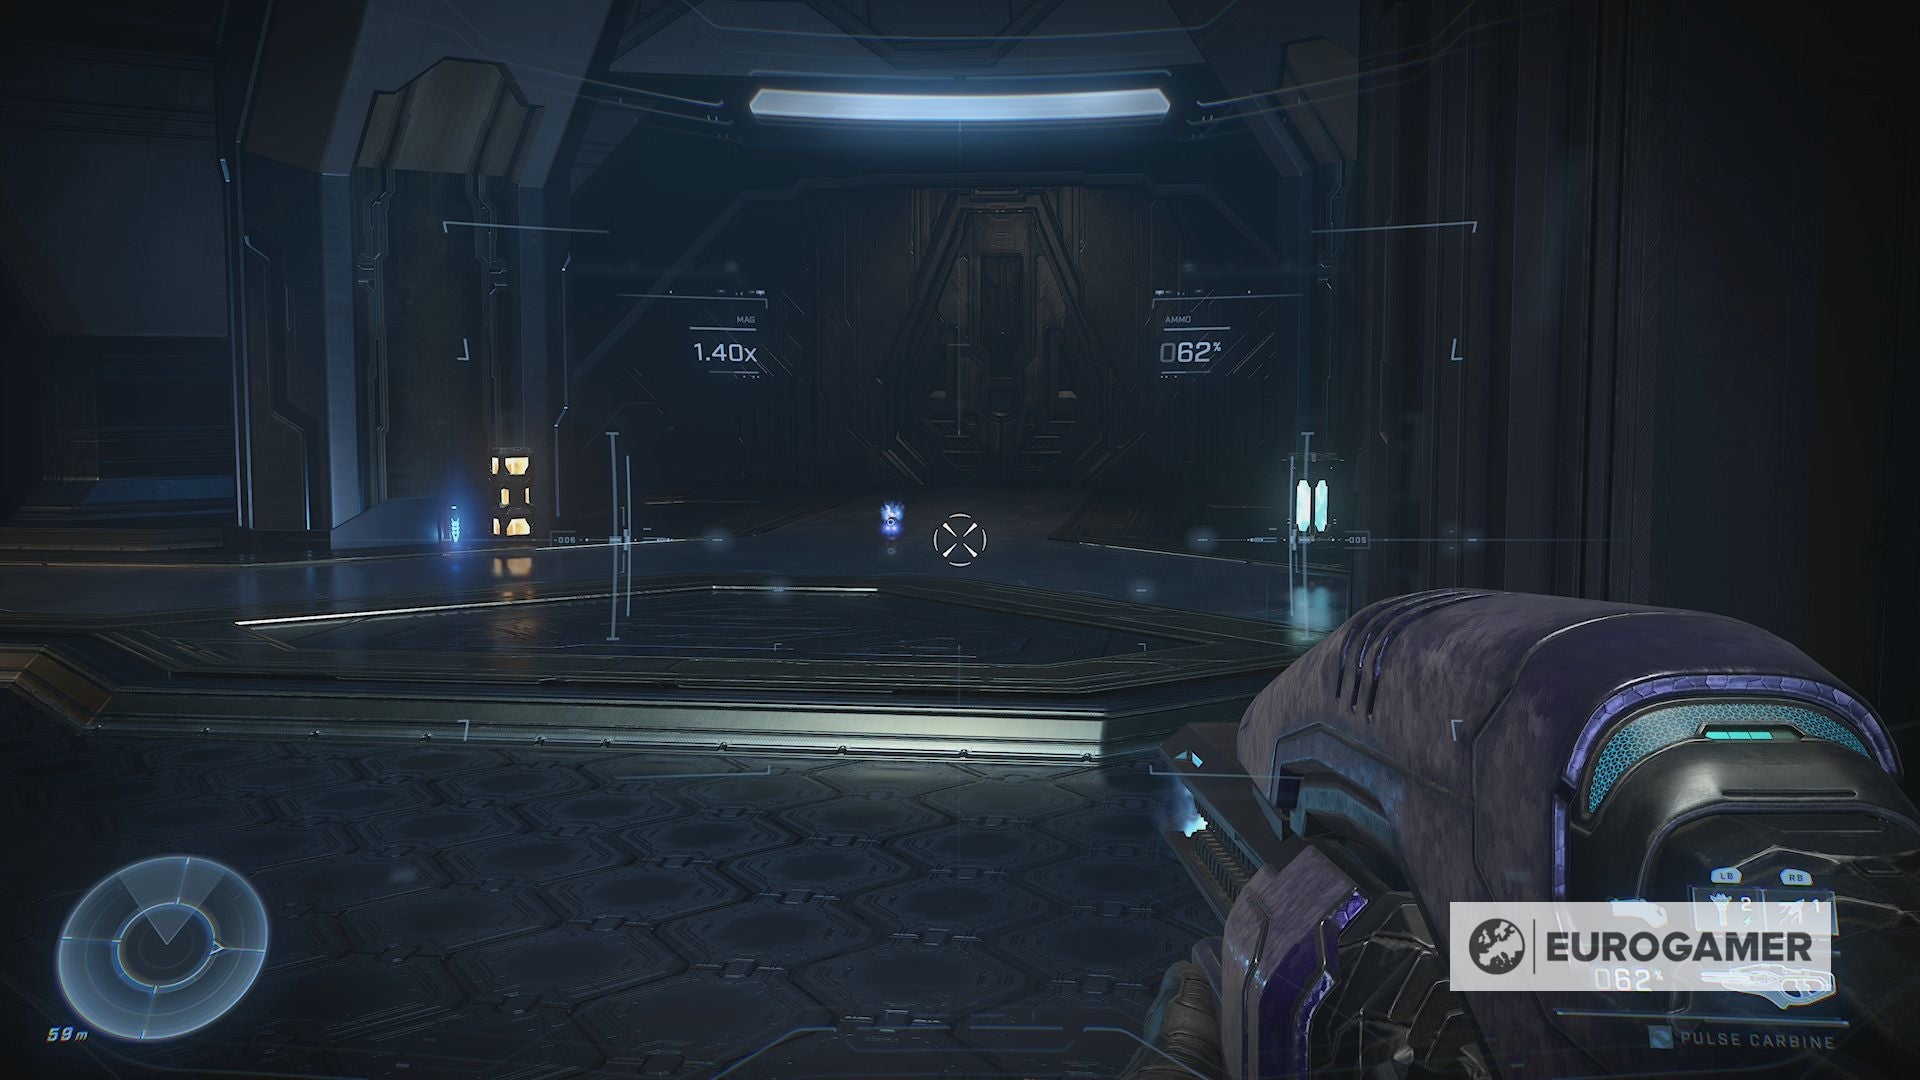
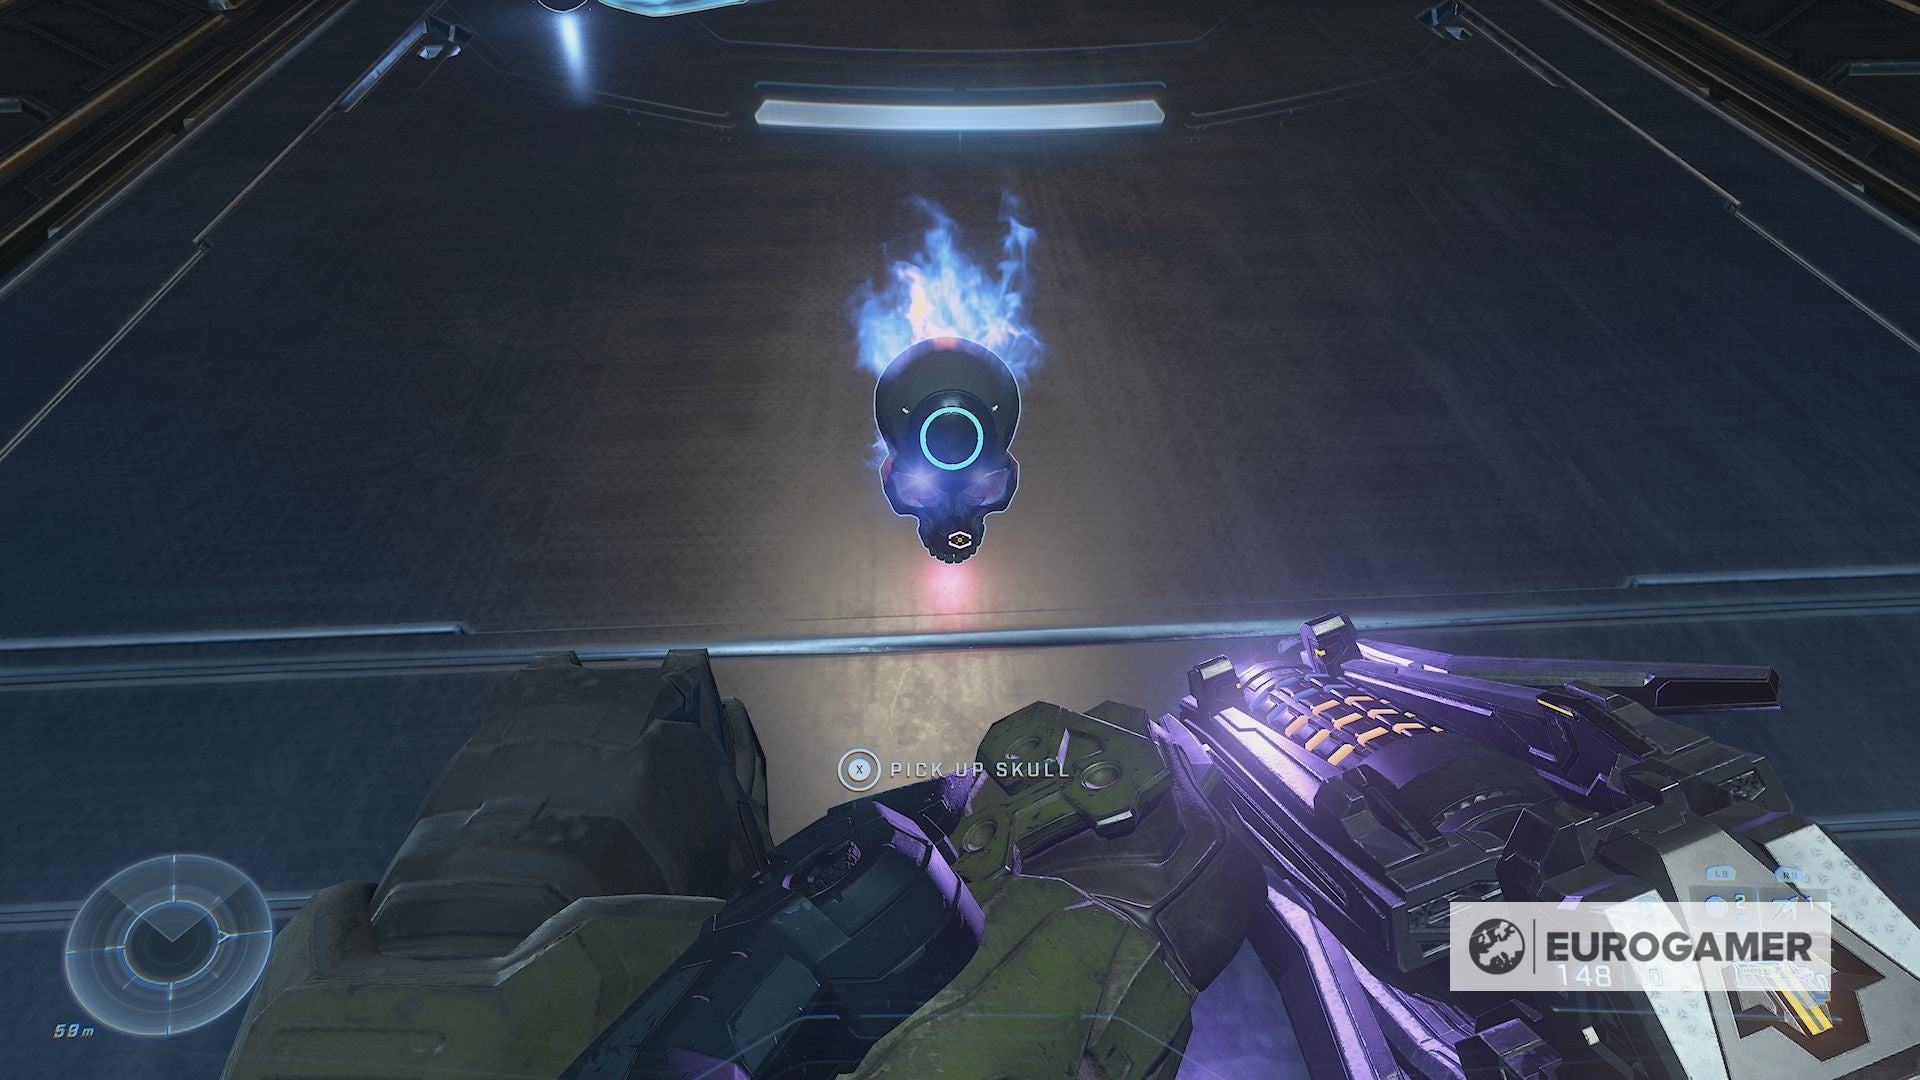
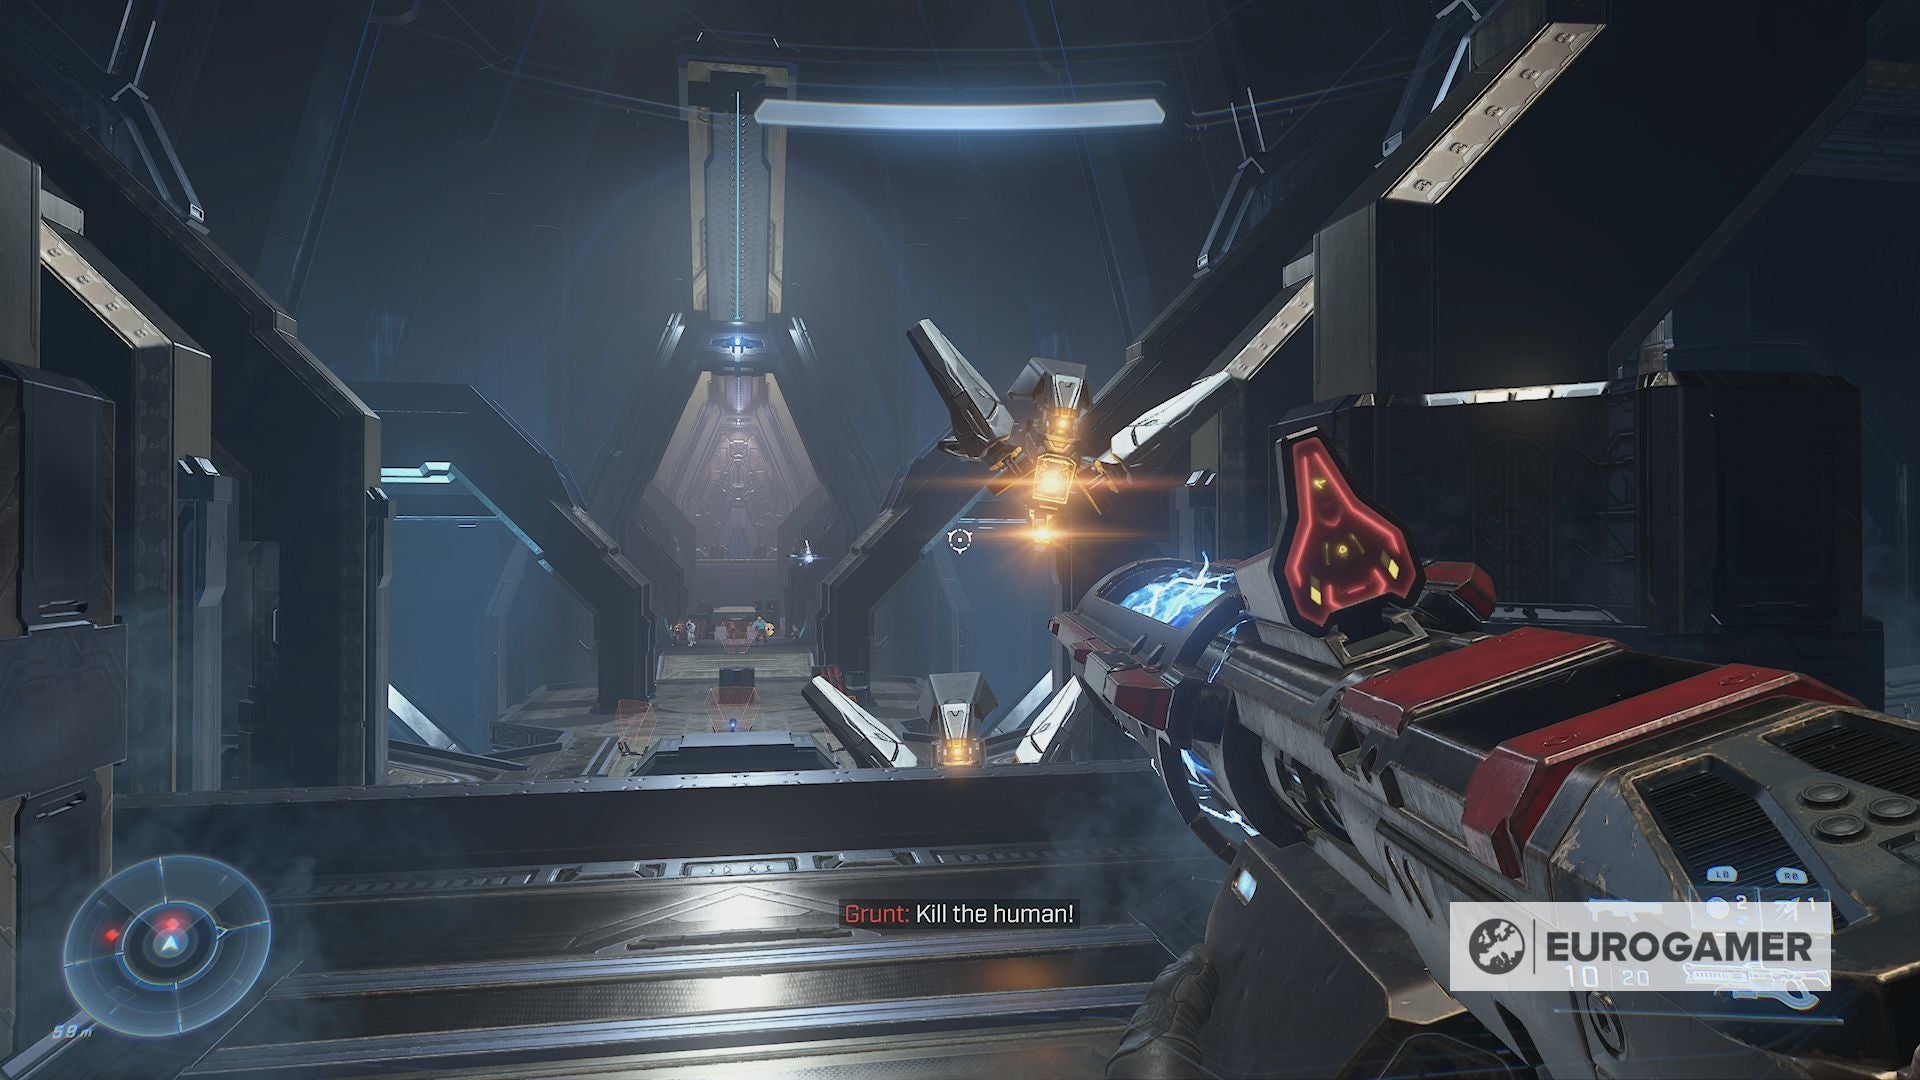
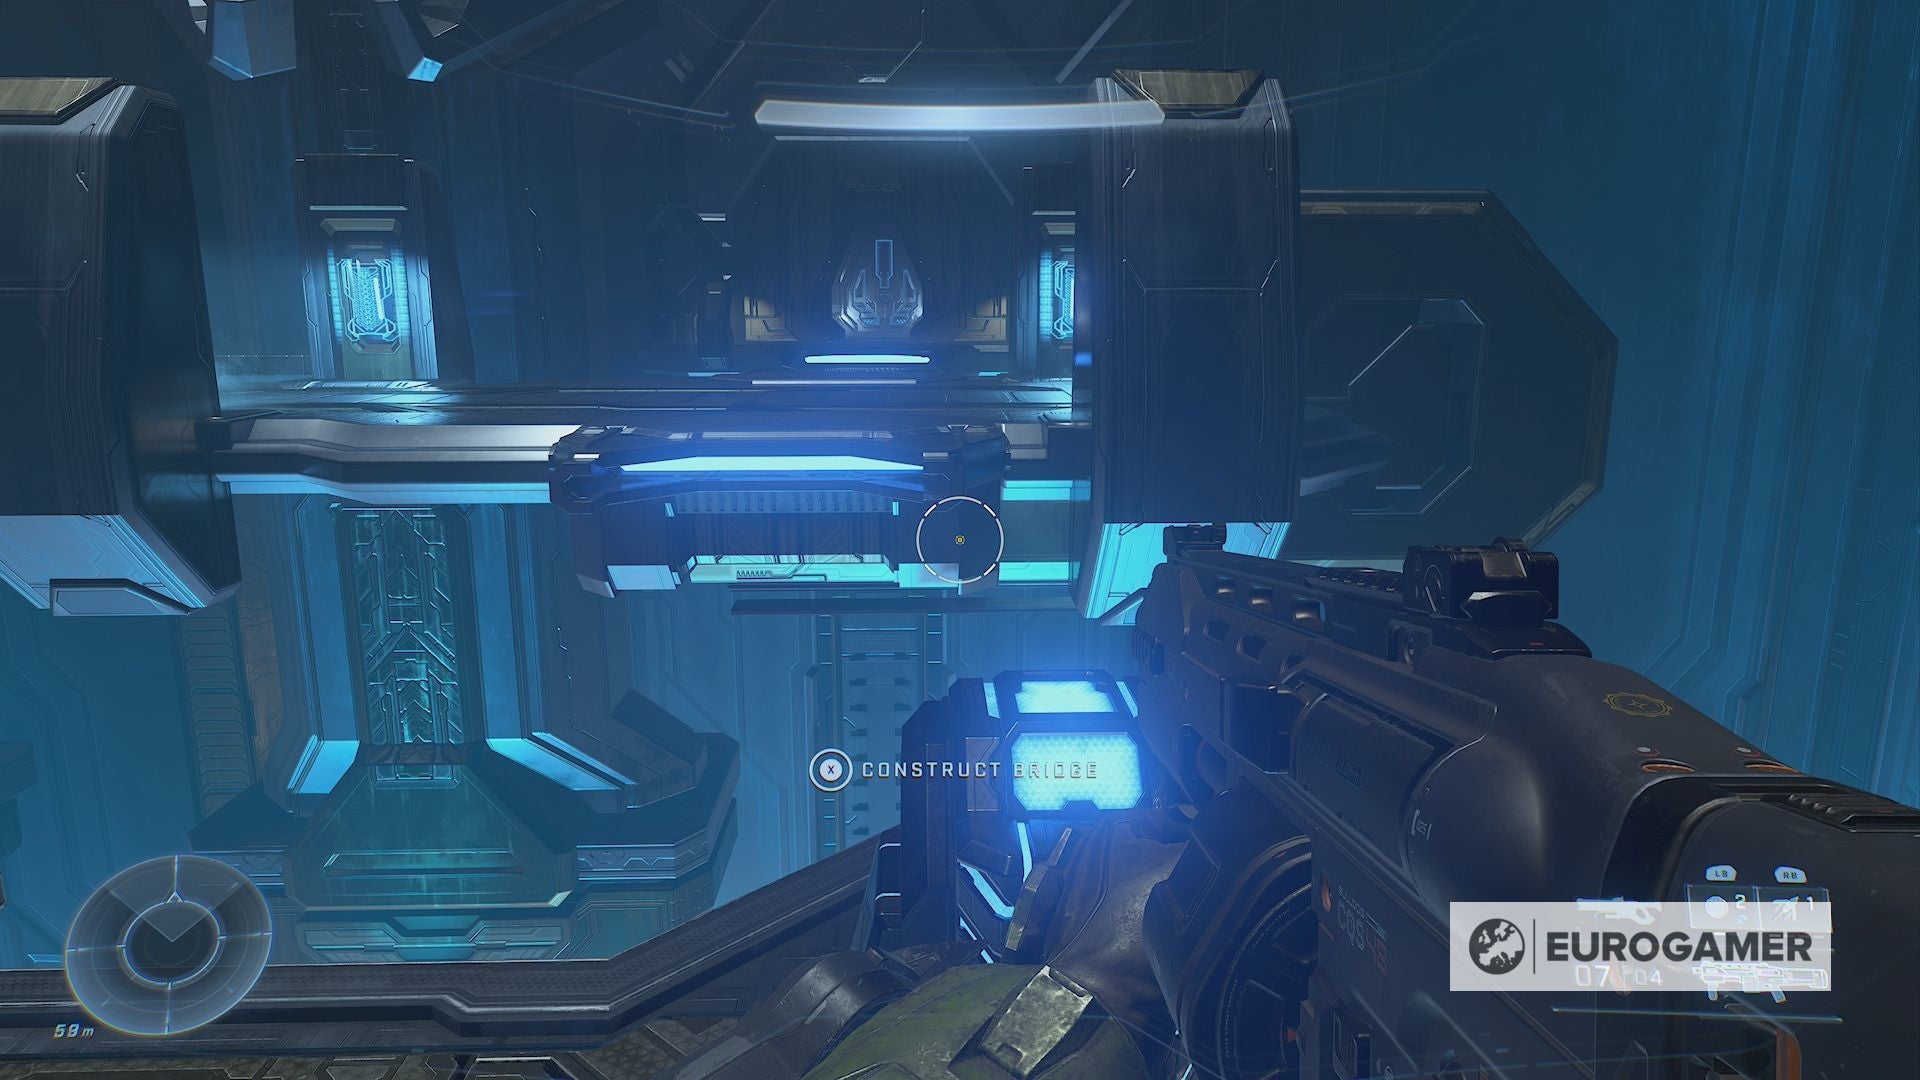
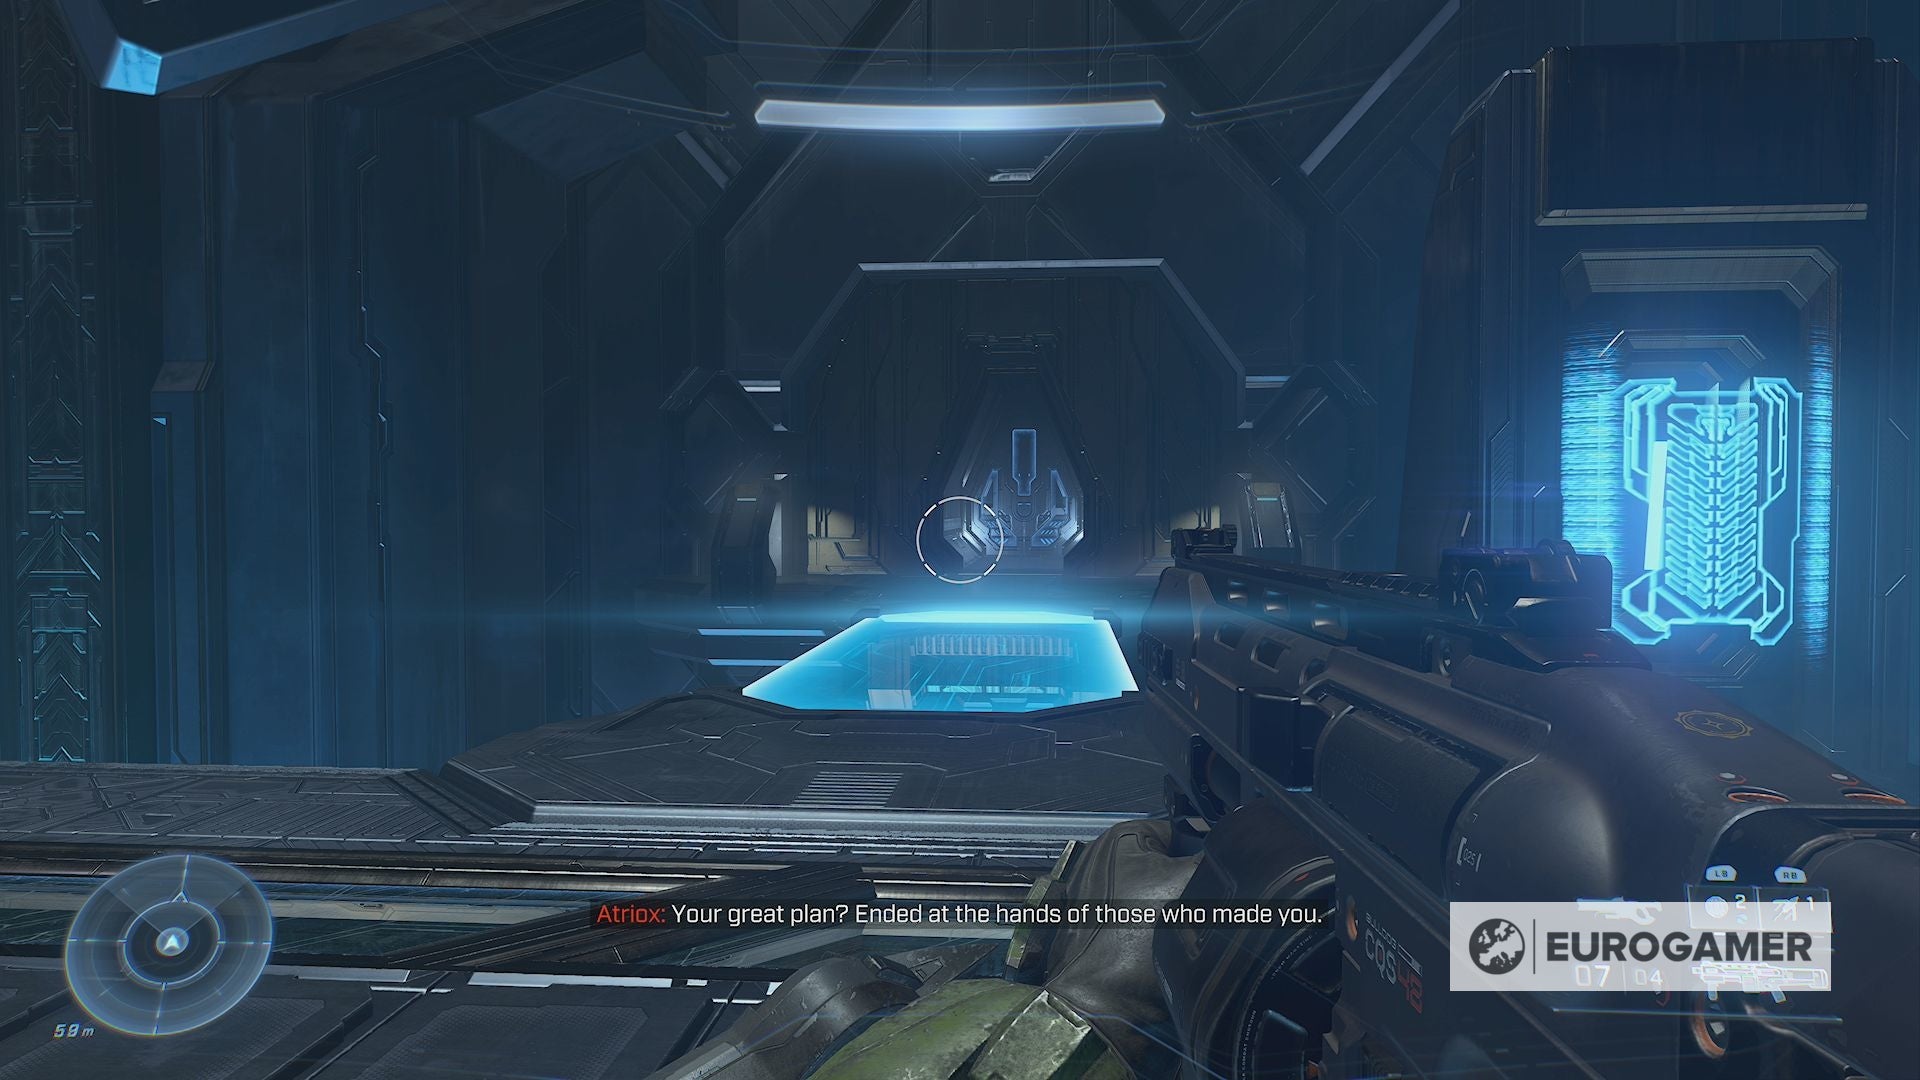
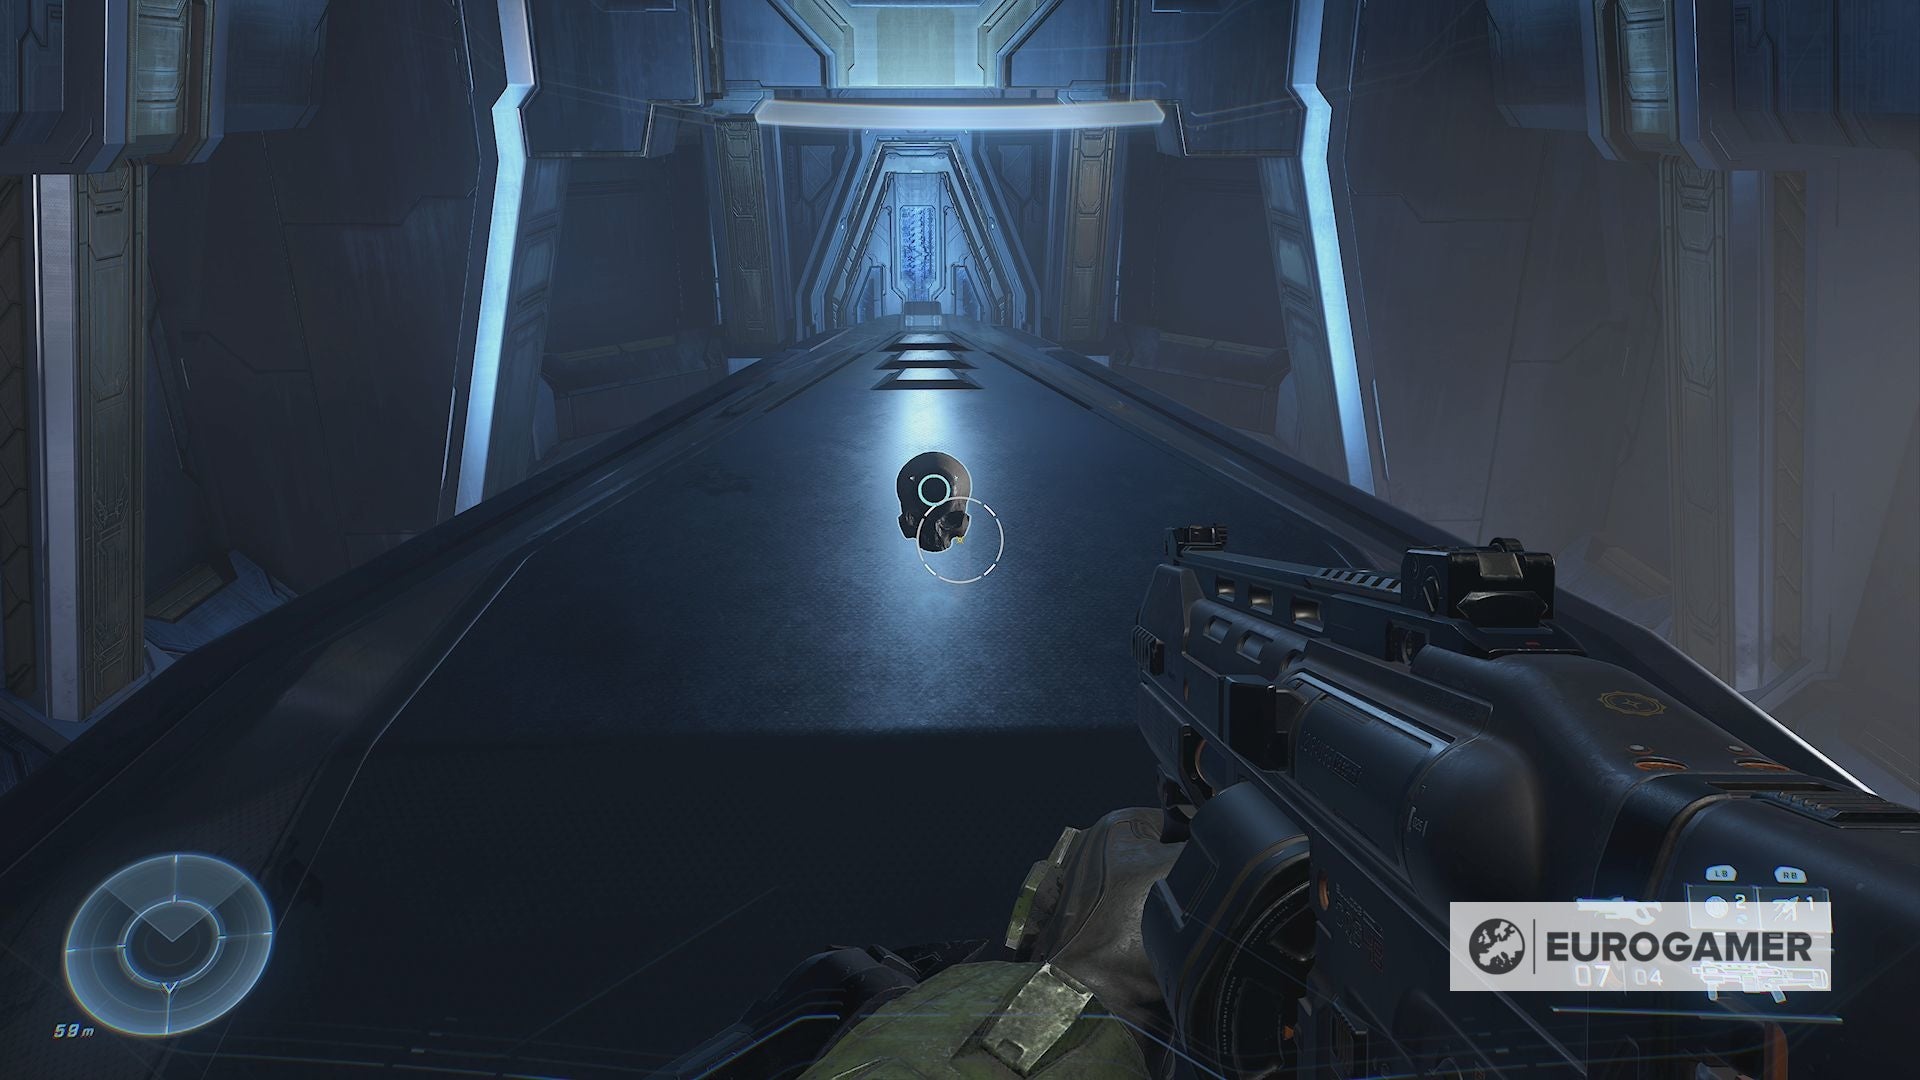
Skulls are collectibles which are hidden in missions, and once found, add optional modifiers to your session. Think of them as unlockable cheat codes you can enable and disable - albeit the sort that requires searching high and low since, as is Halo tradition, they are hidden well off the beaten path. This page provides a complete set of Halo Infinite Skull locations. These are listed in the order you can first find them. As well as this, we’ve created a table of contents which lists the missable, mission-specific skull locations first, and the open-world locations afterwards - which can be discovered at your leisure. Explainers on this page: Missable Skull locations in missions: Skull locations in the open world: If you’re looking for more Halo Infinite collectibles, we have pages on Mjolnir Armor Lockers and Spartan Cores. Once you have found a Skull, you can decide which ones you wish to enable or disable when you load (and not continue) a save from the campaign menu. Know that using skulls not only disables saves, but achievements too - so though they act as ‘cheats’, you cannot use them to make the game easier. If you want to find Skull locations naturally, know that unlike other collectibles, they are located in out-of-reach locations that you wouldn’t usually think of. Though they can appear in the open world, they also make their appearance in campaign missions. With this in mind, knowing Skull locations as you play is especially useful since, at launch, campaign missions cannot be replayed. This means some Skull locations are missable, at least until developer 343 introduces the ability to do so (it is, thankfully, on the cards - hopefully in time for the introduction of campaign co-op). Thankfully, you are told how many Skulls are to be found at the start of each mission - allowing you to take a breather once they are found. At one point during the mission, you’ll come to a room with vertical conveyor belts on the right wall. Here’s how the room looks from the direction you first enter: There are three moving columns of containers here. Go to the middle one, and step on a container going up. When it reaches the top, but before you hit the laser which kills you, step off onto the stationary container, where you’ll find the skull. Once you have found the ‘weapon’, you will take an elevator up, followed by a blue corridor lined with strange apparitions. You will now get the ‘follow the signal’ mission objective. When the room opens up (there will be enemies to clear out first) it’s here where you will find the skull. The skull location is high up in the ceiling, up on a ledge. If you look up and right as soon as you emerge from the corridor, you can see the ledge - though the skull itself is hidden from view. To reach it, you need to grapple up the columns above the walkway. From the corridor you emerged from, count two columns, then grapple to the lower gap of that column. Then, grapple to the higher gap of the next column, so you are closest to entrance to the area. Now walk up the left side of the gap, and look up until you can see the telltale ‘yellow crosshair’ of the grapple at the support in the ceiling. Grapple up, and you should land safely so you can get the skull. From here, the next few Skull locations can be collected in the open world. Though you can collect them now, it is far easier with grapplehook upgrades, and easier still once you have unlocked the Wasp from collecting enough Valor to unlock at a FOB. To find the ’third’ skull, you need to visit The Tower, which is the huge structure on the far west side of the map, and home to an early game mission of the same name. The Skull location isn’t within the mission though, and instead, can be found on the very roof over The Tower itself. You can get it in a few ways. Once The Tower mission is complete, you will gain access to a hatch that means you can attempt to grapple the structure from the halfway point. Having the cooldown upgrade by spending Spartan Cores will make the ascent easier. However, it’s best to wait until later in the game, where you have unlocked enough Valor to spawn a Wasp from a FOB, or have reached the final area of the map where Banshees can appear for you to hijack. Once you have either, you can simply fly to the roof and collect it with ease. If you fancy the climb, though, here is Cow Town on YouTube to show how it’s done: From FOB Golf - the first FOB in the story - head south, past Ransom Keep, to find a large valley to the south. Here is a huge crevice, with a rock suspended in the middle of two tall, steep cliffs. The Skull is right underneath that location. Due to the nature of the crevice, the Skull is much easier to reach if you have a flying vehicle, such as a Wasp or when you reach Island 4, when Banshees spawn on the map for you to hijack. However, you can head south along the right (or west) side of the cliff with the grapple hook, awkwardly scaling the rocks until you are high and far enough along, that you can reach where you need to be. Having the second grapple upgrade, which reduces cooldowns by 40%, will help here. You know you are in the right place when, if you look down, you’ll see a glowing mark on a platform. Jump down here, then turn around to see another glowing mark opposite. Grapple across and you’ll find the skull in the corner. After you clear The Tower, you can make your north through the second ‘island’ to the Excavation Site mission. North-west of this location is FOB Alpha. If you head west from here, you’ll come to the edge of the ring with hexagonal cliffs. Head along the cliffs until you see a doll on the ground (depending on how you approach, you might need to grapple ‘up’ the cliff to continue along and find it). Once you are at the doll, grapple across the short gap to the opposite ledge, then grapple up amongst the columns. Grapple up again from here, and you’ll hear strange moans. Take the ledges in that direction. Within a few seconds you’ll come to a cliff with a camp, a sniper rifle, and the Skull location. This Skull is found in the very north-west of the map. The nearest fast travel point is Outpost Tremonius - the very location you entered the ring on during the third mission. Here, in this northern part of the map, is a small lake hidden away amongst the mountains, with a Grunt and two red Hunters. Just beyond them, by the water, is the Skull embedded in a tree stump on the right side. The aim is to take on these Hunters and claim the skull - or, what we did, is run in, grab it and flee. Took a few attempts, but if you don’t have the right firepower, this method works just fine! During the Evacuation mission, you have to get data from four pillars in the ‘fourth’ island in the south-east of the map. From this point onwards you can find this skull. Near the north-east pillar is an island just off the edge of the map. You need to reach this island. The only realistic way to get across is with a flying vehicle such as the Wasp or Banshee. The latter should start spawning on the map as you begin the Evacuation mission - so hijack one of these and fly over. On the far side of the island, on the first edge of ledges down from the very top, will be the Skull next to a body. You can see this all in action via Rx_Geezy54 on YouTube: During the Evacuation mission, you have to get data from four pillars in the ‘fourth’ island in the south-east of the map. From this point onwards you can find this skull. Go to the north-west most of these pillars. To the west, just over a gap, is a huge cliff towering above. Below that is a thin column between the huge cliff and the pillar. The skull is resting on top of there. The best ways to get this Skull is with a Wasp or Banshee, so you can fly up and jump out onto the column, or by using the grapplehook cooldown upgrade, simply scaling it from below. Whichever method you chose, at the top will be the Skull location. During the Evacuation mission, you have to get data from four pillars in the ‘fourth’ island in the south-east of the map. From this point onwards you can find this skull. Between the south-west most of these pillars and the Riven Gate base is a waterfall. It’s south of the road leading west out of the base. Facing the waterfall, about halfway up on the right side, is a small cave entrance. Grapple up, crawl inside, and grab the Skull. During The Command Spire mission, shortly after the corridor with the two rushing brutes, you’ll come to an area with golden forcefields with large cylindrical objects passing through above you. When this corridor turns right - with the objects turning with it - you must grapple up onto one of these objects to find the skull. When on top of an object, before it moves too far along, look up at the outside edge of the corner, and grapple up. Grapple up to the ledge again to find a door. Head through the corridor to find the skull. During the Repository mission, you’ll create a light bridge after a cutscene at a terminal in the middle of a large room. After activating the bridge, there are two doors on the left and right side of the room. Grapple over to the right one first, where you’ll find a Power Cell. Now take it to the left room, and insert into the device. To reach these side rooms, you must head to the start and end of the room respectively, then grapple across the supports between them. And yes, you can grapple while holding the power cell. Once done, continue to play the mission as normal. You’ll soon come to a room with gold plating on the opposite wall and two columns. Grapple up the columns and you can access a room above. (If you didn’t do the power cell described earlier, this will be closed.) Clear this room of enemies - there are a number of invisible sword-wielding Elites here - then grab the Skull from the ground. Halo Infinite Winter Update is here, ushing in the Halo Infinite co-op release date. Starting the story? Learn how to download and install the Halo Infinite campaign and lists of skull locations, Mjolnir Armor Lockers and Spartan Cores. including those for the commando rifle, fusion coil and a killing spree. If you’re looking to step up the challenge, then Halo Infinite’s ranking system is waiting. In the Silent Auditorium mission - the final one of the campaign - you must play through the mission without destroying any Sentinel enemies. Then, towards the end, where you reach a large room where you can form a light bridge then turn to the left. At this turn, there will be an additional door opposite you can enter. If you were successful in avoiding Sentinels, then this will be accessible - with the Skull inside. Sentinels won’t appear until about halfway through the mission - not until a few rooms after encountering the two Hunters. From there, it’s recommended to take your time with combat, or even just avoid it altogether, so no Sentinels get caught up in the crossfire. (If you use your grapple to go from cover to cover, the latter method is very doable.) If you reach the room and it won’t open, then a Sentinel must have been destroyed - and so you have to restart the mission to get the Skull. It’s frustrating, but at least you have another opportunity before you finish the campaign’s set of missions and return back to the open world. Best of luck with your hunt for the Skulls!
